


If you print long enough, you’ll hit the same frustrating loop: you tweak flow, the next print gets worse, then you start chasing settings without ever being sure what you’re fixing.
The fastest way out is to stop thinking in “settings” and start thinking in symptoms → root-cause buckets → a single test that confirms (or rules out) the bucket.
This guide is for makers who already know their way around a slicer and a hex key. It’s printer-agnostic, but it’s written with the reality of open-source CoreXY-style machines in mind: high accelerations, higher flow demand, and a lot of tuning headroom.
Over-extrusion vs under-extrusion: a quick decision framework
Before you touch any numbers, answer one question: Does the print look starved of plastic, or smeared with extra plastic?
| What you see | What it usually means | First test to run | Most likely bucket | |---|---|---| | Outer walls look swollen, rounded, or “puffy”; blobs/zits on surfaces | Too much plastic is being laid down, or it’s acting like it is | Print a single-wall cube and measure wall thickness; confirm filament diameter + flow setting | Slicer volume math (flow, filament diameter, line width) | | Gaps between lines, thin walls, weak top layers, missing sections | The hotend/extruder can’t deliver enough plastic consistently | Manually extrude at temp; if it feels hard, suspect restriction | Mechanical feed or partial clog | | Starts fine, then under-extrudes later in the print | Heat soak / heat creep, spool drag building up, or debris accumulating | Check hotend fan airflow and enclosure heat; try slowing down to reduce flow demand | Thermal capacity or mechanical feed | | Looks like over-extrusion in some areas and under-extrusion in others | Inconsistent extrusion (not a simple “too much” vs “too little”) | Inspect spool path for tangles/drag; check partial clog; check extrusion width/layer height extremes | Mechanical feed + slicer geometry |
Two warnings that save time:
- Stringing isn’t proof of over-extrusion. It can be temperature/retraction/cooling, even when your flow is fine.
- A “perfect” first layer doesn’t clear the extruder. First layers are slow. Many extrusion problems show up only once volumetric flow ramps up.
The four root-cause buckets (and why they matter)
Most over- and under-extrusion problems land in one of these buckets:
- Slicer volume math: flow rate (extrusion multiplier), filament diameter input, nozzle diameter, line width.
- Thermal capacity: the hotend can’t melt enough plastic at your requested speed/line width/layer height.
- Mechanical feed: partial clogs, extruder slip, excessive drag in the filament path.
- Filament itself: diameter variability, moisture, contamination, or a rough spool that doesn’t unwind smoothly.
If you only ever adjust flow, you’ll “fix” bucket #1 while buckets #2–#4 keep sabotaging you.
How to fix over-extrusion (in the right order)
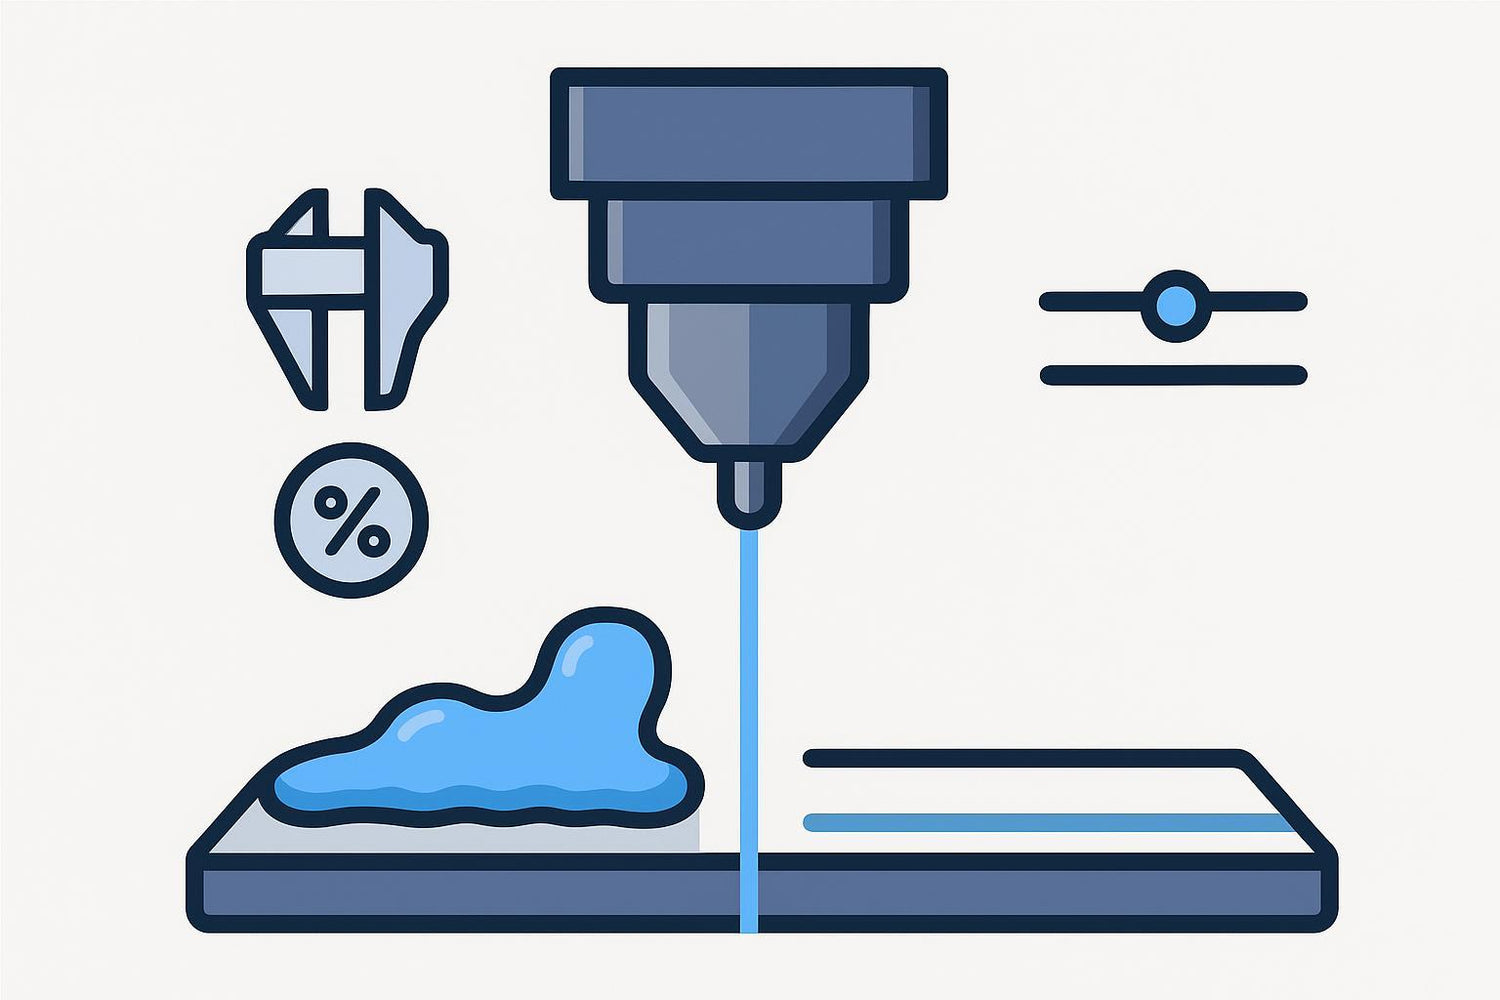
Over-extrusion is most reliably seen as extra material on the outside geometry: blobs and zits, bulging perimeters, rough surfaces, and parts that measure oversized. Siraya Tech’s 2026 overview calls out those surface artifacts and dimensional drift as common tells of over-extrusion.Siraya Tech: Over Extrusion 3D Print (2026)
1) Confirm you’re not “lying” to the slicer about filament diameter
If your slicer thinks your filament is thinner than it really is, it will command too much filament length for the same line, and your print will look like classic over-extrusion.
Do this:
- Measure filament diameter in several spots across 1–2 meters.
- Enter the average into the filament profile.
This takes two minutes and can save hours.
2) Reduce flow/extrusion multiplier in small, testable steps
Once filament diameter is correct, adjust flow / extrusion multiplier in small increments (think 2–5%), then reprint a simple test (single-wall or cube).
You’re looking for two outcomes:
- outer walls stop bulging
- top surfaces stop looking “overfilled”
If you drop flow and your part suddenly gets weak or gappy, you may have been masking a different issue (usually partial clog or thermal limit).
3) Sanity-check line width vs nozzle size
Line width is one of the easiest ways to accidentally create “extrusion drama” without touching flow.
If you set line width far from what the nozzle can physically flatten cleanly, you can get:
- fat, messy beads and pressure spikes (over-extrusion-like artifacts)
- poor coverage and gaps (under-extrusion-like artifacts)
As a practical rule, stay close to the default. If you do change it, keep it in a defensible range. Bambu Lab recommends keeping line width within 0.75× to 1.5× the nozzle diameter to avoid quality loss.Bambu Lab Wiki: Line width range (0.75×–1.5× nozzle)
Pro Tip: If you’re experimenting with strength-focused profiles, change one thing at a time. Wider lines increase flow demand and can turn a previously stable setup into under-extrusion at speed.
4) Don’t mistake “too hot” for “too much”
If your nozzle temperature is too high for the filament, plastic can behave like it’s over-extruding:
- it oozes more during travel
- corners get blobby
- surfaces look smeared
Before you keep lowering flow, run a quick A/B:
- keep flow constant
- drop temperature by 5–10°C
- reprint a small surface test
If artifacts improve, temperature was your lever.
5) Check for mechanical causes of excess material on the surface
Some “over-extrusion” symptoms aren’t actually extra volume.
Common impostors:
- Worn nozzle: the orifice can get slightly larger or the internal geometry gets rough, changing how the bead lays down.
- Poor cooling: melted plastic stays soft longer, smears, and forms surface zits.
- Pressure/advance mismatch: corners can bulge even when average flow is correct.
If over-extrusion only happens on corners and seams, look at pressure/linear advance and seam placement before you keep changing flow.
How to fix under-extrusion (without chasing the wrong knob)
Under-extrusion is most reliably seen as gaps and weak structure: lines don’t fully touch, top layers have holes, and perimeters don’t bond.
Simplify3D recommends a simple confirmation test: print a small cube with at least three perimeters, then inspect the top. If the perimeters don’t bond and you see gaps, under-extrusion is likely (see Simplify3D’s under-extrusion cube test).
1) First, rule out restriction: can you extrude smoothly by hand?
Heat to normal printing temperature and try a controlled manual extrusion.
- If it’s easy and smooth, you’re less likely to have a clog or hotend restriction.
- If it’s hard, you likely have a partial clog, a heat-creep plug, or excessive friction somewhere.
Ellis’ Print Tuning Guide puts it bluntly: if there’s much resistance when you try to extrude by hand, you need to find where it’s coming from, and a partial nozzle clog is a common culprit.Ellis’ extruder skipping troubleshooting
⚠️ Warning: Don’t “solve” a restriction by cranking flow to 110%. You’ll get inconsistent extrusion, then a jam, then you’ll be back where you started.
2) Fix the most common mechanical causes
Under-extrusion is often a feed problem, not a settings problem.
Work down this list:
- Spool drag and tangles: Make sure the spool rotates freely and filament isn’t rubbing hard on a guide.
- Extruder grip: If the drive gear is chewing filament dust, clean it and re-check tension.
- Filament path friction: Tight bends, worn PTFE, or sharp entries can add enough drag to cause skipping.
Simplify3D’s inconsistent extrusion checklist explicitly calls out spool tangles/drag, clogged nozzles, extruder drive issues, and even extreme layer heights/widths as common causes of inconsistent flow.Simplify3D’s inconsistent extrusion checklist
3) If it’s speed-related, treat it like a thermal capacity problem
A classic pattern:
- slow prints look fine
- as speed increases, walls get thin and tops get gappy
That’s often not “flow too low.” It’s the hotend being asked to melt more plastic per second than it can.
Fixes that preserve dimensional accuracy better than randomly increasing flow:
- reduce print speed
- reduce layer height
- reduce line width
- increase temperature slightly (within reason)
If you keep the same geometry but print slower and the problem disappears, you’ve learned something important: your limitation is melt capacity, not steps/mm.
4) Only after the above: adjust flow and filament diameter
Once restriction and melt capacity are handled, then adjust:
- filament diameter input
- extrusion multiplier / flow
Calibrate in the correct order: E-steps (or rotation distance) vs flow
This is where a lot of “I can’t win” tuning comes from.
- E-steps / steps per mm / rotation distance: makes sure the printer physically feeds the length you command.
- Flow / extrusion multiplier: fine-tunes the actual deposited volume for a specific filament/profile.
If you mix them up, you can make one filament look okay while the printer is still fundamentally miscalibrated.
A practical E-steps calibration (100 mm test)
MatterHackers lays out a straightforward method and formula:
- Prepare the extruder (hotend at temperature if needed).
- Command 100 mm extrusion.
- Measure how much filament actually moved.
- Apply: New steps/mm = Old steps/mm × (100 / measured distance).MatterHackers’ extruder calibration steps/mm formula
Do this once per extruder hardware configuration (and re-check if you change gears, motors, or firmware settings).
Then tune flow with a single-wall thickness test
After E-steps are correct, print a single-wall cube and measure wall thickness with calipers.
- If the wall is consistently thick, reduce flow slightly.
- If it’s consistently thin (and you’ve ruled out restrictions), increase flow slightly.
Keep changes small, and record what you changed. Future-you will thank you.
Nozzle, line width, and volumetric flow: the “invisible” causes
Line width isn’t just cosmetic
Extrusion width changes the bead geometry, pressure in the nozzle, and how hard the extruder has to work.
CNC Kitchen’s testing notes that many slicers default to 100–120% of nozzle diameter for extrusion width, and that going wider can improve bonding/strength up to a point, but it also increases flow demand and can degrade surface quality if pushed too far.CNC Kitchen’s extrusion width testing
If you’re chasing quality problems, start near the default. Get stable first. Then experiment.
Your slicer can command more flow than your hotend can melt
Even with perfect calibration, you can still under-extrude if you ask for too much plastic per second.
Three common ways makers accidentally exceed melt capacity:
- printing fast with a large nozzle
- printing thick layers with wide lines
- using a filament that needs more heat to melt cleanly
When that happens, your printer behaves like it’s under-extruding, but the fix isn’t “increase flow.” It’s “reduce demanded flow” or “increase melt capacity.”
FAQ
How do I know if it’s over-extrusion or just bad retraction?
If defects happen mostly on travels and seams (wisps, zits at the same location), it can be retraction/seam/pressure-related. If the entire part looks swollen or oversized, it’s more likely true over-extrusion.
Can a partial clog look like under-extrusion only at high speed?
Yes. A restriction can look fine at low flow, then fail once the requested volumetric flow increases.
Should I calibrate E-steps for every filament?
No. Calibrate E-steps (or rotation distance) for the extruder hardware. Then tune flow per filament/profile if needed.
Is it safe to run line width far below nozzle diameter for detail?
You can sometimes get away with it, but pushing line width too far from what the nozzle can flatten consistently is a common path to gaps and poor adhesion. If you’re experimenting, keep it within a defensible range and verify with a test print.
Next steps
If you want a quick “failure loop” reset, Sovol has a compact calibration checklist you can run when prints start going sideways: 3D printing beginner pitfalls checklist.
For broader print-quality troubleshooting (including extrusion issues), these are good starting points: