


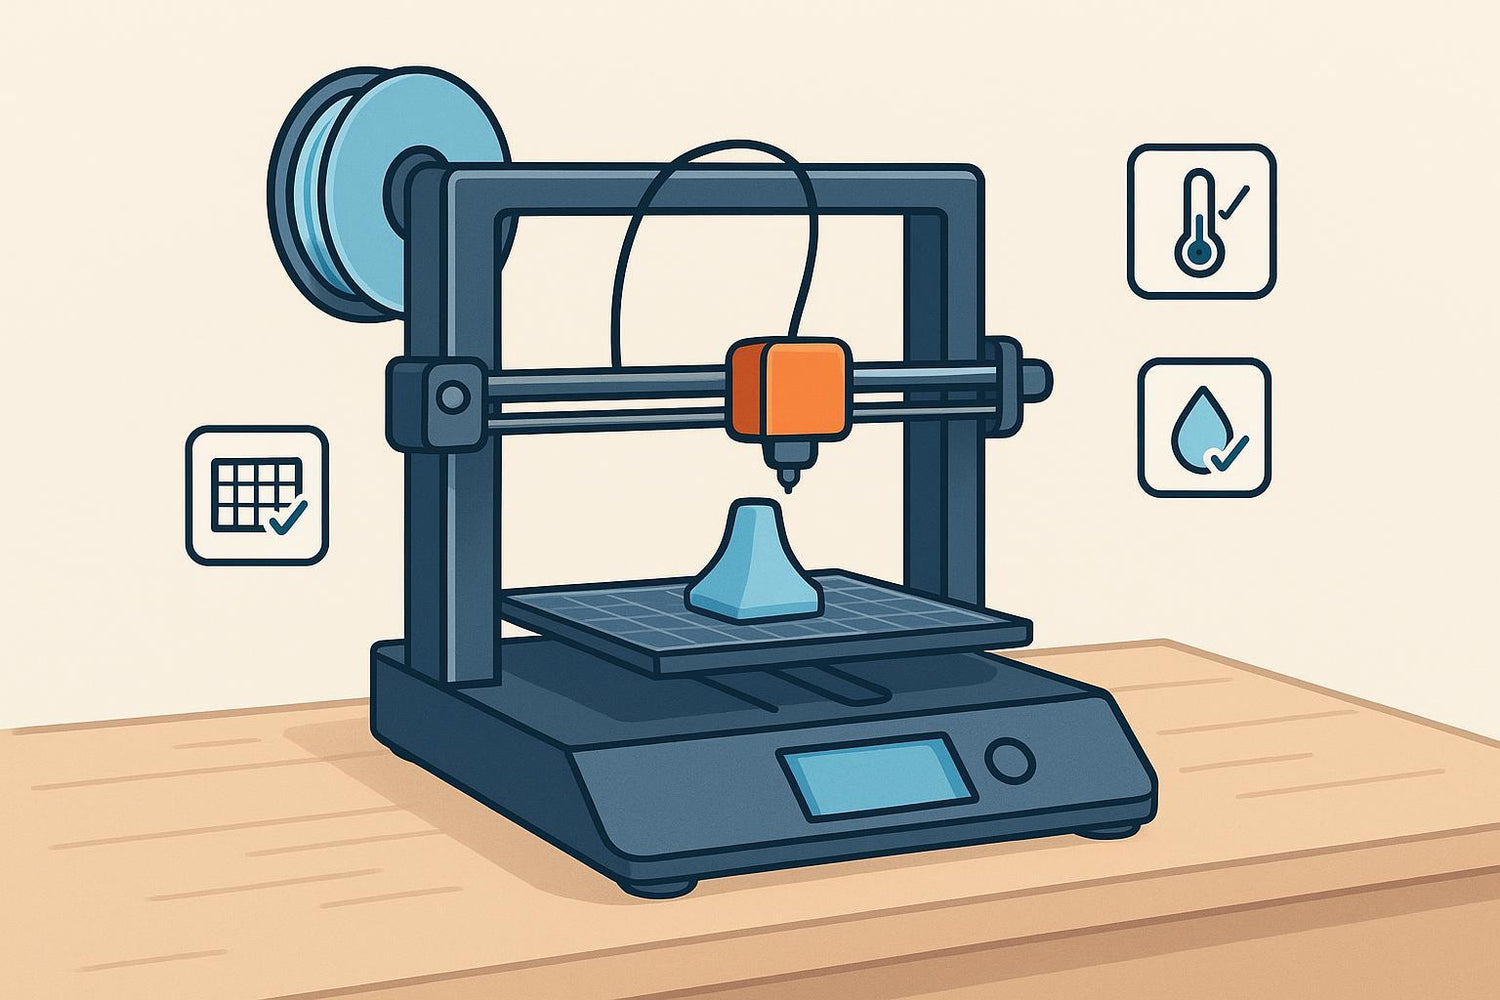
If you’ve printed a handful of parts and still feel like success is “random,” you’re not alone. Most failed prints come from a short list of repeat offenders: a shaky first layer, wet filament, a dirty build plate, or one slicer setting that quietly doesn’t match reality.
This post is a checklist you can actually use—yes/no checks grouped by when they matter. Run the “before” section like a pre-flight. Then watch the first layer like a hawk. Most problems don’t start in hour three; they start in minute three.
How to use this checklist
- Print a small test model first if you changed anything (new filament, new nozzle, new build surface).
- When you hit a failure, don’t change five things at once. Change one variable, re-test, and log it.
- If a term is new, I’ll define it once—then you can ignore the jargon and follow the check.
Pro tip: If you only have 60 seconds, do these three: clean the bed, confirm filament is dry, watch the first layer.
3D printing beginner pitfalls checklist: before you print
1) Is your build plate actually clean?
Pass: The surface is free of fingerprints, dust, and old adhesive.
Finger oils are a surprisingly reliable way to ruin bed adhesion.
- Wipe with isopropyl alcohol (IPA) and a clean paper towel or lint-free cloth.
- If you’ve been using glue/hairspray, occasionally wash the removable plate with warm water + dish soap, dry thoroughly, then re-install.
2) Is your bed level and your Z-offset reasonable?
Two ideas get mixed together:
- Bed leveling: making the nozzle-to-bed distance consistent across the plate.
- Z-offset: the absolute nozzle-to-bed distance during printing.
Pass: A first-layer test print produces smooth, consistent lines with no gaps and no gouging.
3) Is your filament dry?
Wet filament is the silent chaos agent. It can cause stringing, weak layers, rough surfaces, and random under-extrusion.
Pass: During extrusion, you don’t hear popping/sizzling and you don’t see bubbles in the filament.
(If you’re unsure, jump to the FAQ—there’s a quick diagnostic and drying guidance.)
4) Are you using the right build surface for your material?
Pass: Your surface matches the filament and you know whether you need a release layer.
This matters because “more adhesion” isn’t always better. Too much can damage parts or surfaces.
If you want a practical comparison, see how to choose the best printing surface for your 3D printer.
5) Did you select the correct filament profile (or at least the right temperature range)?
Pass: Your slicer profile matches your actual filament type and diameter.
If you’re ever unsure, start with the filament manufacturer’s recommended temperature range, then fine-tune.
6) Is your nozzle in decent shape?
Pass: You can extrude a smooth, consistent strand at printing temperature.
A partially clogged or worn nozzle can look like “my settings are cursed.” It’s often just debris or wear.
7) Is your first layer slowed down?
Pass: First layer speed is slow enough to be boring.
A common reliable starting point is to print the first layer slower than the rest of the model. It gives the filament time to wet the surface and stick.
8) Did you avoid starting with a “hard mode” model?
Pass: Your first print after any change is a simple shape (calibration cube, flat plate, first-layer square).
Thin towers, tiny contact patches, and long bridging sections are great at exposing problems—but terrible for building confidence.
9) Is your machine mechanically “tight enough”?
You don’t need a full teardown. You do need basics.
Pass: Belts feel properly tensioned (not floppy), nothing obviously wobbles, and the bed/extruder carriage doesn’t rock.
If your printer randomly shifts layers or changes quality from one day to the next, loose hardware is a prime suspect.
During the first layer: the 3 checks that decide everything
10) Are the first-layer lines touching each other with a smooth top surface?
Pass: Lines fuse into a continuous sheet with no gaps.
- Too high (nozzle far): you’ll see gaps and rounded “spaghetti” lines.
- Too low (nozzle close): you’ll see ridges, roughness, or the nozzle plowing.
A good visual reference for what “good” looks like is Bambu Lab’s first-layer test print guide.
11) Are corners staying down (no lifting in the first 5–10 minutes)?
Pass: No visible corner lift or edge curl.
If edges start lifting early, you’re in the warping danger zone.
Common fixes:
- Clean the bed (yes, again)
- Increase bed temperature slightly within safe range
- Add a brim for more grip
- Reduce drafts (close windows, avoid AC blowing across the printer)
12) Is the cooling fan staying off (or low) for the first few layers?
Pass: Cooling ramps up after the part has “anchored.”
Blasting cooling too early can reduce adhesion and increase warping on some setups.
Mid-print reality checks: catch failures before you waste hours
13) Are you seeing “hair” between features (stringing)?
Pass: Travel moves don’t leave thin webs.
Stringing is usually a combination of temperature, retraction, and moisture.
Start with the simplest wins:
- Dry the filament if you suspect moisture
- Reduce nozzle temperature in small steps
- Run a retraction tower test
14) Do top surfaces look even (not full of gaps)?
Pass: Top layers close cleanly without pinholes.
Gaps can come from under-extrusion, too few top layers, printing too fast, or a partially clogged nozzle.
For a quick symptom-to-setting map, Simplify3D’s print-quality troubleshooting guide is handy.
15) Is the extruder feeding smoothly (no clicking, no grinding)?
Pass: No repeated clicking sounds; filament isn’t chewed flat.
Clicking usually means the extruder is slipping because:
- the nozzle is partially clogged,
- temperature is too low,
- flow demand is too high (speed too fast), or
- filament path has too much resistance.
16) Are layers staying aligned (no sudden shifts)?
Pass: Walls stack directly above each other.
If you get a sudden “step” in the wall, look for:
- belt tension issues,
- the nozzle hitting a curled edge,
- loose pulleys, or
- aggressive acceleration settings.
17) Are supports stable (not wobbling or snapping)?
Pass: Support columns don’t look like spaghetti and don’t detach.
If supports fail, the part fails. Fixes often include:
- increasing support density slightly,
- improving bed adhesion for supports (brim),
- lowering print speed, or
- changing part orientation.
After the print: removal, cleanup, and the one habit that speeds up learning
18) Did you remove the part without damaging the surface?
Pass: You didn’t gouge the plate or bend something out of shape.
If parts are too stuck, that’s also a problem:
- Wait for the bed to cool fully.
- Use the correct release method for your surface (flex plate vs scraper).
- Consider a thin release layer (depending on material and surface).
19) Did you log what changed?
Pass: You can answer “what did I change since the last successful print?”
Write down:
- filament brand/type/color
- nozzle size
- bed surface used
- nozzle temp / bed temp
- retraction settings
- any calibration you ran
This turns printing from superstition into a repeatable process.
Minimal calibration routine (when you’re stuck in a failure loop)
If you’re changing settings every print and nothing sticks, stop and run a short calibration sequence in order.
A structured calibration approach is outlined in Wevolver’s structured 3D printer calibration framework.
Step 1: First-layer test (level + Z-offset)
Done when: you can print a clean first-layer square with even lines and no corner lift.
Step 2: Extruder accuracy (E-steps)
Done when: commanding 100 mm of extrusion actually feeds 100 mm.
If you want the “when this matters” context, Wevolver’s explanation of when E-steps calibration matters is a good starting point.
Step 3: Flow rate (extrusion multiplier)
Done when: single-wall test prints measure close to your intended line width.
Step 4: Temperature tower
Done when: you find the lowest temperature that still gives strong layer bonding and acceptable surface finish.
Step 5: Retraction tower
Done when: stringing is minimized without causing under-extrusion or jams.
FAQ
What’s the fastest fix for “nothing sticks to the bed”?
Clean the bed, re-check Z-offset with a first-layer test print, and slow the first layer down. If that doesn’t work, verify your build surface matches your filament.
How do I know if my filament is wet?
Extrude a little filament at printing temperature.
- If you hear popping/sizzling or see bubbles in the extrusion, moisture is a strong suspect.
- Wet filament can also show up as excessive stringing and weak, rough surfaces.
For the “what it looks like” symptoms, start with Polymaker’s guide to wet filament symptoms.
For drying and storage, follow Bambu Lab’s filament drying recommendations and store spools in a sealed bin with desiccant.
Should I use glue stick?
Sometimes. It can increase adhesion or act as a release layer depending on your surface and filament. The key is to use it intentionally, not as a permanent band-aid.
Why did my print look fine… until hour two?
Often it’s a gradual issue (support instability, heat creep, filament tangles, a part slowly warping upward until the nozzle hits it). That’s why the mid-print checks focus on early warning signs.
Next steps (optional deeper reads)
If you want a few good “teach me the fundamentals” reads, these are solid starting points:
- 3D printer basics you need to know now
- Beginner mistakes in 3D printing and how to avoid them
- Top tips for solving 3D print first layer problems
And if you’re browsing printers or parts, you can start at the Sovol collection page: Sovol