
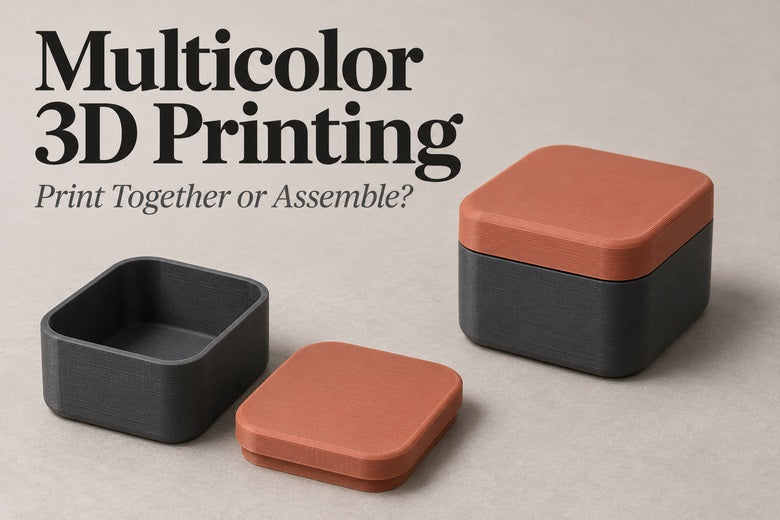
A colorful print does not always need automatic color changes. A dark box with a bright lid, a figurine with a separate hat, or a lamp with a contrasting base can all be made by printing individual components and assembling them afterward.
That leaves a useful choice: should you print the colors together in one job, or print separate colored parts and put them together?
Neither method wins every time. The better option depends on where the colors appear, how the model fits together, and whether you would rather spend time on machine changes or hands-on assembly.
The two approaches, explained simply
Direct multicolor printing means the printer produces the different color regions in their intended positions during one job. Depending on the hardware, this can involve changing filament through a shared nozzle or switching between dedicated tools.
Separate-part printing means each component is printed in its own color, then connected using an appropriate joint, fastener or adhesive. A single-color printer can produce a colorful finished object this way.
There is also a simpler case: colors that change only with height. A dark plaque with raised light lettering may need just a change at a particular layer rather than repeated changes within the same layer. Check the actual sliced geometry before assuming a two-color model needs a complicated workflow.
When printing the colors together makes sense
Small details are scattered across the model
Eyes, eyebrows, clothing patterns and small decorative accents can be difficult to turn into separate printable pieces. Tiny inserts are easy to lose and hard to align. Glue can mark a visible surface.
Printing these details directly into the main object avoids handling many individual components. However, a painted region on screen is not proof that it will print clearly. Check the sliced paths to see whether your nozzle, line width and layer height can reproduce the feature.
Color boundaries follow curved surfaces
A color region wrapping around a face or a rounded shell may be awkward to separate. You would need a feasible assembly direction, hidden joints and enough clearance to bring the pieces together.
Direct multicolor printing can avoid those additional assembly joints. It does not eliminate layer lines or wall start-and-stop marks, and the quality of the color boundary still depends on the model and printing process.
You want fewer loose components
A finished object that is handled frequently may benefit from having its decorative regions integrated into the body. That is useful when separate accents would be fragile or inconvenient to attach.
Do not confuse integration with guaranteed strength. Color regions still need adequate physical contact. If you use different material types rather than different colors of a compatible material, test their adhesion and shared printing conditions.

When separate colored parts are the better starting point
The colors already belong to different components
A lid and a box, a lampshade and a base, or a housing and its buttons already perform different jobs. Printing them separately often follows the design naturally.
A light storage box with a dark removable lid does not need to become one multicolor object. Separate components also make it easy to change one color later without reproducing the whole design.
A natural boundary can hide the joint
A hat brim, collar, belt or base can provide a sensible place to divide a figurine. When the joint follows an existing feature, it may be less noticeable than a split across a smooth visible surface.
But cutting a model does not automatically create an assembly-ready design. You still need alignment, suitable clearances, access for assembly and a connection that works for the intended use. For the software side, see our guide to splitting a model in your slicer.
You want interchangeable colors or easier repairs
A removable accent panel or replaceable base lets one main component work with several color schemes. If a small part fails during printing, you can often reprint that part instead of starting the entire object again.
The trade-off is extra preparation and fitting. A design with a few large components is a very different assembly project from one with dozens of tiny inserts.
Which method uses less filament?
Compare more than the weight of the finished model. Separate-color jobs can reduce repeated filament changes, which may reduce flushing on shared-nozzle systems. However, separate parts may need their own supports, brims, connectors or fit tests.
Direct multicolor printing can use additional material for flushing, priming and support structures. The amount depends on the hardware and the sliced job. Dedicated-tool systems have different requirements from shared-nozzle systems, so one waste estimate cannot represent every multicolor printer.
| What to count | Print colors together | Print separate components |
|---|---|---|
| Model material | All color regions in the finished model | The sum of every component |
| Additional material | Flushing, priming and supports as required | Supports, bed-adhesion aids and connectors as required |
| Assembly supplies | Often fewer additional joining supplies | May need fasteners or compatible adhesive |
| Reprints | Depends on where the job fails | An independent failed component can often be replaced |
Slice both versions and compare the complete jobs. If your slicer reports model, support and flushing material separately, keep those categories visible. An attractive model-weight figure can hide a large amount of additional material.
Which method is faster?
Separate machine time from your working time. Direct multicolor printing may spend longer switching colors, but it can reduce positioning, gluing and cleanup afterward.
Separate parts may print faster while adding preparation and assembly. Include removing supports, checking fit, cleaning mating surfaces and any adhesive curing time. A finished print is not necessarily a finished project.
Batch size matters too. Printing several copies together can share some color changes across the copies in a layer-by-layer job, but the outcome depends on layout and geometry. Check the full plate rather than multiplying a single-object estimate. Do not switch to sequential printing without checking the machine's collision-clearance requirements.
Three everyday examples
A colorful sign: inspect how the lettering is built
If light letters sit entirely above a dark backing, a height-based change may be enough. If the letters sit flush with the background, the colors occupy overlapping height ranges and need a different plan.
Direct printing reduces assembly. Separate letter inserts can make customization easier, but they need workable dimensions, alignment and retention. Small isolated letters may be much less convenient to handle than a connected word insert.

A figurine: combine the methods
A hat, large accessory or base may be easy to print separately. Eyes and fine clothing accents may be better left in the multicolor body.
You do not have to use one method for the entire project. A directly printed multicolor figure with a separately printed base can balance detail, assembly effort and color flexibility.
A two-tone enclosure: let the structure lead
If the lid must open, printing it separately is natural. If you only want a stripe across a solid sidewall, splitting the whole enclosure for that stripe could introduce unnecessary joints. Direct multicolor printing or a separately attached decorative panel may be more suitable.
For a functional enclosure, fastening, loads, heat and access come before the color scheme. A visually neat joint is not evidence of adequate structural or electrical protection.

Check the model file before planning assembly
A model shown in several colors is not necessarily supplied as separate printable components. It might contain independent assembly parts, several color-assigned volumes within one object, or a single mesh colored in the slicer.
“Split to objects” and “split to parts” are also different operations. Independent objects can normally be arranged separately, whereas parts of one object preserve a shared relationship for tasks such as assigning colors. Separating existing disconnected geometry is not the same as cutting a continuous mesh into usable components.
Read the designer's instructions and look for a parts list, assembly photographs and required hardware. Do not assume a colorful preview includes an assembly-ready version. Save a copy of the original project before editing.
Five questions that make the choice easier
- Are the colors large regions or scattered details? Large regions are usually easier to separate; fine accents can be awkward to handle.
- Where could the joint go? Existing component boundaries are often better than smooth visible curves.
- Can every part be printed and handled reliably? Reducing color changes is less useful if it creates impractical tiny components.
- Which time matters most? Compare machine time with preparation, assembly and finishing.
- Can you test the connection first? Print a small mating section before committing to the complete object.
Use a proven assembly design when available. There is no universal clearance that suits every nozzle, material, orientation and joining method. For glue, follow the adhesive manufacturer's compatibility, preparation and curing instructions.
Frequently asked questions
Can I make multicolor models with a single-color printer?
Yes. Print separate components in different colors and assemble them. Some designs also allow a manual color change at a selected height, provided your printer and workflow support it.
Is printing separate parts always less wasteful?
No. It may reduce color-change waste, but supports, connectors, fit tests and reprints still count. Compare the complete sliced jobs for your actual hardware.
Does direct multicolor printing remove every seam?
No. It can avoid assembly joints, but layer lines, wall seams and visible color boundaries can remain.
Can I just split any colored model into pieces?
Not automatically. A useful split must allow each piece to print, fit and be assembled. Fine or interlocking regions may require redesign rather than a simple cut.
Should I mix the two approaches?
Often that is worth considering. Print fine color details into the main body and separate larger accessories, lids or bases where the design makes assembly straightforward.
Conclusion
Print together when the color details are small, the surfaces are continuous or assembly would be awkward. Consider separate parts when colors match natural components, joints can be hidden and interchangeable pieces are useful.
Neither method is automatically faster, cleaner or cheaper. Compare both sliced versions, include the hands-on work, and test the most important detail or connection first. The best workflow is the one that produces the finished object you want with a manageable amount of printing and assembly.
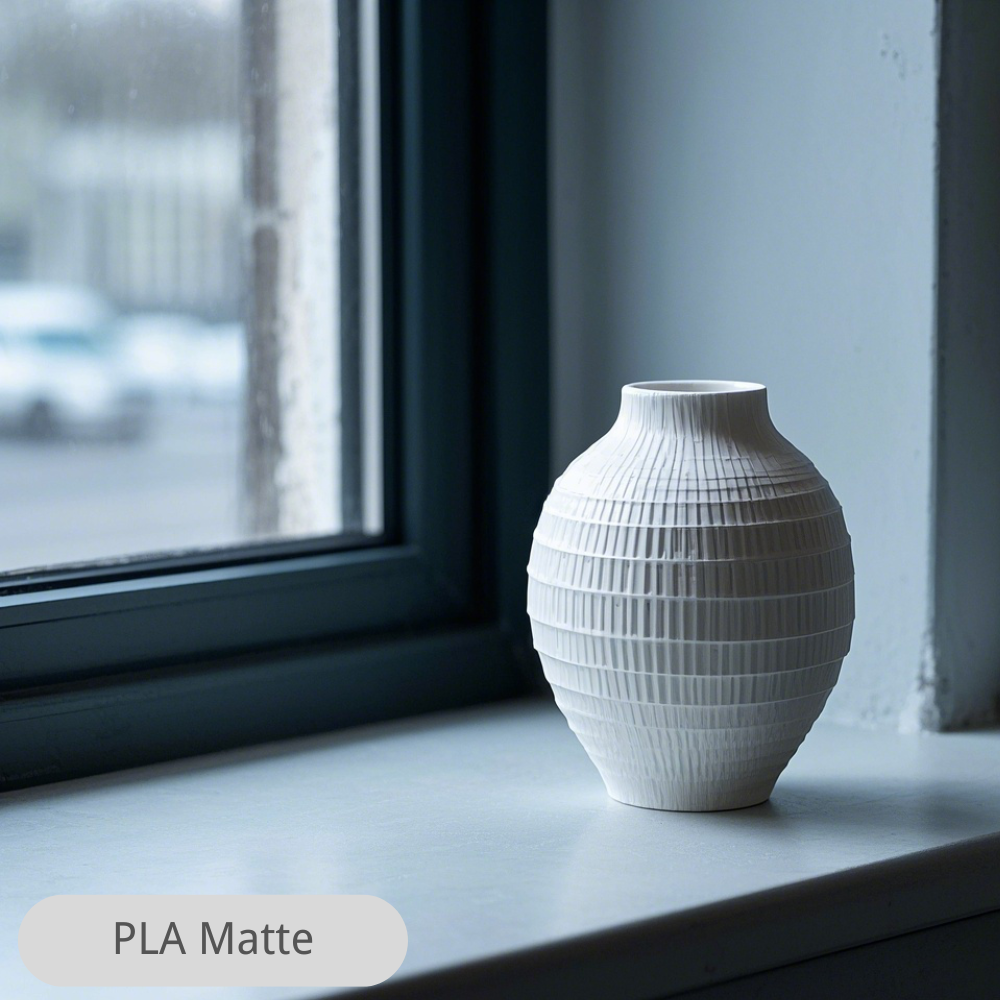
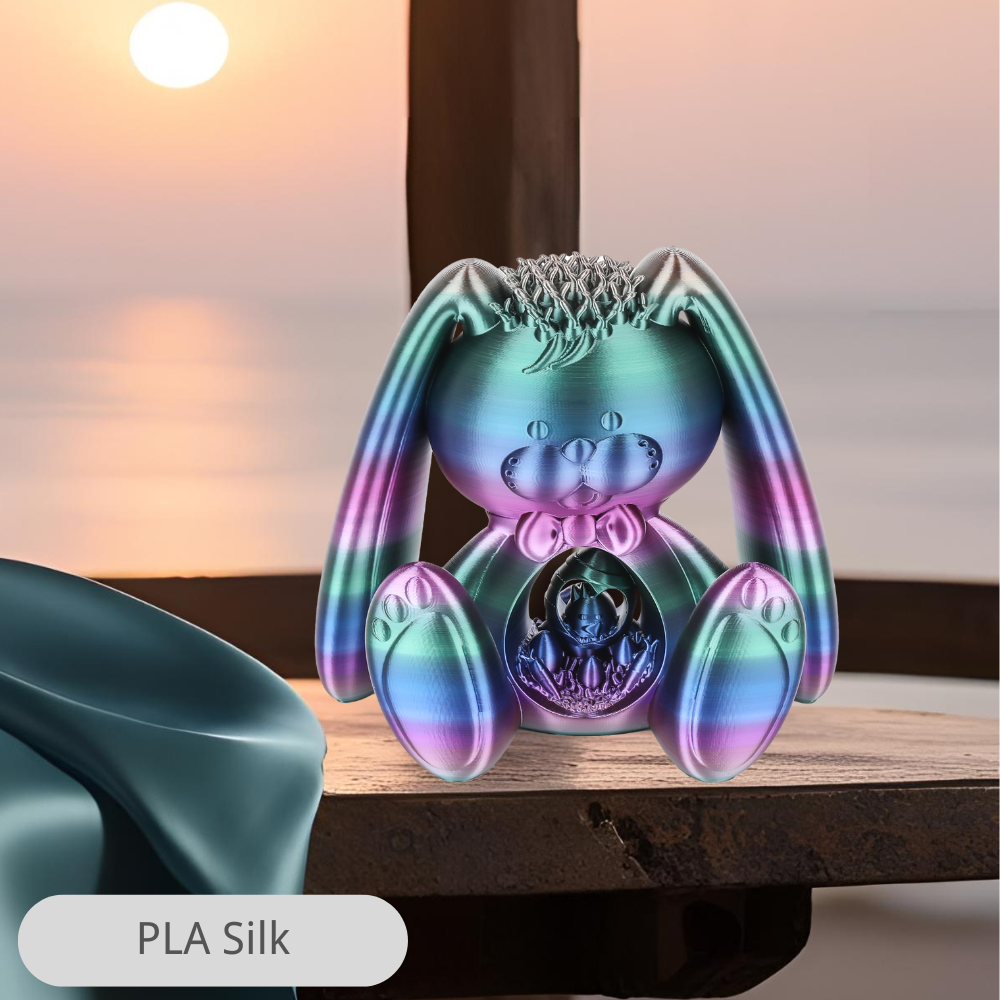
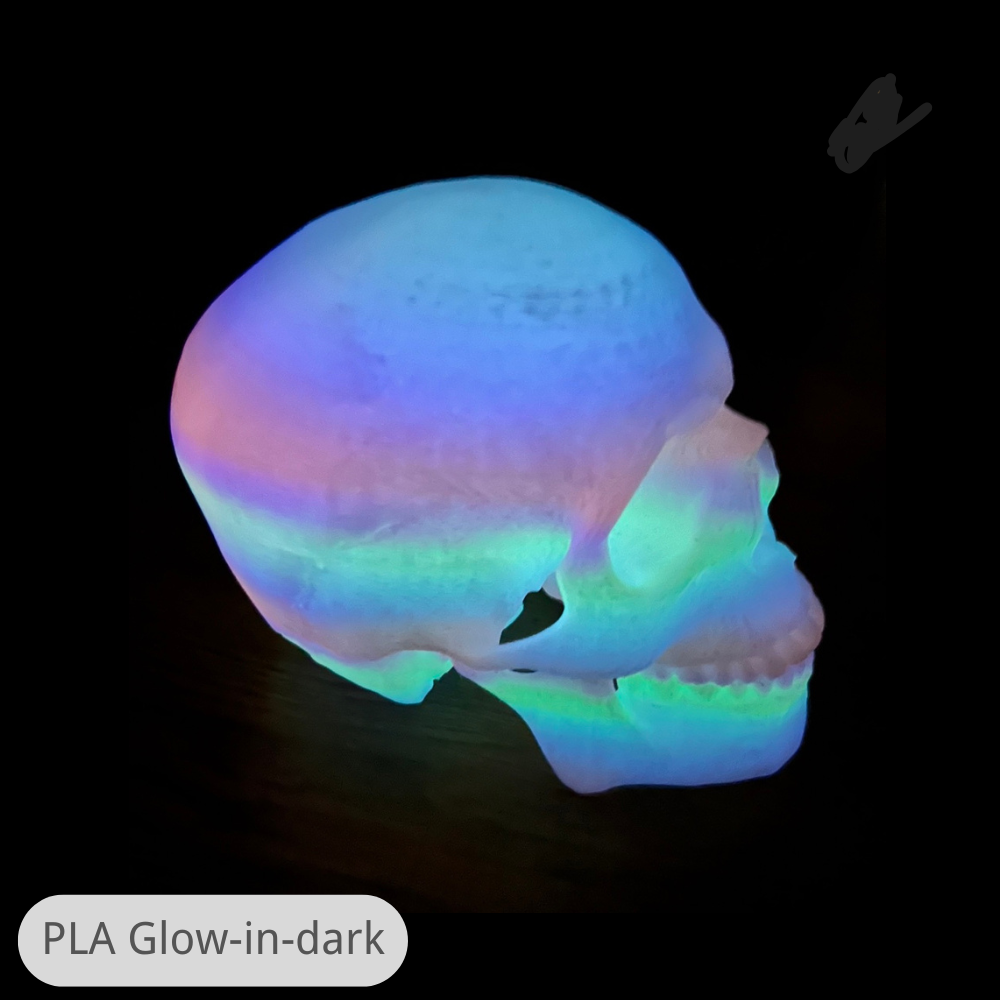
Images are illustrative examples of the two workflows, not tested print results or downloadable model specifications.
