



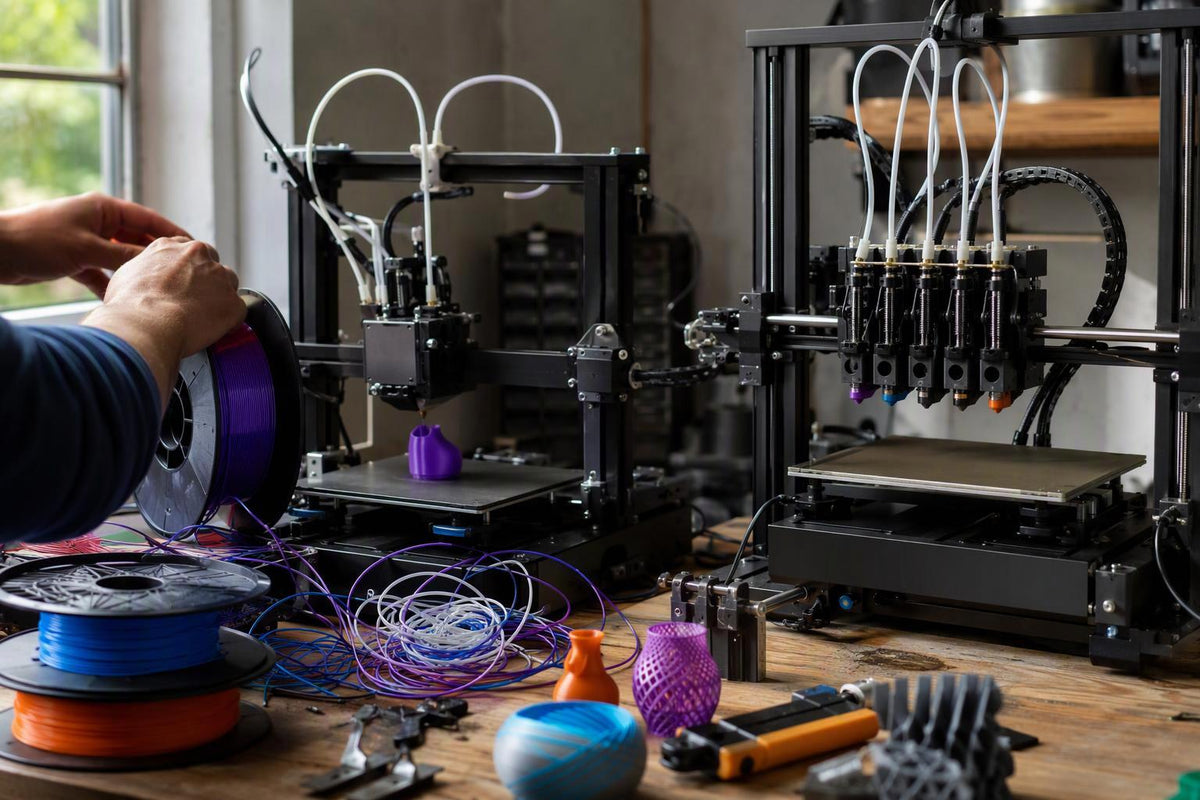
Choosing a multicolor 3D printer comes down to one architectural decision: does the machine swap filament into a shared nozzle, or swap the toolhead itself? Toolchanger hardware has moved from boutique to mainstream, and slicer-side waste controls have changed what a shared nozzle can do. Prusa's INDX announcement describes a full tool change, park the current tool, move, pick the new tool, heat it, resume, as taking "as little as 12 seconds" (Prusa's INDX announcement, 2025-11-19), while the same company's 2026 XL update refuses to publish any single toolchange number at all (Prusa's 2026 XL update, 2026-02-17). That gap between a marketing figure and a withheld one is the whole problem.
The tension is genuine. A shared nozzle is cheaper and simpler, but it pays a purge tax on every colour change. A dedicated toolhead avoids the purge, but costs more and adds calibration. The Bambu Lab AMS documentation frames the first architecture plainly: one melt zone, filament swapped into it (the Bambu Lab AMS documentation).
This guide gives you six criteria you can verify before spending money, from the slicer's own flush matrix to the vendor's published error codes. No product ranking. Every claim is either attributed or flagged as unverified.
Key Takeaways
- The decisive question is architectural: shared nozzle (filament changer) versus dedicated toolhead (multi-tool), and every other trade-off follows from it.
- The single number to measure before buying is your own sliced flush total, read against part weight, not a vendor's waste claim.
- Each category fails in a different place: filament changers wear feed-path consumables, toolchangers fail at pickup and calibration.
- Verify claims from the slicer's flush panel, the vendor's own documentation, and the project's public repository before you commit.
How to Choose a Multicolor 3D Printer: The Criteria That Actually Decide It
The criteria that decide a multicolor 3D printer purchase are the ones you can verify before you pay, not the ones a spec sheet advertises. Six of them matter, and they map directly to the sections below: waste, speed, reliability, contamination, software support, and total cost of ownership.
The architectural split is what makes these criteria necessary. An AMS-style filament changer keeps one shared nozzle and swaps the filament path into that melt zone, while a multi-tool machine switches to a different toolhead with its own hotend and nozzle (the Bambu Lab AMS documentation). That single design difference drives the purge requirement, the failure surface, and the calibration burden.
Residual melt is the mechanism behind the waste criterion. On a shared nozzle, a small amount of melted plastic stays in the nozzle and the incoming filament pushes it out, so volume must be purged, and the required flush depends on the from/to colour pair (Bambu Lab's own flush documentation).
The rule that governs all six: every criterion is verifiable before purchase, from the slicer, the vendor's own documentation, or the project's public repository. If a claim cannot be checked that way, treat it as a claim to test, not a fact.
What Is the Difference Between a Filament-Changer and a Multi-Tool Machine?
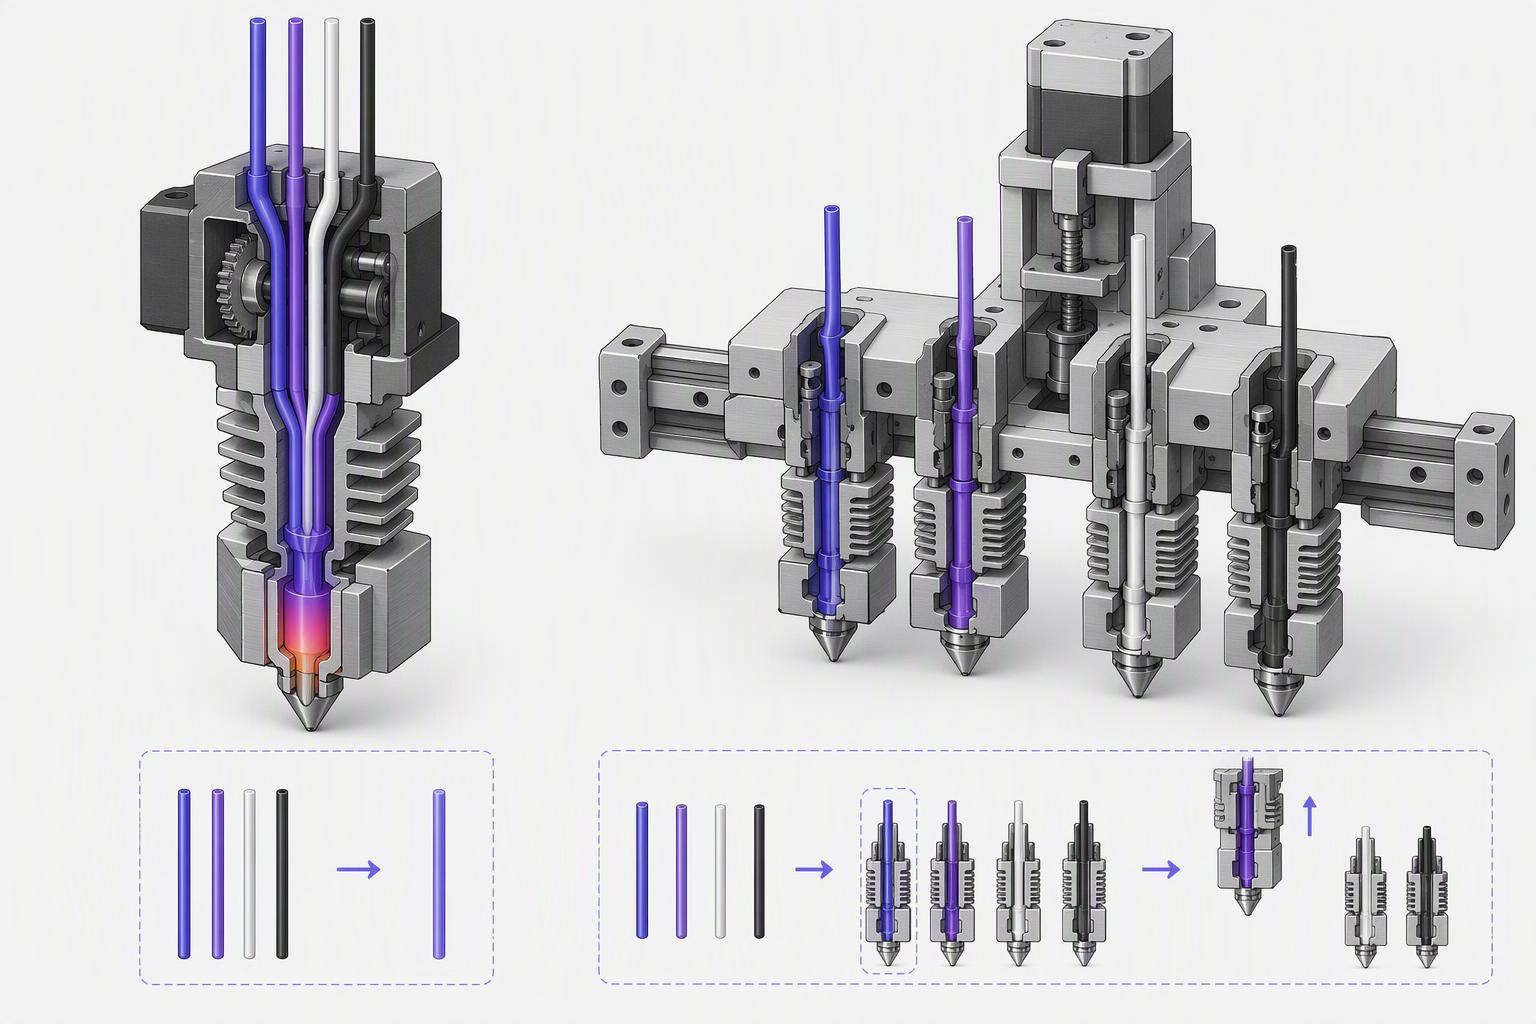
A filament changer and a multi-tool machine are genuinely different designs, not two flavours of the same thing. The filament changer feeds different filament into one shared melt zone; the multi-tool machine carries a separate hotend and nozzle per material.
The material constraints on the shared path are vendor-documented rather than hearsay. Bambu Lab's AMS compatibility notes tell users to avoid flexible filaments such as TPU and TPE and absorbent PVA in the AMS because they can jam the feed tube, and to avoid hard, brittle third-party fibre-reinforced filaments such as PA-CF and PLA-CF because they wear the AMS PTFE tubes (Bambu Lab's AMS compatibility notes). The same page declares PTFE tubes consumables to inspect for wear and lists supported spool dimensions of 50 to 68 mm wide and 197 to 202 mm in diameter.
Toolchanger architecture inverts that. The Bondtech INDX repository describes one active Smart Head that stays on the gantry and picks up interchangeable passive tools parked in a dock, each tool carrying its own filament, so there is no shared filament path and no purge block (the Bondtech INDX repository).
|
Criterion |
Filament changer (AMS/MMU) |
Multi-tool / toolchanger |
|---|---|---|
|
Best for |
Budget multicolour, many colours cheaply |
Frequent changes, mixed materials, low waste |
|
Purge requirement |
Yes, per colour change |
No purge; small prime only |
|
Toolchange mechanism |
Retract and feed filament into one nozzle |
Pick up and dock a separate toolhead |
|
Material flexibility |
Restricted (no TPU/TPE/PVA in AMS) |
Broad, per-tool filament path |
|
Calibration burden |
Feed-path maintenance |
Tool offset calibration, dock alignment |
|
Slicer support |
Mature, shared across slicers |
Mature, needs correct tool-change G-code |
|
Openness |
Mostly closed firmware |
Open options via Klipper extensions |
|
Consumable schedule |
PTFE tubes, feed funnel |
Dock pins, bushings (life unproven) |
|
Verdict |
Lower entry cost, ongoing purge tax |
Higher entry cost, lower per-change cost |
How Much Filament Does a Color Change Actually Waste?
The honest answer is that no source measures a universal waste share, so you must slice your own model and read the flush totals against part weight. What the documentation gives you is the levers and their direction.
Bambu Lab's own flush documentation states that the default flush multiplier is 1.00 and that a multiplier of 0.90 means 10% less flushing volume for every filament-change pair, with 0.8 to 0.9 suggested as a quick saving subject to test prints (Bambu Lab's own flush documentation). Prusa's wipe-tower documentation reports that enabling "No sparse layers (EXPERIMENTAL)" on Prusa's multi-material project set cut total print time by 3.16% and filament deposited on the wipe tower by 16.17% (Prusa's wipe-tower documentation).
Tower size is driven by change count, not object size. Prusa's documentation states that wipe-tower size depends on the number of colour changes rather than the size of the printed object, and that its real size is only visible in the G-code preview because it shrinks per layer (Prusa's wipe-tower documentation).
A concrete cost figure comes from a user's slicing report in an OrcaSlicer feature request: a 3-filament print showed 16.59 g purged plus 10.71 g in the prime tower, 27.3 g of total waste, with the tower alone accounting for the portion the requester wants eliminated (the OrcaSlicer flush-into-object request). Treat that as one slicer prediction on one stated model, not a category average.
The documented waste levers, and the direction each moves waste:
- Flush multiplier: lower it (0.8 to 0.9) to cut volume per pair, at the risk of discoloured layers.
- Per-pair flush volume: edit individual from/to values; darker-to-lighter pairs need more.
- Flush into infill: redirects purge into hidden infill, but can show through light or transparent colours and thin walls.
- Flush into support: enabled by default per Bambu, but only takes effect when the prime tower is on.
- Flush into this object: routes purge into a sacrificial object; colours mix, so use it for functional parts.
- Plate layout and orientation: Bambu's own example shows rotating a part cut prime-tower material from 14.76 g to 9.05 g, about 40% less, though the same page warns the opposite happens when colours are already organised horizontally.
How Much Slower Is a Multicolor Print on a Shared Nozzle?
There is no verified per-swap time for a filament changer, so treat speed as an upper bound you calculate yourself: count your colour changes and multiply by the machine's stated swap time. The only official numbers in this packet belong to toolchangers.
Prusa's INDX announcement claims the full sequence takes "as little as 12 seconds" depending on filament, while the published spec table in the same post states roughly 16 seconds, "highly dependent on temperature, priming, travel" (Prusa's INDX announcement). Bondtech's own repository, the manufacturer's specification, states a total tool change time of about 14 seconds, with the induction coil heating the new nozzle to printing temperature in roughly 4 to 10 seconds (the Bondtech INDX repository).
Prusa's 2026 XL update explains why the company publishes no single XL number: toolchanges are hard to measure fairly, and each XL toolhead keeps its own heating element close to target temperature, in most cases reaching full temperature during the change itself (Prusa's 2026 XL update). The two toolchanger designs therefore differ in heating strategy: the XL keeps nozzles hot, while INDX heats each nozzle from cold.
A toolchanger still primes. Bondtech's repository notes that after a tool change a small prime establishes pressure before extrusion is consistent, and that a wipe tower is recommended but not strictly required because the design produces near-zero ooze (the Bondtech INDX repository). So the fair comparison is not "purge versus nothing," it is "purge versus prime."
Which System Is More Reliable, and What Actually Fails?
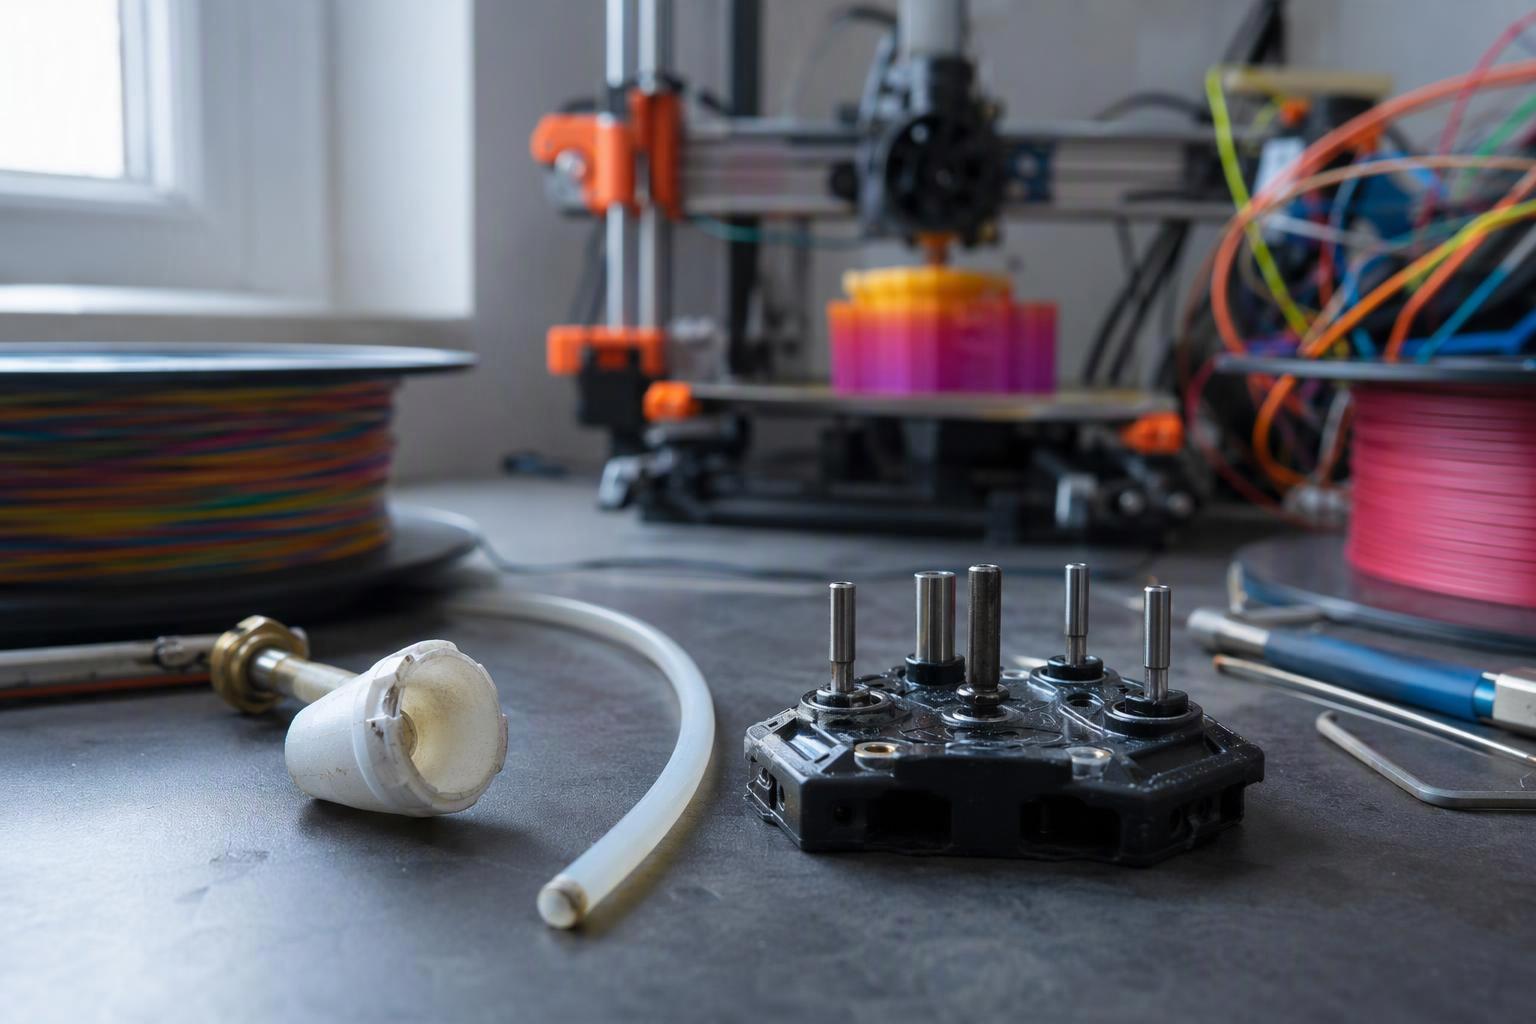
Both categories fail, and they fail in different places, which is why reliability is a criterion you evaluate per design rather than per brand. Filament changers wear their feed path; toolchangers fail at pickup and calibration.
On the shared-nozzle side, Bambu Lab's AMS compatibility notes declare PTFE tubes consumables that wear from filament friction, and warn that unreplaced tubes lead to feeding failures and filament accumulation (Bambu Lab's AMS compatibility notes). The failure is gradual and predictable, which makes it schedulable.
On the toolchanger side, Prusa documents a specific crash-recovery fault. The tool-pickup problem #17813 is resolved by parking tools, tightening the dock, and running the dock position calibration for the affected tool (Prusa's documented tool-pickup recovery procedure). That is a documented recovery path, not a failure rate, and it should be read as one.
Calibration is the recurring burden. Prusa's XL multi-tool calibration guide uses a dedicated test G-code covering offset errors up to plus or minus 1 mm, with each tool referenced to Tool 1 and offsets entered per tool, and it recommends recalibration after a nozzle crash or a nozzle change (Prusa's XL multi-tool calibration guide). Calibration is therefore not a one-time setup.
How Do Nozzles and Contamination Differ Between the Two Designs?
Contamination is a shared-nozzle problem by construction, and it is worst on dark-to-light transitions. A dedicated toolhead removes the mechanism entirely because each material runs in its own nozzle.
The mechanism is residual melt. Bambu Lab's flush documentation explains that the required flushing volume differs depending on the relationship between the from and to filament, with darker colours needing a higher volume to switch to lighter ones and lighter colours needing less to switch to darker ones (Bambu Lab's own flush documentation). That is why the flush matrix is a table of pairs rather than a single number.
The show-through caveat is the second contamination risk. Bambu's page warns that lighter and transparent colours can let oddly coloured infill show through when flush-into-infill is enabled, and that fewer wall loops make it more likely (Bambu Lab's own flush documentation). Prusa's documentation carries the same warning in its own words: dark filament purged into infill may be visible through light-coloured walls, and the suggested fix is increasing the number of perimeters (Prusa's wipe-tower documentation).
Toolchangers avoid cross-contamination because each tool has its own nozzle, and Bondtech's repository states that purging is not required and cross-contamination is avoided for that reason (the Bondtech INDX repository). The remaining contamination risk on a toolchanger is ooze from a parked tool, which the same repository attributes to passive cooling when a tool is deposited back in the dock.
What Slicer and Firmware Support Do I Need, and How Open Is the Ecosystem?
Slicer support for multi-material 3D printing is mature and largely shared across the major tools, so the question is not whether support exists but whether the specific settings you need are present. Check for the flush or purge controls, the prime-tower controls, and the tool-change G-code field before buying.
OrcaSlicer's multimaterial documentation lists Multimaterial Settings covering Prime Tower, Filament for Features, Ooze Prevention and Flush Options, plus printer-level Multimaterial setup, Wipe tower and single-extruder multi-material parameters, along with a Color Painting tool and a retraction setting for switching materials (OrcaSlicer's multimaterial documentation). PrusaSlicer documents Smart wipe tower, Wipe to infill and Wipe to object as the three ways to deposit transition material (Prusa's wipe-tower documentation).
Firmware openness is where the two ecosystems diverge most. Open-source toolchanger control exists in the firmware layer: the klipper-toolchanger extension defines parameters including tool_number, verify_tool_pickup, require_tool_present, uses_axis, before_change_gcode, after_change_gcode and error_gcode, while vanilla Klipper's own reference documents multi-extruder sections as extruder1 and beyond, plus dual_carriage with ACTIVATE_EXTRUDER and SET_DUAL_CARRIAGE (the klipper-toolchanger configuration reference).
That openness has a cost, and it is worth pricing honestly. The StealthChanger project is an open-source toolchanger for Vorons whose own page states that bushing and pin life is still being tested (the StealthChanger project page).
What Is the Real Cost of Ownership, and How Do I Verify Claims Before Buying?
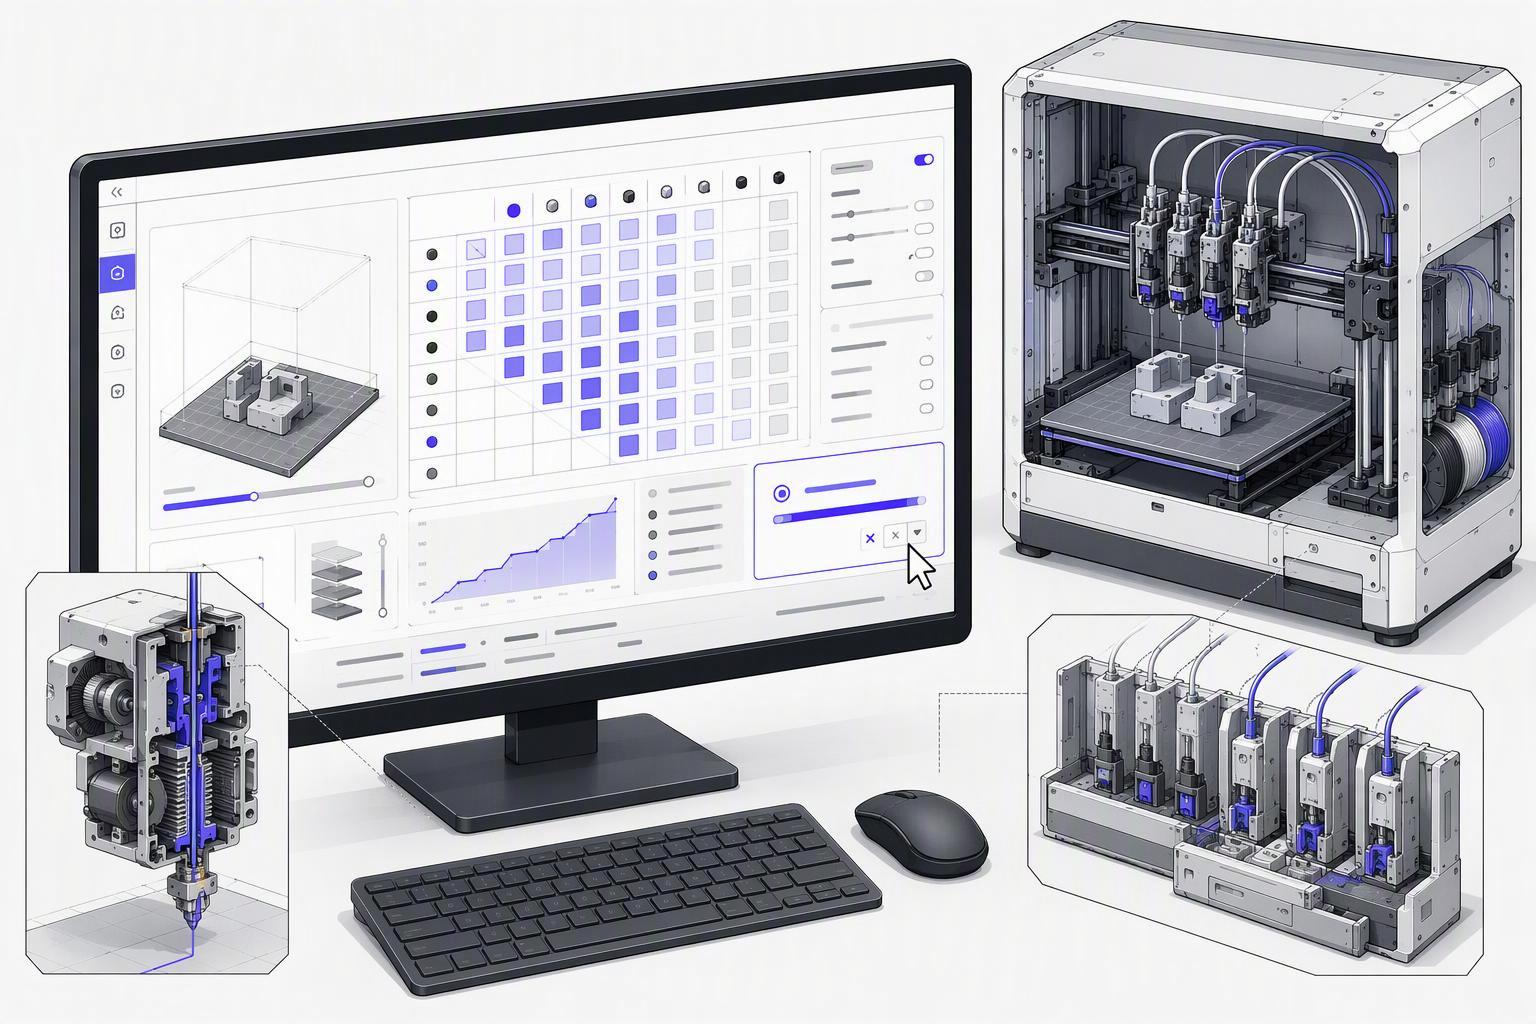
Multicolor 3D printer cost of ownership is the sticker price plus consumables, purge filament, failed prints and calibration time, and the verification method is the same for every line item: find it in the vendor's own documentation or the slicer before you buy.
The consumable schedule is documented, which means it can be budgeted. Bambu Lab's AMS compatibility notes declare PTFE tubes consumables to inspect for wear, and the AMS maintenance recommendation gives a replacement cadence tied to filament type (Bambu Lab's AMS compatibility notes). On the toolchanger side, the StealthChanger project states that bushing and pin life is still being tested, so that cost line is genuinely unknown rather than merely unpublished (the StealthChanger project page).
Purge filament is the recurring cost that separates the two designs. The OrcaSlicer feature request quantifies one case at 27.3 g of total waste on a 3-filament print, of which 10.71 g was the prime tower alone (the OrcaSlicer flush-into-object request). That is the number to reproduce on your own model before buying.
Hidden hardware costs are documented too. Bambu Lab's AMS product documentation notes that X1 and P1-series users need a buffer or hub and A1-series users must buy the A1-specific hub, and it lists a maximum drying temperature of 65 °C for the AMS 2 Pro (the AMS 2 Pro product documentation). Those are real line items that do not appear in the headline price.
Your verification checklist before buying:
- Slice your actual model and read the flush matrix totals against part weight.
- Count colour changes and multiply by the machine's stated swap time for an upper bound.
- Look up the vendor's error-code list and confirm a documented recovery path exists.
- Check whether the feed path or dock parts are listed as consumables, and at what interval.
- Confirm the slicer exposes the flush, prime-tower and tool-change G-code settings you need.
- Download the firmware repository if openness matters to you, and read the integration notes.
Frequently Asked Questions
Can I upgrade a filament changer to a toolchanger later?
Usually not, because the two designs differ in the motion system, not just the extruder head. A filament changer feeds one hotend from a bank of spools, so its carriage, wiring and firmware are built around a single tool (Bambu Lab's AMS compatibility notes). A toolchanger needs docking hardware and per-tool calibration that the donor machine does not have. Treat the choice as a platform decision you make once, not a step you climb later.
Can one machine run both systems?
Not in the configurations documented by either vendor. Filament changers and toolchangers are sold as separate architectures, and the published specifications describe one approach per machine rather than a hybrid mode (Bambu Lab's AMS compatibility notes). If you need both cheap many-colour switching and docked tools, the practical route is two machines rather than one that does both.
Can a shared nozzle print flexible or abrasive filament at all?
The hotend can, but the changer path usually cannot. Bambu Lab advises against TPU, TPE and absorbent PVA in the AMS because they jam the feed tube, and against brittle fibre-reinforced filaments such as PA-CF and PLA-CF because they wear the PTFE tubes (Bambu Lab's AMS compatibility notes). Load those materials on the spool holder and print them single-colour, or accept that multicolour and engineering filament are separate jobs.
Is the purge waste problem solved, or just managed?
Managed. Slicers reduce flushing volume rather than eliminate it: Bambu Studio's flush multiplier defaults to 1.00, and setting 0.90 cuts flushing volume by 10% per filament-change pair (Bambu Lab's flush documentation). The residual still shows up in the slice report, where one three-filament job totalled 27.3 g of waste, split between 16.59 g purged and 10.71 g of prime tower (OrcaSlicer flush-into-object request). A toolchanger avoids the purge entirely, which is why the waste question is really an architecture question.
Conclusion
The criteria that decide a multicolour 3D printer purchase are architectural, and they are all verifiable before you spend money. A shared nozzle is cheaper and simpler but pays a purge tax on every colour change; a dedicated toolhead avoids the purge but costs more and adds calibration. Everything else, waste, speed, reliability, contamination, software and cost of ownership, follows from that one choice.
The verification habit matters more than any single number. Slice your real model and read the flush totals against part weight. Count your colour changes and multiply by a stated swap time for an upper bound. Look up the vendor's error-code list, check whether feed-path or dock parts are consumables, and confirm the slicer exposes the settings you need. Where the evidence stops, say so: no source in this comparison measures a universal waste share, and no independent benchmark of shared-nozzle versus toolchanger print time was found.
Your next step is a concrete one. Take the model you actually print, slice it on both architectures if you can, and compare the flush totals, the change count and the consumable schedule side by side.
About the publisher. Sovol is a 3D printer brand that makes open-source, budget-friendly machines, including professionally manufactured pre-assembled kits based on community-driven designs. It sells printers, so it has a commercial interest in how buyers weigh multicolor options, and you should read its perspective with that in mind. The guidance above is criteria-based and does not depend on Sovol's products.
