


If you’ve opened a slicer for the first time, it can feel like the printer has a thousand knobs—and every failed print is “probably a settings problem.” The good news: most FDM prints are decided by a small set of parameters, and they tend to fail in predictable ways.
This guide breaks down the basic 3D printing settings you’ll see in Cura, PrusaSlicer/OrcaSlicer, or Bambu Studio: what each one does, what to set first, and what symptoms show up when you’re off.
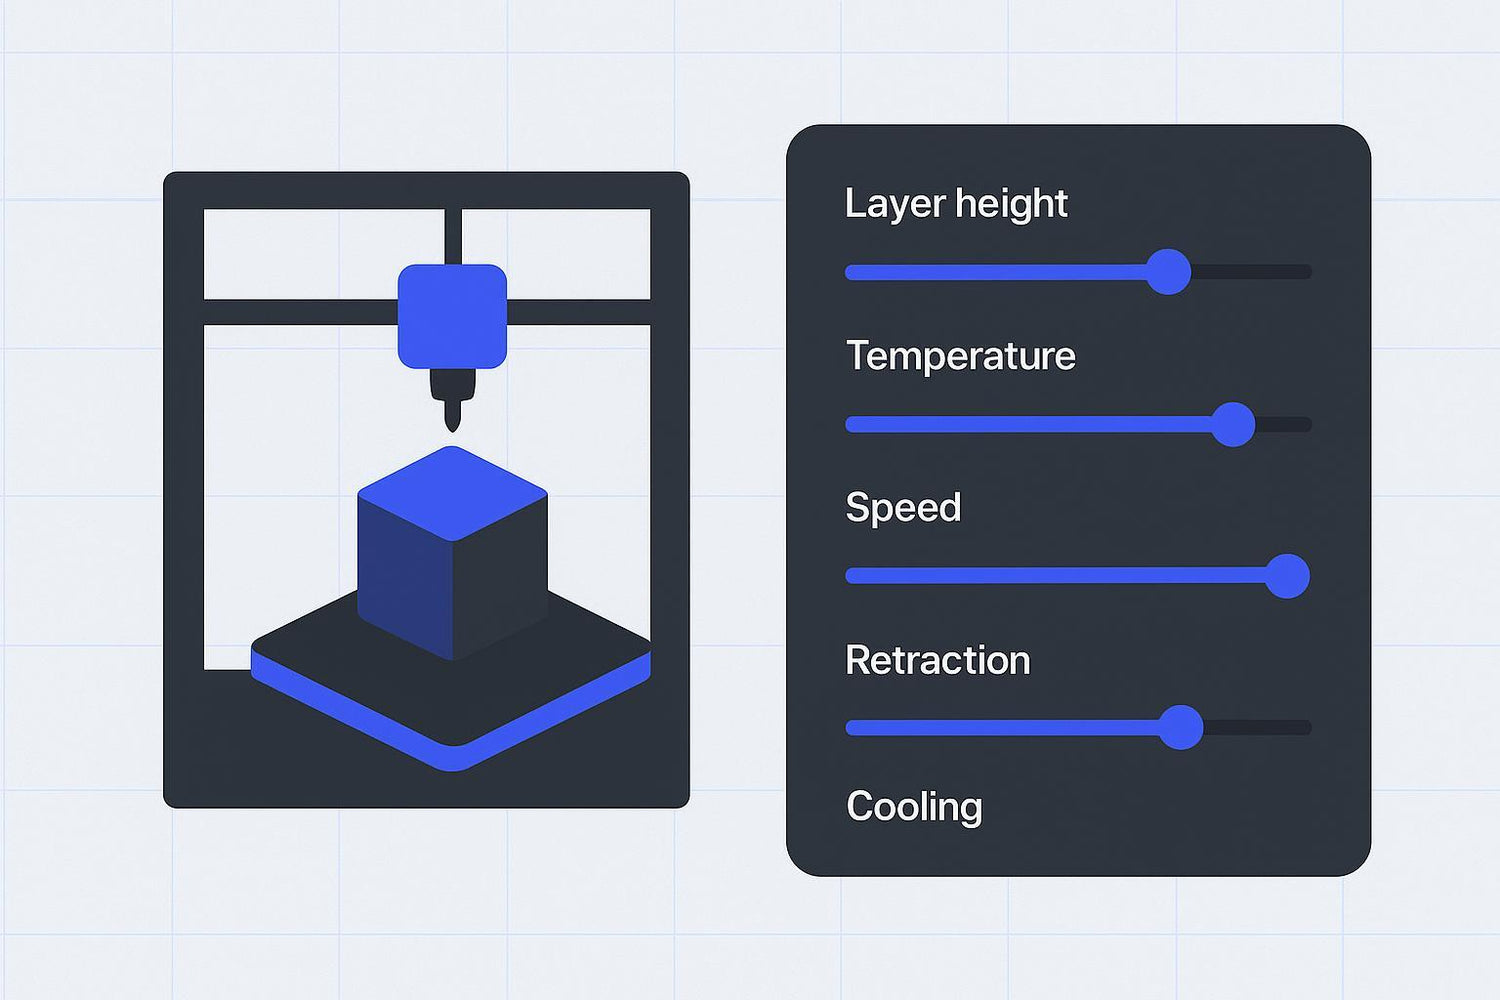
3D printing settings: start with a sane tuning order
When something goes wrong, don’t randomly tweak 10 things. Use an order that removes the biggest unknowns first:
- First layer (Z offset + bed temp + first layer speed) — if layer one fails, nothing else matters.
- Temperature — too cold causes weak bonding and under-extrusion; too hot increases ooze and stringing.
- Extrusion amount (flow rate / extrusion multiplier) — fixes “not enough plastic” vs “too much plastic.”
- Retraction + travel — reduces stringing and blobs between features.
- Speed (and acceleration if you change it) — push speed only after the above are stable.
- Supports and fine details — treat these as finishing tools, not your first fix.
Pro tip: Change one setting at a time and reprint a small test. That’s how you learn what actually helped.
The geometry settings (what shape the printer is trying to draw)
These settings define how thick each line and layer is. They’re the “resolution and strength” knobs more than the “reliability” knobs.
Layer height
Layer height is how tall each printed layer is (in mm). Smaller layers usually give smoother surfaces and better detail, but take longer.
Typical starting points (0.4 mm nozzle):
- 0.20 mm for general prints
- 0.12–0.16 mm for nicer surfaces
- 0.24–0.28 mm for faster, less detailed parts
A common rule of thumb is that maximum layer height should stay under ~80% of nozzle diameter (so ~0.32 mm for a 0.4 mm nozzle), and many guides use ~50% as a “balanced default.” See Anycubic’s note on maximum layer height vs nozzle diameter and Prusa Research’s nozzle diameter guide (2025).
If it’s wrong, you’ll see:
- Too high: obvious stair-stepping, lost small features
- Too low (without other changes): very long prints; sometimes under-extrusion on fast machines if the hotend can’t keep up
Line width (extrusion width)
Line width is how wide each extruded line is. Many slicers default to roughly 100–120% of nozzle diameter (0.40–0.48 mm for a 0.4 mm nozzle).
Why you care: line width affects wall thickness, top surface quality, and how much plastic you ask the hotend to push.
Walls/perimeters and top/bottom thickness
- Walls/perimeters control how many “shell” lines surround the part.
- Top/bottom layers close the part and prevent infill from showing through.
A practical baseline for functional prints is 3 walls (sometimes 4–5 for tougher parts) and enough top layers to fully close the surface.
If it’s wrong, you’ll see:
- Too few walls: weak parts, visible infill pattern on the outside
- Too few top layers: gaps or “pillowing” on the top surface
Infill density and pattern
Infill is the internal structure. It’s often over-emphasized: for many parts, adding walls increases usable strength more efficiently than cranking infill.
Typical starting points:
- 10–20% infill for general parts
- 30–60% for more functional/stiff parts
Pick a pattern that prints reliably on your machine. (Gyroid/cubic-style patterns are common defaults because they’re strong in multiple directions.)
The flow settings (how plastic gets melted and deposited)
These parameters control how well plastic melts, flows, and bonds.
Nozzle temperature and bed temperature
Start with the filament manufacturer’s range, then tune in small steps (5°C is a good increment).
Common starting ranges:
- PLA: ~190–220°C nozzle, ~50–60°C bed
- PETG: ~230–250°C nozzle, ~70–90°C bed
- ABS/ASA: ~235–260°C nozzle, ~90–110°C bed, minimal drafts (often an enclosure)
- TPU: ~210–240°C nozzle, ~25–60°C bed (varies by brand and setup)
CNC Kitchen shows how temperature shifts can materially change bonding in the layer adhesion vs temperature tests (2020).
If temperature is wrong, you’ll see:
- Too cold: under-extrusion, brittle layers, splitting between layers
- Too hot: stringing, blobs, sagging on bridges/overhangs
Print speed vs volumetric flow (why “mm/s” lies)
Most slicers show speed in mm/s, but what your hotend actually cares about is how much plastic per second it must melt.
A simple relationship:
- Volumetric flow (mm³/s) = layer height × line width × print speed
So if you increase layer height or line width and keep the same speed, you ask the hotend to push more plastic per second. If you exceed its capacity, you’ll get under-extrusion.
Bambu Lab explains the concept in its volumetric speed overview (2025).
This is the real “layer height vs speed” trade-off: thicker layers and wider lines can be faster, but only until you hit the hotend’s flow limit.
If speed/flow is too aggressive, you’ll see:
- Under-extrusion at higher speeds
- Weak layer bonding (because the plastic doesn’t have time/heat to fuse)
- Rough corners and inconsistent walls
Flow rate / extrusion multiplier
This is the slicer’s “how much filament do we push?” knob. Many profiles start at 100% and adjust after basic extruder calibration.
If it’s wrong, you’ll see:
- Too low: thin walls, gaps, weak parts
- Too high: blobby surfaces, dimensional oversize, overfilled corners
⚠️ Warning: If your extrusion is way off, fix the printer-level extruder calibration first (E-steps/rotation distance). Don’t use slicer flow to compensate for a mis-calibrated extruder.
The defect-control settings (how to prevent common failure modes)
These are the “make it stop looking bad” settings.
Retraction settings
Retraction pulls filament back during travel moves to reduce oozing.
Very rough starting points (printer-dependent):
- Direct drive: ~1–2 mm
- Bowden: ~4–6 mm
If you’re chasing stringing, retraction and temperature are usually the first two levers to try.
If it’s wrong, you’ll see:
- Too little: stringing, zits
- Too much: clicking/grinding, jams, missing sections
Cooling (part fan)
Cooling affects how fast plastic solidifies.
- PLA usually likes more cooling for crisp details and overhangs.
- ABS/ASA often needs less cooling to avoid warping and layer separation.
Cooling interacts with strength: excessive fan can reduce interlayer bonding on some materials.
Travel moves, seam placement, and minimum layer time
- Travel speed can reduce stringing (less time to ooze) if your motion system is stable.
- Seam placement controls where the slicer hides start/stop marks (those little zits).
- Minimum layer time helps small parts by slowing down so each layer can cool.
If you see blobs only in one vertical line, it’s often the seam plus a little over-extrusion.
First-layer settings (the “make it stick” parameters)
The first layer is a separate mini-profile inside your profile.
Useful defaults:
- Fan off for the first couple layers
- Slower first layer speed (often ~20–30 mm/s)
- Slightly wider first-layer line width than normal
For a practical deep dive, Sovol’s guide on solving common first-layer problems is a good companion.
Support settings (the few that matter)
Supports can save a print—or ruin the surface finish. Focus on just a handful of controls:
- Overhang threshold angle: when supports appear
- Support density: how “solid” supports are
- Interface layers: a denser layer between support and part
- Z distance (support gap): the vertical gap that makes supports removable
The trade-off is simple: smaller gaps and denser interfaces improve underside quality but make supports harder to remove. For starting points and what the knobs mean, see Wevolver’s Cura support settings guide (2023) and Polymaker’s support structures overview (2025).
Calibration parameters (what’s slicer vs printer)
Some “parameters” aren’t slicer settings at all—they’re calibration values that live in firmware (or in a firmware-assisted calibration flow).
Here are the big ones:
- Z offset: sets nozzle-to-bed distance; drives first layer quality.
- E-steps / rotation distance: extruder calibration; do this before chasing flow.
- PID tuning: stabilizes hotend/bed temperature control.
- Pressure advance (linear advance): compensates for pressure changes during acceleration; improves corners and reduces blobbing. Klipper documents it in Pressure Advance (2026).
- Input shaping: reduces ringing/ghosting by counteracting resonance.
Quick symptom → setting map
Use this as a starting hypothesis, not a guarantee.
- Stringing → lower temp a bit, tune retraction settings, increase travel speed
- Warping/corner lift → raise bed temp, reduce fan (material-dependent), slow first layer
- Weak layers / delamination → raise nozzle temp, reduce fan, slow down
- Blobs/zits → lower flow slightly, tune seam, adjust retraction/pressure advance
- Under-extrusion at speed → reduce speed or layer/line size; check volumetric flow limit
If you want a broader troubleshooting read, Sovol’s “common mistakes” article is a useful follow-on: Beginner mistakes in 3D printing and how to avoid them.
Key takeaways
- Most FDM failures come down to a few 3D printer parameters: first layer, temperature, flow, retraction, cooling, and speed.
- Tune in a stable order: first layer → temperature → flow → retraction → speed.
- “Speed” is limited by volumetric flow (layer height × line width × mm/s). If you exceed it, you’ll under-extrude.
- Treat supports and fine-detail tweaks as finishing tools after your base profile is reliable.
Next steps
If you’re new to tuning, don’t try to master everything at once. Pick one improvement goal:
- First layer reliability → start with the Sovol guide linked above
- Faster prints without under-extrusion → learn what affects print time in Sovol’s guide on factors affecting print time
- Fewer clogs and more consistent extrusion → choose and maintain your nozzle using 3D printer nozzle choices and their uses