


If you’re printing a lot, scrap is inevitable. The question is whether your waste is mostly avoidable (failed first layers, clogs, “spaghetti”) or structural (supports, purge lines, prototypes).
This guide is for PLA/PETG, assumes you don’t want to buy upgrades, and sticks to warranty-safe basics. We’ll do two things:
- Reduce the waste you make next week.
- Deal with the waste you already have in a way that’s realistic in the U.S.
How to reduce 3D printer waste: figure out which bucket you’re in
Before you change ten slicer settings, do a quick audit. Grab your last handful of trash and sort it into one of these buckets:
- Bucket A: early failures (skirt + first layer + half a bottom shell)
- Bucket B: mid/late failures (a mostly-finished part, plus a failure event)
- Bucket C: supports and brims (a successful print… with a lot of scaffolding)
- Bucket D: purges and priming (purge lines, end-of-spool purges, color-change waste)
- Bucket E: iteration churn (three versions of the same bracket)
Your bucket tells you what to fix first:
- If you’re in A, you need first-layer reliability.
- If you’re in B, you need extrusion and motion stability.
- If you’re in C, you need orientation + support strategy.
- If you’re in E, you need a smarter prototyping loop.
Pro Tip: If you can’t remember the last time you washed your build surface with soap and water, start there. It’s the cheapest failure-rate reduction you’ll ever get.
Best practice 1: make the first layer boring
First-layer drama is the most common way to generate “pure waste” fast. The goal is simple: consistent squish, consistent surface, consistent temperature.
Why it matters
- A bad first layer doesn’t just fail early; it often leads to late failures when the part finally releases.
- Most “mystery adhesion problems” are mechanical or cleanliness issues, not magical filament differences.
What to do (no upgrades required)
- Clean the build surface properly.
For most plates, a periodic wash with dish soap and water removes oils that IPA alone won’t.
Between prints, light cleaning can help—but don’t use solvents as a substitute for an actual wash.
- Verify Z-offset and bed leveling.
Too high: lines don’t bond, corners lift.
Too low: the nozzle plows, extrusion gets inconsistent, and you can start a clog.
- Slow down the first layer.
If your printer can rip at speed, great. Don’t prove it on layer one.
- Use “just enough” adhesion helpers.
If you always use a brim out of habit, stop and test whether you still need it. Brims are predictable waste.
For a structured first-layer diagnostic flow, use Sovol’s top tips for solving common 3D print first layer problems.
What failure looks like
- You see gaps between first-layer lines, or the skirt peels up easily.
- Corners curl by layer 2–5.
- Your nozzle starts clicking because it’s too close and over-pressurizing the hotend.
Best practice 2: stop clogs and inconsistent extrusion before they start
With PLA and especially PETG, a “kind of working” extrusion system can still produce a lot of waste—because it fails late.
Why it matters
Late failures are expensive. A clog at hour 6 doesn’t just waste filament; it wastes your time and your confidence in long prints.
What to do (warranty-safe)
- Keep filament dry and consistent.
Moist filament can show up as stringing, surface pitting, and inconsistent flow.
Store spools sealed with desiccant if you already have it; don’t leave PETG open for weeks and expect it to behave.
- Pick a stable temperature window per spool.
Don’t chase perfection across five variables. Tune temperature first, then retraction, then speed.
- Avoid aggressive retraction on PETG.
PETG tends to be more prone to stringing, but overdoing retraction can make jams more likely on some setups.
- Do a quick “extrusion sanity check” before long jobs.
If the first 30 seconds of extrusion looks uneven, fix it now—not after a 10-hour print fails.
If you’re troubleshooting clogs or inconsistent extrusion, Sovol’s 3D printing troubleshooting guide: color shift and clogs is a good step-by-step reference.
What failure looks like
- Under-extrusion that comes and goes.
- Random thin layers or brittle walls.
- A print that starts clean, then gets rougher until it fails.
⚠️ Warning:
If you have to crank temperature way above normal just to keep flow stable, treat it as a symptom (partial clog, heat creep, friction), not a “PETG needs more heat” rule.
Best practice 3: reduce support waste without gambling the print
Supports are structural waste: you chose them. The best lever is to stop needing them.
Why it matters
Supports can easily become the majority of your plastic usage on overhang-heavy parts. They also increase failure risk (more travel, more retractions, more opportunities to knock something loose).
What to do
- Re-orient the part for manufacturability.
Print the “ugly” face down if it cuts supports in half.
- Use support blockers / paint-on supports.
Most models don’t need support everywhere the slicer wants to add it.
- Tune overhang behavior for PLA vs PETG.
PLA often tolerates more cooling and sharper bridges.
PETG can sag if it’s too hot or too aggressively cooled—so find a sane middle.
- Prefer small, intentional brims over massive rafts.
Rafts are reliable, but they’re guaranteed waste.
If warping is pushing you into bigger brims and rafts, Sovol’s guide on preventing warping on large 3D prints is a useful checklist.
What failure looks like
- You “saved time” by allowing lots of automatic supports, then spend 20 minutes removing them (and damage the part).
- The print fails because support contact points fused too hard or supports got knocked loose.
Best practice 4: waste less on iteration (without slowing down)
Prosumer printing is iterative by nature. You can’t eliminate iteration waste, but you can make it cheaper.
Why it matters
Iteration waste feels invisible because each failed version is “just one part.” Over a month, it’s often the biggest bucket.
What to do
- Prototype geometry, not the whole part.
If you’re validating a snap fit, print just the mating section.
- Use draft profiles intentionally.
Lower infill and fewer perimeters for fit checks.
Save a known-good “draft PLA” and “draft PETG” profile so you don’t reinvent the wheel.
- Split risky models.
Big parts fail big. If you can split a model into two printable halves and join them, you often reduce total waste.
(If you’re running a large-format printer, splitting a part can also reduce warp-driven failures—sometimes it’s the cleanest way to keep the process stable.)
What failure looks like
- You keep printing full-strength versions to test a single dimension.
- You change nozzle temp, retraction, flow, and speed all at once—then can’t tell what fixed or broke the print.
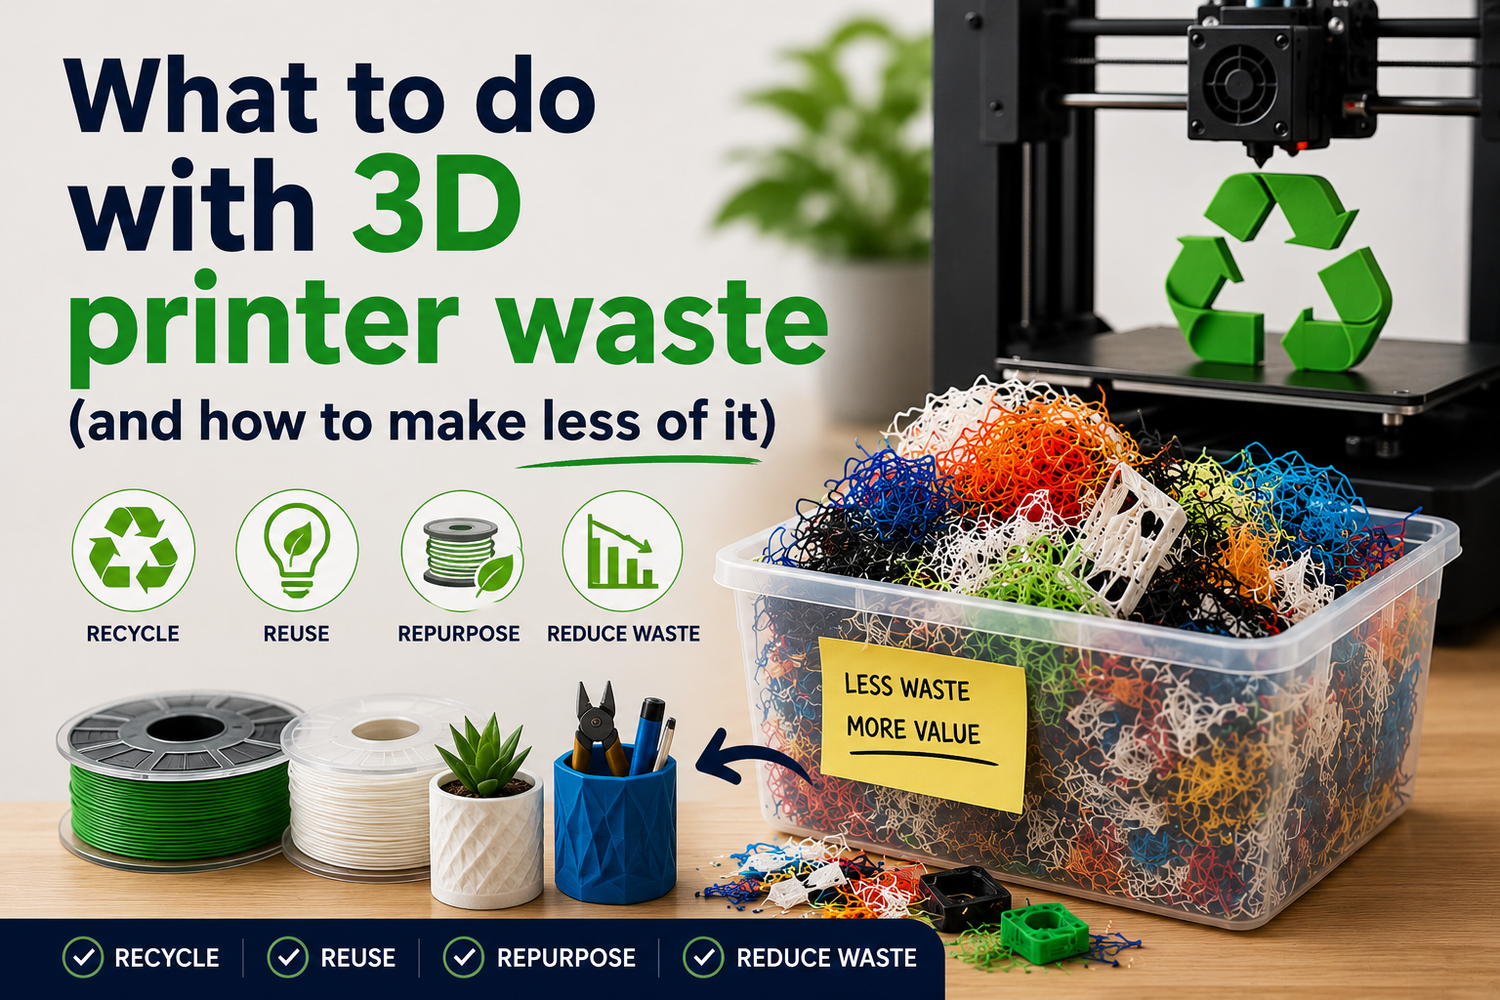
What to do with the scrap you already made
If you want a practical “do something today” plan:
- Sort by material first: PLA in one bin, PETG in another.
- Keep it clean: tape, labels, paint, glue, magnets, and screws ruin recyclability.
- Decide what’s reusable:
- Straight scraps can become spacers, shims, or quick drilling fixtures.
- Ugly failures can become test pieces for heat-set inserts or tapping.
- Keep one “calibration box”: A few failed prints are useful for teaching, testing nozzle changes, or confirming a new spool’s behavior.
This doesn’t sound like sustainability. It’s just honest shop practice: reuse the stuff that still has utility.
PLA/PETG recycling and disposal in the U.S. (what’s real)
Let’s be blunt: in the U.S., most people can’t responsibly “recycle” PLA or PETG through curbside pickup.
Why curbside recycling usually doesn’t accept it
- PLA is commonly treated as #7 “Other”, and many municipal programs don’t process it.
- PETG can contaminate some PET recycling streams if it’s mixed in.
Practical explainers that call this out:
- X3D’s overview in “Complete guide to PLA & PETG recycling” (2023)
- The Recycling Partnership’s work on PET systems in the U.S., via the PET Recycling Coalition (ongoing)
What you can do instead
- Check local guidance: ask your hauler or city whether they accept 3D printing filament waste (not just “plastic”). If they don’t explicitly accept it, don’t wish-cycle it.
- Look for specialty drop-offs: some makerspaces, schools, or local programs collect separated PLA/PETG.
- Use take-back programs when available: a few companies accept returns, but requirements vary.
- If you have no option, trash is usually the correct choice: it’s better than contaminating a recycling stream.
If you want a starting point for finding specialty services, All3DP’s directory-style roundup of 3D print recycling services is a reasonable place to begin.
Next steps
If your waste is mostly first-layer failures or clogs, fix that before you worry about recycling. It’s the only lever that consistently moves the needle without buying anything.
For deeper troubleshooting, you can browse Sovol’s resource library on Sovol and start with the first-layer and clog workflows linked above.