


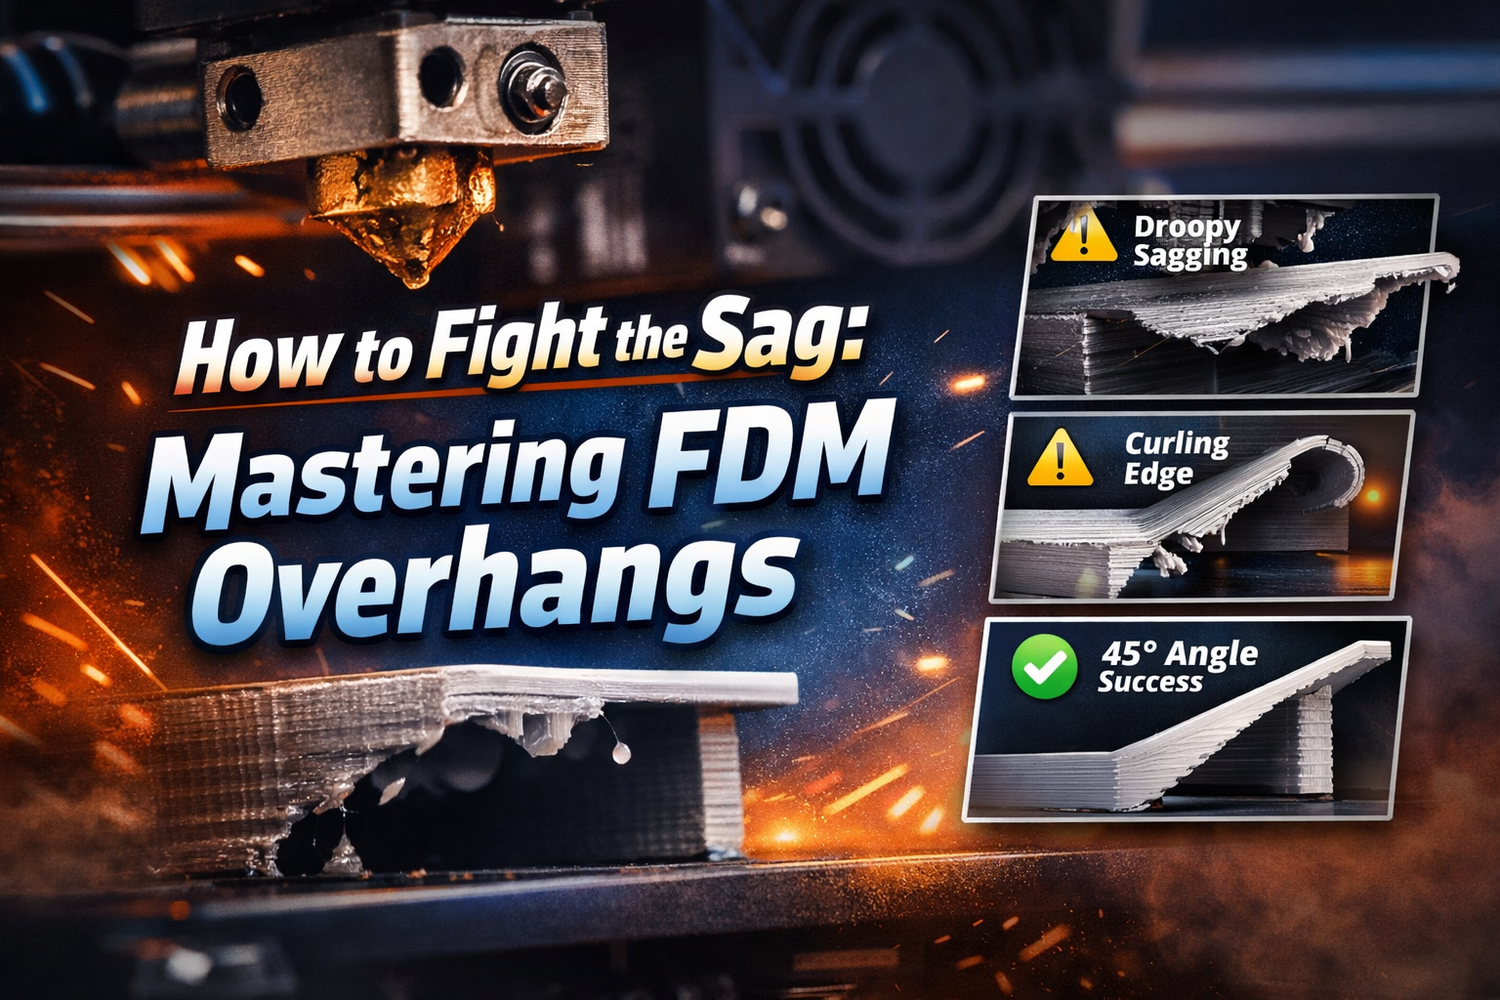
If your maker space has ever lost a print to a droopy chin, a curling edge, or the dreaded nozzle smack on an overhang, you already know: overhangs are where “pretty good settings” go to die.
This guide is for shared printers—machines that run long jobs, get swapped between users, and need repeatable results. We’ll skip the 3D-printing 101 and go straight to what actually helps: a quick way to diagnose the failure mode, then a tuning sequence that fixes most overhangs before you drown the model in supports.
Why overhangs sag (and why 45° is a useful default)
An overhang is any surface where the next layer prints partly over open air. At some point, the hot filament can’t solidify fast enough, and gravity wins.
You’ll see the 45° rule mentioned everywhere: as a rule of thumb, many FDM prints can handle overhangs up to about 45° without supports, and steeper angles often need help. That’s covered clearly in Wevolver’s “How to 3D print overhangs: supports, bridging, new innovations” (2023).
But 45° isn’t magic. It’s geometry.
Each new extrusion line needs enough overlap with the line beneath it to be physically supported. With a common setup (0.4 mm line width, 0.2 mm layer height, ~50% overlap), that overlap works out to roughly a 45° limit—explained in the 3D Printing Stack Exchange thread “Practical overhang limits” (2022).
Key Takeaway: Better overhangs come from two things: more support per layer (thinner layers / better overlap) and faster solidification (cooling / speed / temperature).
Diagnose your overhang failure mode (so you change the right setting)
Before you touch your slicer, look at how the overhang fails. In shared labs, this saves a lot of “random knob turning.”
Failure mode 1: droopy underside (“sag” or “elephant skin”)
What it looks like: the underside of the overhang is wavy or hanging, but the top surface still prints.
Most common causes:
- not enough cooling on the overhang edge
- printing outer walls too fast for the plastic to firm up
- temperature a bit too high for that filament and fan setup
Failure mode 2: curled edge that catches the nozzle
What it looks like: the overhang edge curls upward, then the nozzle collides or knocks it.
Most common causes:
- uneven cooling (fan not aimed well at that side)
- too much heat accumulating in a small area (short layer times)
- too much “lip” per layer (layer height too tall for the angle)
Failure mode 3: rough underside that looks “supported,” but isn’t
What it looks like: the overhang doesn’t fully collapse, but the underside is messy and inconsistent.
Most common causes:
- borderline angle where supports would help
- insufficient overlap (layer height too tall)
- support settings leaving too large a gap (if supports are enabled)
Failure mode 4: supports work… but the surface is wrecked
What it looks like: the print succeeds, but the supported face is scarred.
Most common causes:
- support interface not tuned
- supports too dense / too much contact area
- removal technique (ripping instead of peeling)
A tuning framework for FDM overhangs (no new hardware required)
When you’re tuning for a shared printer fleet, the goal isn’t “perfect.” It’s predictable.
Run this sequence in order. Change one variable at a time, and use a small overhang test model so you’re not burning six-hour prints to learn.
Step 1: Improve effective cooling (not just fan percentage)
Overhangs are a race between gravity and solidification.
Try these in order:
- Increase fan speed on overhang layers (many slicers let you set higher fan for bridges/overhangs).
- Enforce a minimum layer time so small features don’t stay molten.
- Check fan direction/ducting (a fan at 100% that misses the overhang edge is still “bad cooling”).
If only one side of a model looks worse, that’s often airflow direction—not your slicer profile.
Step 2: Slow down the outer wall on overhang layers
You don’t need to slow the entire print. You need the edge of the overhang to stop behaving like a wet noodle.
Practical approach:
- reduce outer wall speed (especially on the overhang side)
- keep inner walls/infill faster if you need total print time to stay reasonable
Step 3: Nudge temperature down (within the filament’s workable range)
Hotter plastic flows beautifully—right up until it sags.
If you’re seeing droop, try stepping nozzle temperature down slightly and re-testing. The goal is to stay hot enough for layer adhesion, but cool enough that the strand holds its shape.
Pro Tip: If lowering temperature causes weak bonding, roll it back and rely more on cooling + outer-wall speed.
Step 4: Reduce layer height where overhangs matter
Thinner layers reduce the “step-out” per layer, which means each line has more support underneath. That’s exactly the overlap relationship described in the Stack Exchange discussion on practical overhang limits.
If your slicer supports it, use adaptive/variable layer height so you only pay the time penalty in overhang zones.
Step 5: Consider line width and wall strategy (advanced, but powerful)
Small tweaks here can make overhangs more forgiving:
- a slightly wider line can increase support area if the extrusion still has solid backing
- prioritize clean, consistent outer walls over aggressive speeds
If you change line width aggressively, test first—going too wide can put the extrusion centerline over air, and then it fails hard.
Supports without regret: thresholds, types, and cleaner removal
When you’ve tuned cooling/speed/temp/layers and the overhang is still failing, supports aren’t a defeat—they’re a tool.
Start with a sane overhang threshold
Many slicers default to generating supports around 45°, which aligns with the general guideline. Sovol also explains why 45° is considered a “critical angle” for stability in its 45° rule overview.
If your printer + filament can handle steeper angles cleanly, you can raise the threshold to reduce unnecessary supports. If it can’t, lower it.
Pick the support type that matches the geometry
For a practical breakdown of support styles (tree vs linear, patterns, density, and when to use blockers), use Sovol’s “How to Add 3D Printing Supports for Beginners” (2025).
In practice:
- Tree supports: great for organic shapes and small contact points; often easier cleanup.
- Linear/grid supports: stronger under flat shelves; more cleanup.
Reduce scarring by treating “contact” as the cost
If your supported face is getting wrecked, the fix usually isn’t “more supports.” It’s smarter contact:
- keep density moderate
- use preview + blockers to keep supports off delicate details
- tune your support interface/gap so removal doesn’t tear the surface
⚠️ Warning: In a lab, “supports everywhere” is how you turn a successful print into a three-hour post-processing project.
Design + orientation tricks that beat supports
If you’re printing parts for classes, clubs, or workshops, you’ll save more time by fixing geometry than by optimizing supports forever.
1) Turn sharp ledges into chamfers
A 45° chamfer is the classic way to keep an overhang printable. For design examples and why chamfers help, see Snapmaker’s guide to the 45-degree rule (2026).
2) Use teardrop holes instead of horizontal circles
Round holes create a flat “ceiling” at the top—basically a tiny bridge that likes to sag.
Teardrops turn that ceiling into two printable slopes. It’s a small CAD change that can eliminate supports on common parts like brackets and mounts.
3) Re-orient to make the ugly face the supported face
If one surface has to be ugly, pick it.
Rotate the model so:
- the critical surface faces upward (clean finish)
- the less important surface faces downward (supports allowed)
A lab-ready overhang checklist (standardize and reduce failures)
-
Run a small overhang test with the filament you’ll actually use.
-
If you see sag:
- increase effective cooling
- slow outer walls
- lower nozzle temp slightly
-
If the edge curls up:
- add minimum layer time
- check fan direction/ducting
- reduce the per-layer “lip” (thinner layers)
-
If supports are needed:
- start at ~45° threshold
- choose tree vs linear supports based on the shape
- keep density moderate; block supports off details
-
For repeat jobs (classes/workshops):
- update a shared slicer profile and label it clearly (filament + nozzle + layer height)
Next steps
If you’re standardizing profiles for a maker space, supports are usually where people diverge the most. Having one shared baseline—and teaching when to use tree vs linear supports—pays off fast.