



Your nozzle drags a web of fine plastic between towers, and the part you waited three hours for looks like it walked through a cobweb. Stringing is filament oozing from the nozzle during travel moves, and the fix is rarely a single setting. Bambu Lab's official troubleshooting list ranks damp filament as the number one cause, ahead of travel distance, retraction and nozzle temperature (Bambu Lab Wiki, 2023-12-10), which is why this guide starts with drying and works down through temperature, retraction and travel before you touch anything exotic.
Before you change a value, run one check. Irregular wisps paired with popping or crackling point to wet filament; a consistent line of strings on every travel move points to temperature (FixMyPrint). That single distinction decides whether you start at Fix 1 or Fix 2.
You will need dry filament, a calibrated machine, a slicer profile you can revert, and a small test model. The seven fixes below apply to PLA, PETG, TPU, ABS/ASA and nylon, with material-specific starting points in the matrix further down.
How to Reduce Stringing in 3D Printing: The Fix Order That Works on Any Material
Work through the fixes in this order: dry the filament, lower nozzle temperature, calibrate retraction distance, tune retraction speed, raise travel speed, add slicer travel helpers, then check the nozzle and hotend. Start with drying because Bambu Lab's official troubleshooting wiki ranks damp filament as the number one cause of stringing and oozing (Bambu Lab Wiki, 2023-12-10). Not every source agrees: FixMyPrint's analysis of more than 4,000 troubleshooting posts argues drying should come last for stringing specifically, since its confirmation rate trails nozzle replacement, bed leveling and cold pull (FixMyPrint). The order below follows the official cause ranking, but each step tells you how to confirm it was the culprit before moving on.
Diagnose before you tune. Irregular stringing paired with popping, crackling or hissing points to wet filament; consistent line-by-line stringing points to temperature (FixMyPrint).
Key Takeaway: The fix order is dry → temperature → retraction distance → retraction speed → travel speed → slicer travel helpers → nozzle and hotend check. Confirm each cause before moving to the next.
Before you begin: dried filament, a calibrated machine, a slicer profile you can revert, and a test model (a temperature tower and a retraction test). Budget about 45 to 60 minutes. Difficulty: intermediate.
The path has an end. The "When to Stop Tuning" checkpoint later in this guide tells you when further adjustment starts costing you print quality instead of improving it.
Fix 1: Dry the Filament Before You Touch a Single Setting
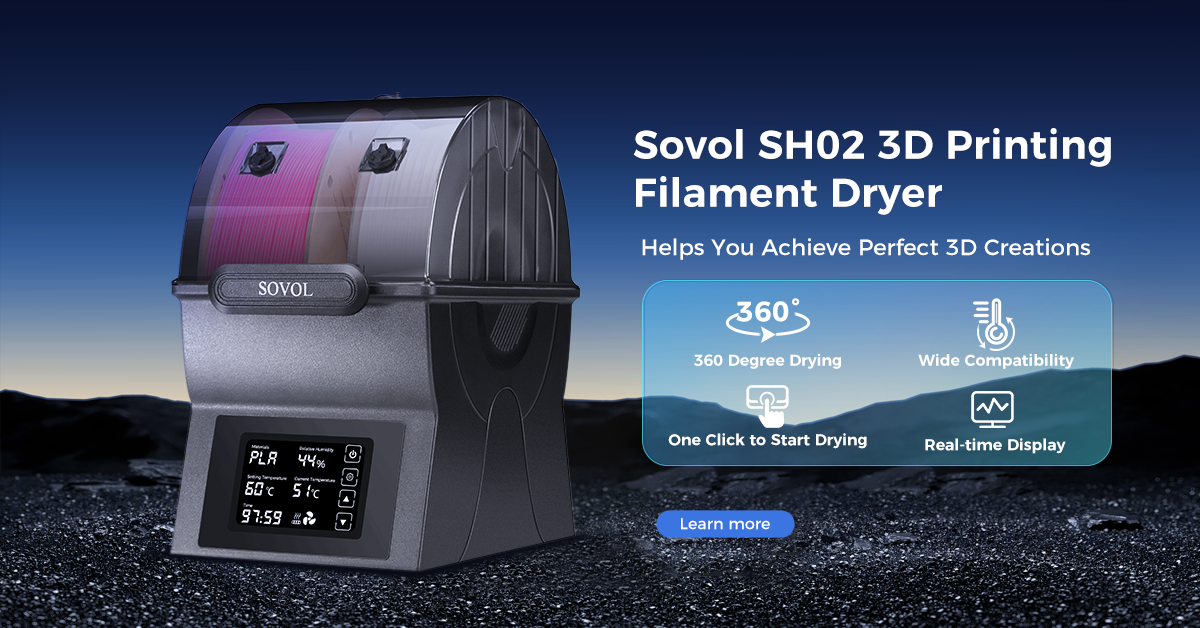
If the strings are irregular, you hear popping or hissing at the nozzle, and the top surface looks pitted, stop tuning and dry the spool. Moisture absorbed by the filament flashes to steam in the hotend, and that steam causes inconsistent extrusion and the little wisps between parts (Polymaker Wiki). No slicer setting compensates for it.
Nylon, PVA, TPU and PETG are the most moisture-prone materials; ABS benefits from periodic drying, and PLA is least affected but still absorbs moisture over time or in damp conditions (Polymaker Wiki).
|
Material |
Prusa KB |
Sovol consumer-dryer range |
|---|---|---|
|
PLA |
45 °C / 6 h |
45–55 °C / 4–8 h |
|
PETG |
55 °C / 6 h |
60–65 °C / 4–6 h |
|
TPU |
60 °C / 4–6 h |
45–55 °C / 4–8 h |
|
ASA |
80 °C / 4 h |
65–70 °C / 4–6 h |
|
Nylon / PA |
90 °C / 6 h (PA11-CF) |
70–80 °C / 8–12 h; very wet PA 12–24 h |
Prusa's figures come from its drying filament guidance, which also warns against over-drying. The consumer-dryer ranges are from Sovol's filament drying temperature guide. The two disagree on PETG (55 versus 60–65 °C) and TPU (60 versus 45–55 °C), so follow your filament brand's instructions when they publish a number.
Verify with two checks: bend a short length of filament and listen for a snap rather than a dull thud, then shine a flashlight along the spool and look for visible steam or condensation inside the dryer. Neither source reports a before-and-after percentage reduction in stringing from drying alone, so treat this as removing a cause rather than a guaranteed fix.
Fix 2: Lower Nozzle Temperature in 5 °C Steps
Lower the nozzle temperature by 5 °C, reprint the temperature tower, and repeat until the wisps stop. Molten filament flows more freely as temperature climbs, so a hotter nozzle leaves more material behind on every travel move. Dropping in 5 °C steps, as Sovol's retraction settings guide describes, lets you find the point where ooze stops without going so low that layers stop bonding.
This fix fits stringing that repeats consistently line by line, because a uniform ooze pattern points to a temperature that is too high for the material rather than to a mechanical fault.
How low is too low? Stay at the bottom of the manufacturer's range for your filament instead of chasing a lower number. Pull the tower, flex it between two fingers, and stop the moment the layers feel brittle rather than tough.
Fix 3: Calibrate Retraction Distance by Extruder Type
There is no universal retraction distance. The right starting number depends on how far the filament has to travel back from the nozzle, and that distance is set by your extruder architecture, not by your material.
Direct-drive extruders, where the motor sits on the print head, need very little. The Polymaker wiki on travel and retraction puts the starting range at 0.5–1 mm, while Sovol's stringing troubleshooting guide suggests 1–2 mm. Bowden setups, where the filament travels through a long tube, need far more: 4–6 mm from both sources.
The published advice disagrees on the ceiling, so treat these as starting points rather than rules. Ellis' Print Tuning Guide is the most conservative, advising direct-drive users to start at 0.5 mm, stay under 1 mm, and never exceed 2 mm, with Bowden starting at 1 mm and topping out around 3 mm. Sovol's guide to adjusting retraction settings allows more room: 1–2 mm direct drive, 4–7 mm Bowden, keeping direct drive under 1.5 mm and Bowden under 6 mm. A separate Sovol article on stringing with dry filament lands between the two at 0.5–2 mm direct drive and 3–6 mm Bowden.
|
Extruder type |
Conservative start |
Common range |
Suggested ceiling |
|---|---|---|---|
|
Direct drive |
0.5 mm |
0.5–2 mm |
2 mm |
|
Bowden |
1 mm |
3–7 mm |
6 mm |
Start at the low end of your extruder type's range and raise the distance by 1 mm per test print, which is the step size Sovol recommends in its dry-filament guide. Stop as soon as the strings disappear. More retraction is not free: Ellis notes that excessive distance causes jams and under-extrusion, and Bambu Lab's own guidance for its machines is to keep retraction "no greater than 2 mm" (Bambu Lab wiki on stringing and oozing). If your machine is direct drive, that 2 mm figure is a sensible hard stop regardless of what a generic profile suggests.
Fix 4: Tune Retraction Speed Without Over-Retracting
Retraction speed controls how cleanly the filament is pulled back, and it only works once distance is right. Tune it after Fix 3, never instead of it.
Polymaker's slicer guidance puts the useful window at 25–45 mm/s, with 40–45 mm/s specifically for Bowden setups that need to reduce oozing during long travels (Polymaker Wiki). Sovol's retraction settings guide lands in the same range for the materials most people print (Sovol).
TPU is the exception. Sovol recommends 1–2 mm on a direct drive at just 15–25 mm/s, because TPU cannot be retracted aggressively without grinding: its stringing is usually an ooze problem, not a retraction-distance problem (Sovol).
Verify this step: Re-run your retraction test and compare wisp count and surface quality, not stringing alone. A faster pull that cleans the wisps but leaves chewed filament or gaps has gone too far.
Fix 5: Increase Travel Speed to Cut Ooze Dwell Time
By the end of this step, the nozzle spends less time in open air, so any filament still weeping from the tip has less distance to bridge. Sovol's troubleshooting guidance recommends a travel speed of 150–200 mm/s to reduce ooze dwell time (Sovol, 2026-01-12), and its follow-up on stringing with dry filament puts the working minimum above 150 mm/s, with 190–200 mm/s for most materials (Sovol, 2026-02-06).
A bed-slinger cannot reach those numbers safely. Raise travel speed as far as the frame allows without ringing or skipped steps, then stop. Travel speed shortens the ooze window; it does not fix a wet spool or an over-hot nozzle.
Verify: step through a travel move in the slicer preview and confirm the head is not crossing open air slowly.
Fix 6: Use Slicer Travel Helpers as a Mask, Not a Cure
Travel helpers change where the nozzle moves and how it stops extruding. They do not change how much the filament oozes.
Combing keeps travel moves inside already-printed areas instead of crossing open air. Avoid-crossing-perimeters routes travel away from the outer wall, at the cost of longer detours and slower slicing. Wipe smears the ooze off at the end of an extrusion, and Prusa's own slicer documentation treats a wipe distance of at least 0.4 mm as the useful starting point. Coasting stops extrusion slightly early so residual pressure bleeds out, which is also why it can leave under-extruded endpoints. Z-hop lifts the nozzle in Z only, so it clears the print without reducing ooze at all. Ellis' Print Tuning Guide puts the practical Z-hop range at 0.2 to 0.3 mm and notes that going much higher than 0.3 mm produces stringing rather than preventing it (Ellis' Print Tuning Guide).
These settings can also fight each other. A documented PrusaSlicer bug shows avoid-crossing-perimeters ignoring travel retraction and Z-lift settings entirely, which means the helper you enabled may be overriding the retraction you just tuned (PrusaSlicer issue #14216, reported 2025-03-02).
Pro Tip: Toggle one helper at a time and re-print the same test model. If you enable combing, wipe and Z-hop together, you cannot tell which one removed the strings, and you will carry the other two into every future profile for no reason.
Fix 7: Verify the Nozzle and Hotend Basics
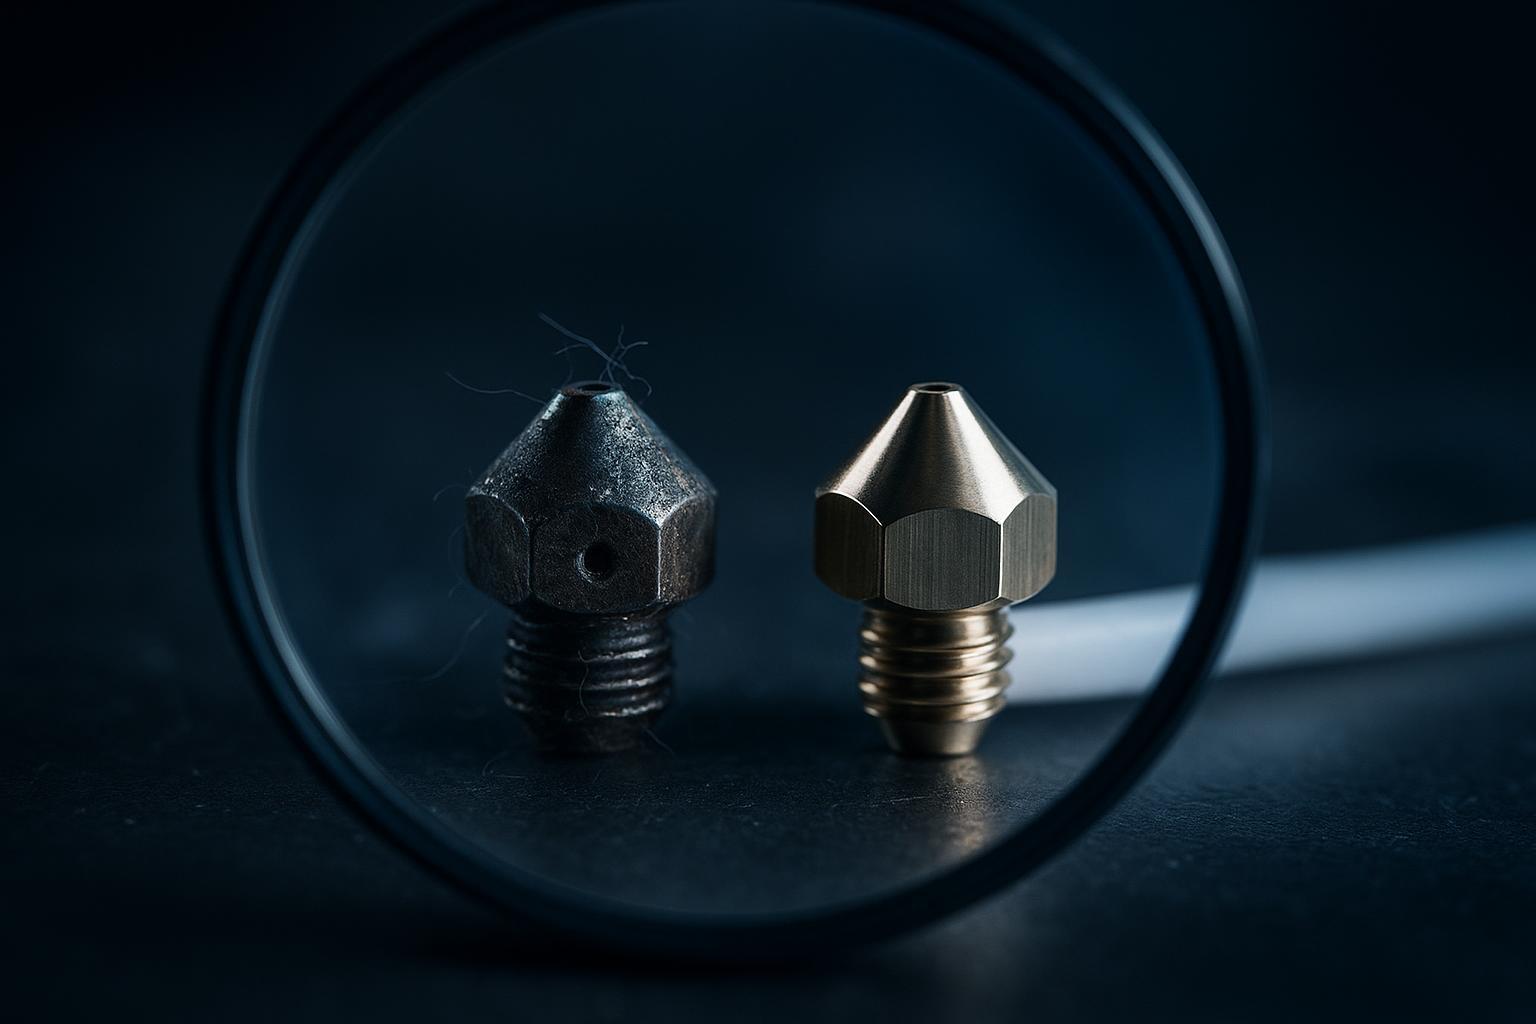
If six fixes did not work, stop tuning the slicer. The cause is probably mechanical. Check in this order: cold pull, inspect the nozzle, check PTFE seating, then look for leak residue around the hotend.
A cold pull that improves flow points to a partial clog rather than wear. An enlarged or asymmetric orifice means replace the nozzle, not clean it. A gap where the PTFE tube meets the nozzle creates a cavity that pools and degrades filament, which shows up as stringing plus intermittent clogging.
Community fix rates back the order. Across 4,000+ help posts, replacing the nozzle resolved 80.0% of cases (32 of 40) and a cold pull resolved 75.3% (70 of 93), per FixMyPrint's stringing data page. The dataset notes its own limit: these are suggestion counts, not a controlled trial, so volume is not reliability.
After a cold pull, print the retraction test again and compare.
|
Check |
What you see |
What it means |
|---|---|---|
|
Cold pull |
Flow improves after the pull |
Partial clog, not wear |
|
Nozzle orifice |
Enlarged or asymmetric opening |
Replace the nozzle |
|
PTFE seating |
Gap between tube and nozzle |
Cavity pools filament; reseat or replace |
|
Hotend |
Residue or crust around the heater block |
Leak path; fix the seal before retuning |
When to Stop Tuning: The Over-Adjustment Checkpoint
Stop as soon as the strings are gone. Every extra millimetre of retraction past that point buys you nothing and costs you print strength.
The failure mode is well documented. Ellis, whose calibration guide is a standard reference for retraction tuning, warns that over-retraction pulls molten plastic too far up the hotend, which causes jams, grinding, and under-extrusion (Ellis' Print Tuning Guide, retrieved 2026-05-07). On a direct drive extruder, pushing retraction past about 1 mm puts you squarely in that territory.
Watch for four stop signals:
- Top layers that look thin or gappy instead of solid
- Parts that snap along layer lines more easily than before
- A clicking or grinding extruder
- A retraction distance that has climbed past your machine's practical ceiling
Pro Tip: If two consecutive increases make the print worse, revert to the previous value and stop. You have found your ceiling, and the last good setting was the right one.
Material Matrix: Starting Points for PLA, PETG, TPU, ABS/ASA and Nylon
Treat this table as a starting point, not a specification. Every value below is a place to begin testing on your machine, and the retraction columns assume you have already dried the spool and lowered the nozzle temperature.
|
Material |
Drying (temp / time) |
Retraction distance, Bowden |
Retraction distance, direct drive |
Retraction speed |
Material caveat |
|---|---|---|---|---|---|
|
PLA |
45 °C / 4-6 h |
2-4 mm |
1-2 mm |
30-50 mm/s |
Lowest moisture affinity of the group; if PLA strings, suspect temperature before moisture |
|
PETG |
65 °C / 4-6 h |
3-5 mm |
1-2 mm |
20-40 mm/s |
Prone to oozing even when dry; over-retraction causes nozzle clogs faster than it removes strings |
|
TPU |
50 °C / 4-8 h |
Not recommended |
1-2 mm |
15-25 mm/s |
Flexible filament buckles in long Bowden paths; keep retraction short and slow |
|
ABS / ASA |
70 °C / 4-6 h |
2-4 mm |
1-2 mm |
30-50 mm/s |
Dries readily but reabsorbs moisture quickly; store sealed between prints |
|
Nylon |
80 °C / 6-12 h |
2-4 mm |
1-2 mm |
30-50 mm/s |
Highest moisture affinity of the group; drying is mandatory, not optional |
Moisture affinity ranks roughly nylon > TPU > PETG > ABS/ASA > PLA, which is why the drying column matters more for the top of that list than the bottom.
Footnote: published drying recommendations diverge for PETG and TPU. Some guides specify 60 °C for PETG and 45-50 °C for TPU, while others go higher. Start at the lower end and extend the time rather than raising the temperature, since both materials soften and deform in a hot dryer.
If you print mostly PLA or mostly flexible filament, the sibling guides on stop stringing PLA and PETG and TPU stringing walk through the same fixes with material-specific test models.
Common Mistakes That Keep the Strings Coming Back
Most failed stringing fixes trace back to changing several settings at once or tuning retraction on a wet spool, so the print never tells you which change worked.
Tuning retraction before drying the filament. Wet filament oozes on its own, so retraction adjustments fight a problem they cannot solve. Dry first, then tune.
Pushing retraction distance past the machine's ceiling. Too much retraction pulls molten plastic into the cold zone, causing jams and grinding. Stay within the range your extruder type supports.
Treating TPU like PLA. Flexible filament compresses in the Bowden tube, so long retractions do nothing useful. Use minimal retraction and slower speeds instead.
Trusting a travel helper instead of the cause. Combing and coasting hide strings rather than remove them. Fix temperature, retraction and travel speed first.
Skipping the nozzle check. A worn or partially clogged nozzle oozes unevenly no matter how good your profile is. Inspect it before chasing settings.
Community fix data shows why order matters: drying the filament was confirmed effective in 59.3% of reported cases (828 of 491), while reducing retraction distance was confirmed in 67.3% (98 of 66). The same dataset warns that drying is not the most reliable fix despite ranking first in cause lists, which is exactly why you dry before you tune rather than instead of tuning.
Verify Your Result
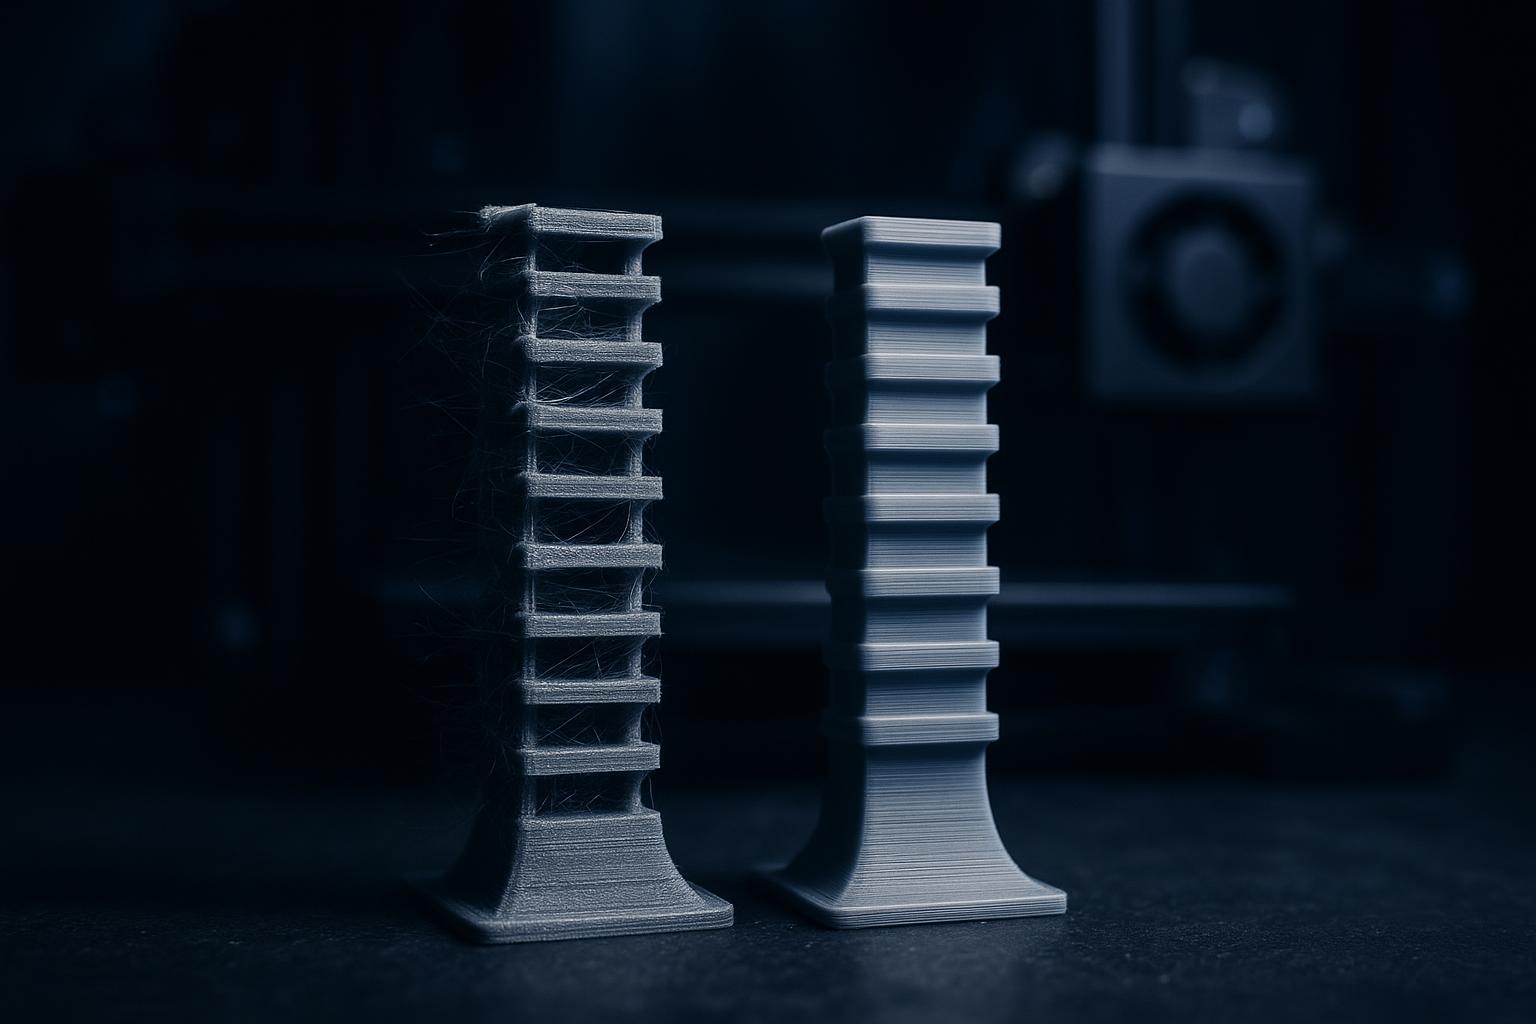
If the fix order worked, the retraction test tower has clean, open gaps between its towers and the test cube has no wisps spanning the gaps. Run these checks before you call it solved:
- No popping or crackling during the print. Popping means moisture is still flashing to steam in the melt zone, so the filament needs more drying time, not more retraction.
- No pitting on the top surface. Small pits or a rough, matte patch on top layers point to over-retraction pulling air into the nozzle.
- Clean travel gaps on the tower. Each gap should be bridged by nothing at all. If gaps are clean at the bottom and stringy at the top, the problem is temperature, not retraction.
- Layer bonding still passes a flex test. Bend the part. If layers separate or crackle, you have over-cooled or over-retracted and traded stringing for weak parts.
Stretch goal: print the same model in a second material from the matrix and confirm the settings transfer. If PETG needs a different retraction distance than PLA, that is expected. If it needs a different temperature, your first material's profile was compensating for something else.
Next Steps
The seven fixes above are ordered so that the cheapest, most reversible change comes first. Work down the list, verify after each step, and stop at the checkpoint rather than tuning past it.
If you print mostly PLA and PETG, the Sovol guide to reducing stringing in PLA and PETG walks the same path with material-specific traps for those two filaments. For severe cases that survive the full sequence, the companion diagnostic workflow covers PLA, PETG and TPU.
When the settings are dialled in and stringing is still a fight, the variable left is hardware. Comparing a direct-drive extruder against a Bowden setup, and checking how each handles retraction on flexible filament, is the next evaluation step before you buy anything.
