

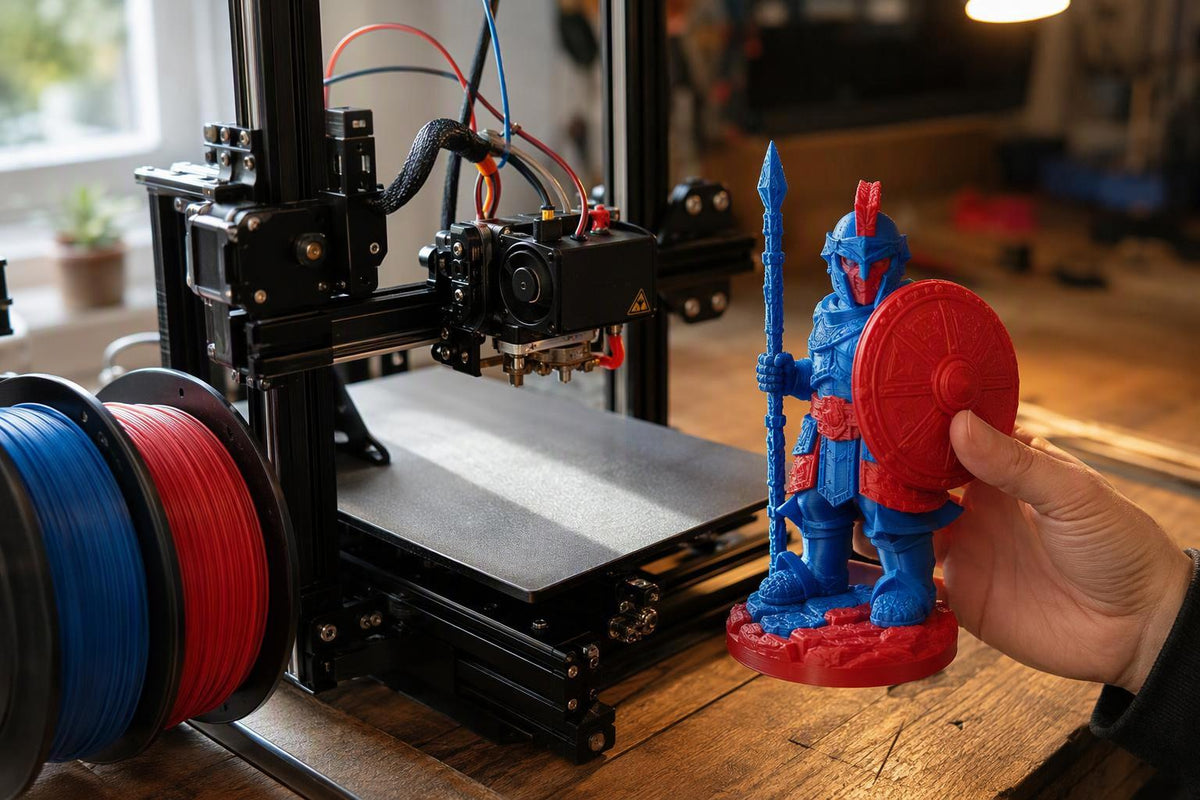
You've got a single-nozzle printer sitting on your desk and a two-color keychain in your head, and you're fairly sure the second one needs hardware you don't own. It doesn't. Multicolor 3D printing for beginners almost always starts with pause-and-swap: the printer stops at a set layer, you pull one filament and feed another, and the print resumes. No AMS (an automated material system that loads and switches spools for you), no purge tower (the sacrificial block a machine prints to flush the old color out of the nozzle), no second extruder required. This guide covers how to 3D print in multiple colors on single-nozzle FDM with manual swaps only. Resin, IDEX, and tool changers are out of scope.
Key Takeaways
- Purge waste typically runs 30-50% of the filament a multicolor print consumes, so a two-color job can lose a third of its material to color changes (Creative3DP's measured purge-waste breakdown, April 2026).
- Slicer flush cells usually land in the low-to-mid hundreds of mm³; a practical starting range is 100-200 mm³ for light-to-dark transitions and 500-800 mm³ going dark to light (flushing-volume ranges by color transition).
- Start with a two-color model that has large, flat color regions and a single swap height. Save the four-color plate for later.
This guide is published by Sovol, a 3D printer brand that builds open-source machines and pre-assembled kits based on community-driven designs. Sovol's work centres on open-source hardware and firmware, high-speed printing, and multi-material setups, which is the subject this article covers.
What You Need Before Your First Multicolor 3D Printing for Beginners Attempt
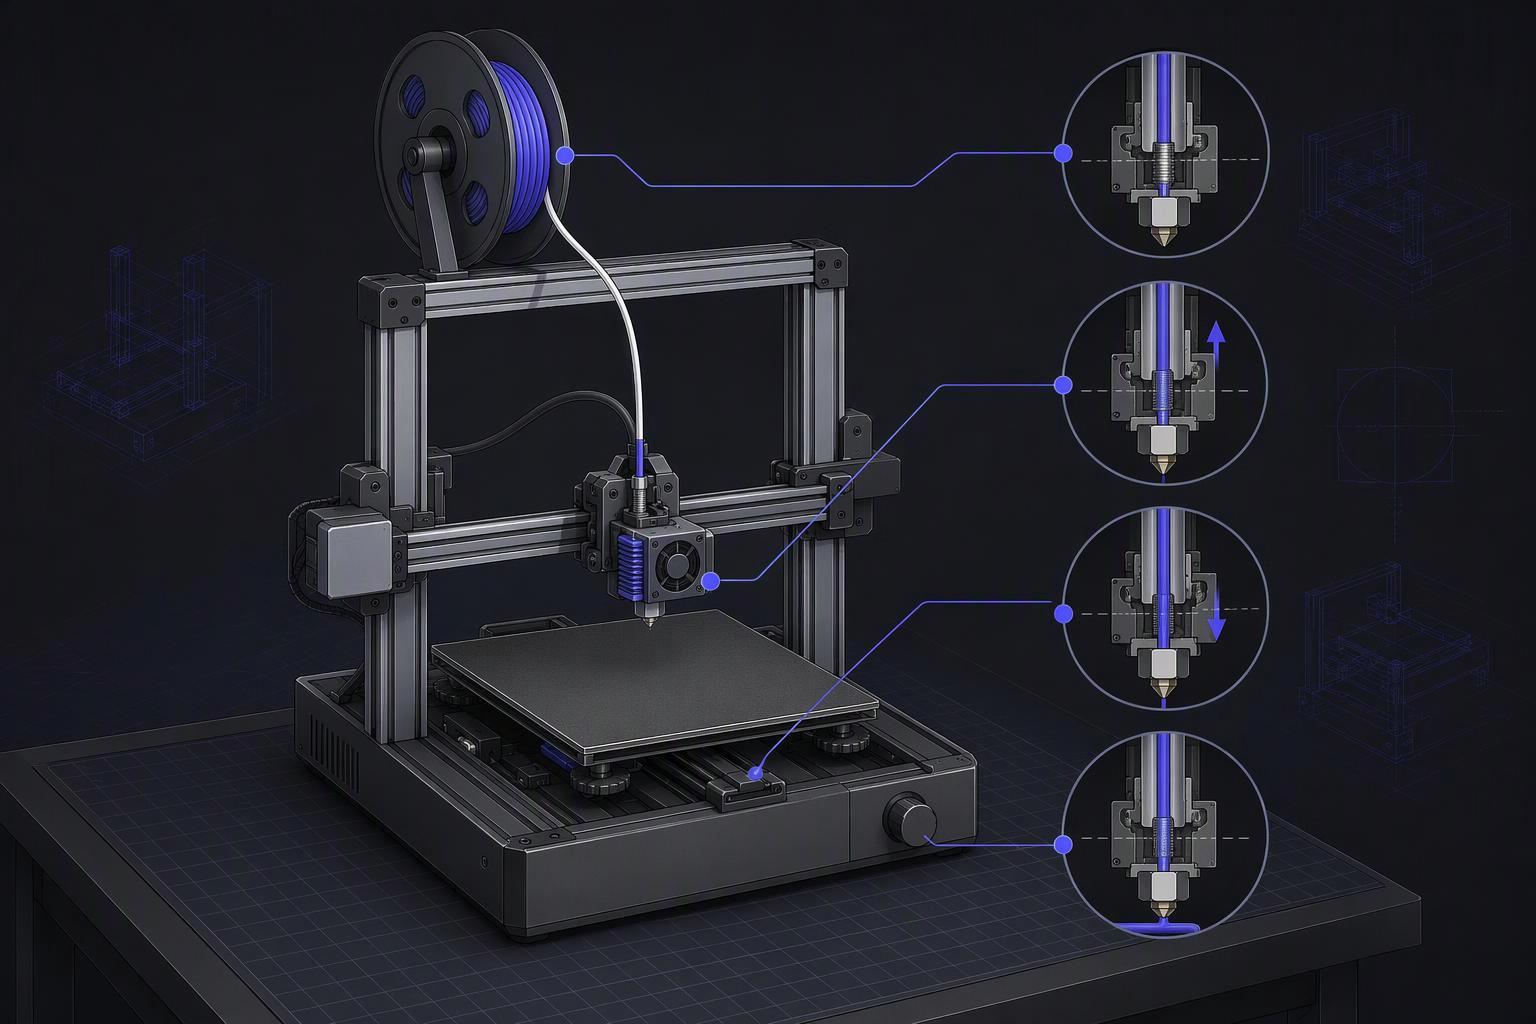
Learning how to 3D print in multiple colors does not require a new machine. Manual swaps work on almost any single-extruder printer: you print color A, the printer pauses at a chosen layer, you unload A, load B, and resume (Sovol's breakdown of how multicolor FDM actually works, April 2026). Automated AMS/MMU-style systems hold several spools and feed one filament at a time into a single nozzle, but you trade that convenience for more purging and waste.
Before you start, confirm four things:
- A single-nozzle FDM printer that accepts a pause command from your slicer.
- Slicer support for color changes at a layer height. Cura, PrusaSlicer, OrcaSlicer, and Bambu Studio all offer it.
- Two filaments of the same material and diameter. Mixing PLA with PETG at one nozzle temperature will not work.
- A model with large color regions, not fine detail at the boundary.
Time: about 20 minutes of setup plus the print itself. Difficulty: beginner.
Scope: This guide covers single-nozzle FDM with manual pause-and-swap only. Multi-material units, IDEX, and toolchangers follow different workflows.
Step 1: Choose a Model That Tolerates a Color Change
With your hardware and filament confirmed, the next decision is the model itself. By the end of this step, you'll have a model file that can survive a color change, which is the single biggest factor in whether your first attempt at how to 3D print in multiple colors comes off the bed clean or comes off as scrap. The rule that governs everything here: a color change happens at a layer boundary, so the boundary has to land somewhere the model can hide it.
Pick a model with large, flat color regions and a clear seam line where the two colors meet. A two-tone coaster, a keychain with a raised logo, or a nameplate with a contrasting base all work because the transition sits on a horizontal plane or a sharp edge. Avoid thin walls, small isolated color details, and anything translucent or backlit. Thin walls give the new filament nowhere to hide if a little of the old color lingers, and translucent parts show every trace of contamination through the surface.
The transition direction also matters more than most beginners expect. Flushing volumes in Bambu Studio and OrcaSlicer typically auto-calculate in the low-to-mid hundreds of cubic millimeters, but the working range swings widely by direction: roughly 100-200 mm³ going light to dark, 200-400 mm³ between similar mid-tones, 500-800 mm³ going dark to light, and 700+ mm³ when printing into a clear or transparent filament (typical flushing-volume ranges by color transition, undated guide). Treat those as a starting range, not a specification: the guide is undated and the numbers shift with your printer, nozzle, and filament brand.
Verify before you slice: open the model in your slicer's preview and confirm the color boundary sits on a flat layer line, not across a curved or angled surface. If it cuts diagonally through a face, pick a different model.
Step 2: Assign Colors and Set the Pause Height in Your Slicer
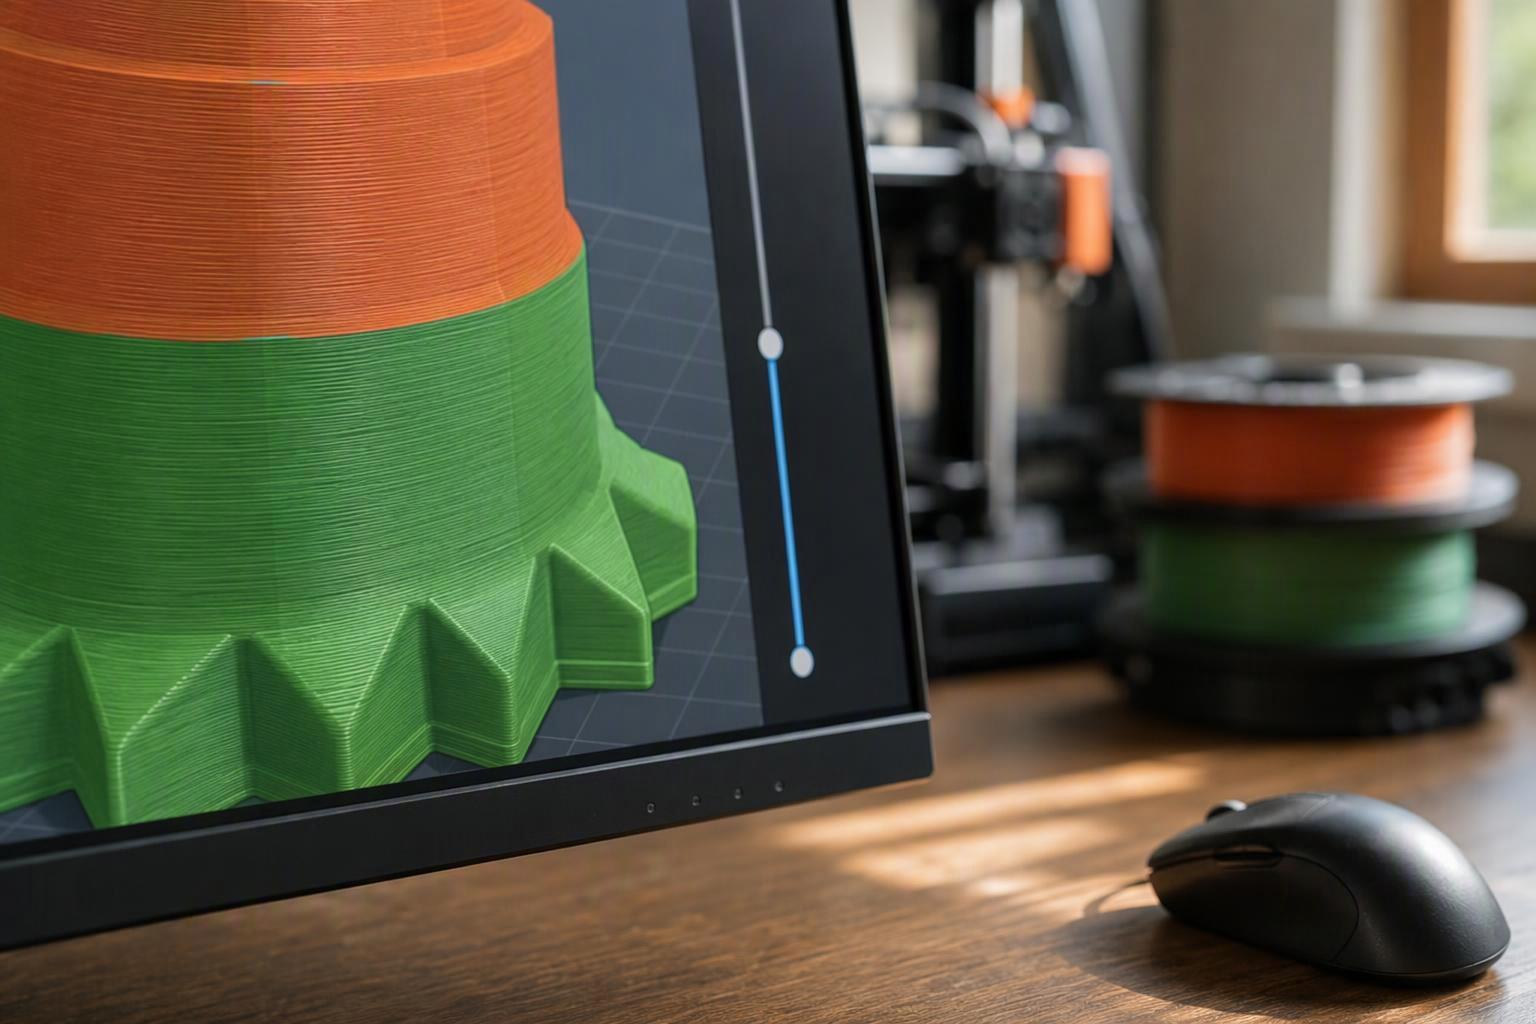
Once the model is chosen, the color change itself is triggered by a layer number, not a clock time. Slicers call this pause-at-height: the printer stops at a specific Z value so you can swap filament before it continues.
Open your model in the slicer and assign each region its filament slot. Then find the layer where the two colors meet, note its number, and add a pause at that height. In Bambu Studio and OrcaSlicer, flush volume is expressed as effective purge volume in mm³, scaled by a global multiplier limited to the range 0 to 3; SimplyPrint's guide to configuring wipe tower and flush volumes notes that these controls only appear once at least two filament slots are configured. The tower itself is enabled through enable_prime_tower and prime_volume, per OrcaSlicer's prime tower reference.
Before slicing, drag the preview slider to that layer and confirm the two color regions meet at a flat boundary. If the change lands mid-feature, move it.
Step 3: Print, Swap Filament at the Pause, and Verify the Boundary
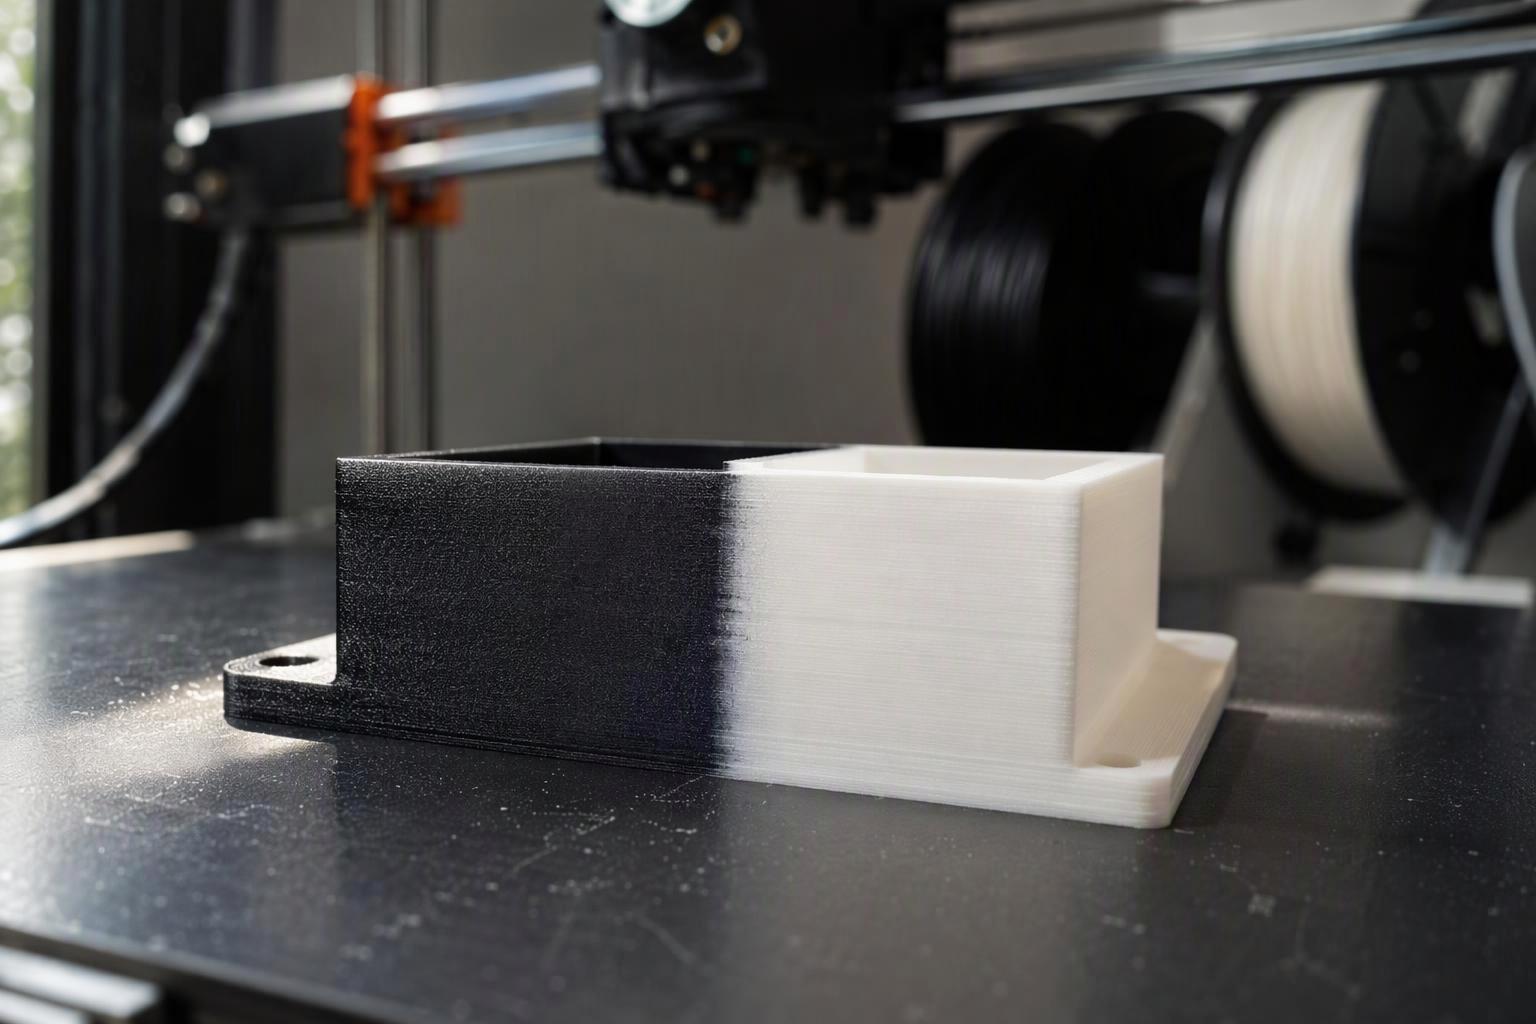
With the pause set, you're ready to run the print. By the end of this step you have a two-color part off the bed, and you have watched the seam closely enough to know whether it is clean.
Start the print and let it run to the pause. Your printer will park the head and unload the first filament. Load the second color, purge until the extrusion runs clean, then resume. The sequence is simple; the failure modes are not. A pause that arrives at the wrong layer leaves the color change in the middle of a feature. A blob left on the nozzle can drag into the part on the next pass. And resuming before the new color runs clear pushes a blended band into the print.
Pro Tip: Muddy extrusion is the quiet one. If the first lines after resuming look streaky or tinted rather than solid, stop the print, purge more, and restart that layer. Watching the first 3-5 layers after resume is the cheapest check you will run all day.
The waste tower that catches the purged material consumes roughly 0.8-2.3 g per color switch, according to LayerCraftLog's controlled cube test comparing multicolor and single-color waste, published in March 2026. That is the cost of the swap itself, before you count anything else.
Verify: inspect the boundary at the seam. A clean transition shows a crisp line between colors. Faint tinting on the light filament or a dirty edge on small features means the purge was short.
How Much Filament Multicolor Printing Actually Wastes
That per-swap cost adds up fast. Multicolor 3D printing for beginners usually costs more filament than the part itself, and the waste lands in the purge tower. Across published measurements, purge waste runs 30 to 50 percent of total filament used, so a 100 g model can consume 150 g or more off the spool (Creative3DP, April 2026).
A shop's real purge-waste numbers from a four-color production plate show the split: 38.9 g went into the waste tower against 103.7 g in the part, 142.6 g total, making the tower 27 percent of the print (Creative3DP, April 2026). A controlled cube test comparing multicolor and single-color waste, run five times per setup on identical 20×20×20 mm cubes, found single-color PLA at 8.6 percent waste, two-color via AMS at 43.2 percent, two-color manual swap at 51.9 percent, five-color via AMS at 67.7 percent, and five-color with an optimized tower and 12 mm³ purge volume at 43.8 percent (LayerCraftLog, March 2026).
|
Scenario |
Filament consumed |
Waste share |
|---|---|---|
|
Single-color PLA |
2.1 g |
8.6% |
|
Two-color via AMS |
3.4 g |
43.2% |
|
Two-color manual swap |
4.1 g |
51.9% |
|
Five-color via AMS |
5.9 g |
67.7% |
|
Five-color, optimized tower and 12 mm³ purge |
4.2 g |
43.8% |
Both waste demonstrations rest on one upstream slicer default, so treat these figures as a range rather than independent corroboration. The direction is consistent, though: more colors and more swaps mean more purge, and the optimized five-color run cut waste by nearly 24 percentage points against the unoptimized version.
Tuning Purge Volume Down Without Getting Color Bleed
Since purge is the dominant cost, it's the first thing worth tuning. Your slicer's default purge volume is a safe guess, not a measured value. Treat it as a starting point and reduce it in small steps, validating on a calibration print rather than your real model.
Start with a two-color test piece that has sharp boundaries and small features. Cut the global flush multiplier by 10 percent, reprint, and inspect the boundary. Repeat until you see faint tinting on the light filament or dirty edges on small details, then step one value back. That last clean setting is your working number. Sovol's purge-tuning walkthrough documents this gradual approach and warns that pushing flushing volumes too low produces exactly this bleed.
One shortcut does not work. Flush-into-infill and flush-into-objects change where purge goes, not how much is purged: as LayerPaint's guide to hiding purge in Bambu Studio puts it, "Ticking these boxes does not change the Flush volume itself." It also fails on thin walls, translucent filament, and backlit parts.
Common Mistakes to Avoid
The most frequent beginner failure is resuming the print before the new filament runs clear. The old color is still inside the nozzle when the print restarts, so the first layers after the change come out blended. Miss the timing and you get a blob, a crash, or the wrong layer, as FDM multicolor explained step by step sets out.
Pro Tip: Watch the purge line, not the clock. Resume only once the extruded strand is entirely the new color.
Thin walls let the infill color show through. A two-perimeter wall over colored infill reads as a tinted surface under direct light. Fix: add a perimeter or print the visible face in the lighter color.
Purging into infill instead of a tower. It saves material but does not remove the color already in the nozzle, so why flushing into infill does not reduce your flush volume still applies.
What Success Looks Like and Where to Go Next
If the steps above worked, you now have a two-color part with a clean boundary at the pause height, a purge tower that stayed standing, and a number for what the color changes cost you. That last figure matters most. Once you know your waste share, you can tune it down, batch color changes into fewer layers, or accept it. A successful first attempt at multicolor 3D printing for beginners is not a perfect part. It is a part you can measure and repeat.
Check two things before moving on. Run a fingernail across the boundary: a step you can feel means the pause height was off by a layer or two, not that the model failed. Then hold the part to a light and look for a faint tint in the lighter filament, the sign your purge volume is still too low.
From here, print the same two filaments again with the purge value one step lower, then a third time. Change one variable at a time and keep the model small until the boundary stops moving. If you would rather skip the manual swap, automated multi-material systems do the same job with more purging and more waste, a tradeoff worth understanding before you spend on one.
For context on where this sits: the multicolor printer market forecast to 2032 projects growth from USD 8.30 billion in 2026 to USD 13.45 billion by 2032, an 8.26% compound annual rate (Research and Markets, Multicolor 3D Printer Market, Global Forecast 2026-2032, September 2026).
Sovol manufactures open-source 3D printers and publishes beginner guides for the maker community.
Ready for your next print? Browse beginner guides and open-source printer documentation at Sovol, where the maker community shares settings and troubleshooting notes.
Frequently Asked Questions
Do I need an AMS to print in multiple colors?
No. Manual pause-and-swap works on almost any single-extruder FDM printer, which is why Sovol frames it as the universal entry path into multicolor printing. An AMS or MMU-style system automates the swap, but it also carries more purging and waste than a hand swap. If your printer can pause mid-print and resume, you already have the hardware you need.
How long does a manual swap add to a print?
It depends on how many color changes you build in, not on the print's total runtime. A two-color model with one pause costs you a few minutes of hands-on time at that layer. A model with thirty changes costs thirty pauses. That is why the model you choose matters more than the machine you own.
What should I do if the swap fails mid-print?
Pause the print before touching anything, then check three things in order: whether the new filament actually reached the nozzle, whether the old color finished purging, and whether the nozzle temperature is still at your filament's target. Most failed swaps are a partial purge or a cold nozzle, not a jam. If the extruder is clogged, clear it, reload, and resume from the same layer.
Does pause and swap filament work on a resin printer?
No. Resin printers cure liquid photopolymer in a vat, so there is no filament to swap and no purge tower to build. Multicolor resin work uses separate prints assembled after curing, multi-vat systems, or painting. The workflow in this guide is specific to FDM.
Conclusion
You started this guide with a single-nozzle printer and the assumption that multicolor meant new hardware. You finished it by slicing a model with a pause at a set layer height, swapping filament mid-print, and checking the boundary where the two colors meet. That is multicolor 3D printing for beginners in practice: the same machine you already own, run with more attention at one moment in the print.
The number worth carrying forward is the waste share. Purging is where most of your extra filament goes, and it is also the part you control most directly, since purge volume is a slicer value you can lower and re-test rather than a fixed cost of the technique.
Your next action is a small one. Print a two-color calibration piece with sharp boundaries and small features, tune the purge volume down one step at a time, and stop as soon as contamination appears. Save that profile. It becomes the starting point for every multicolor print after it.
