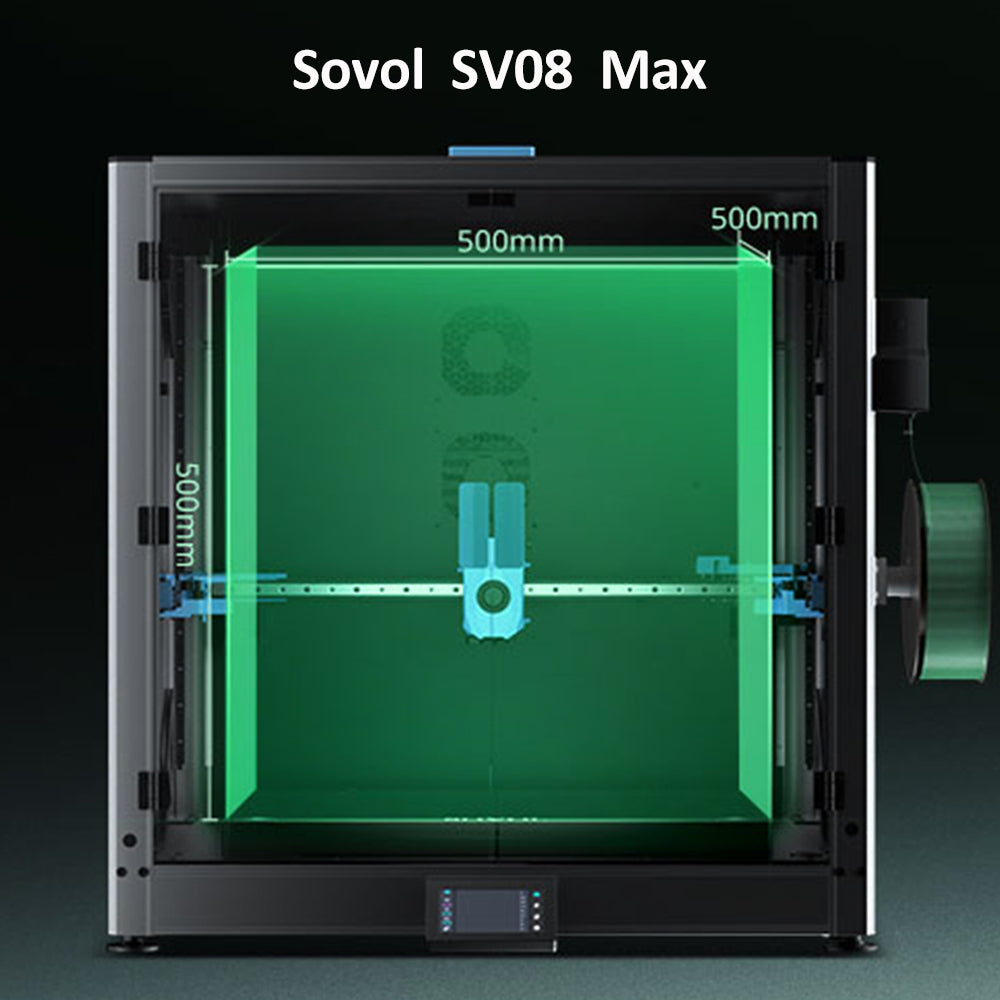
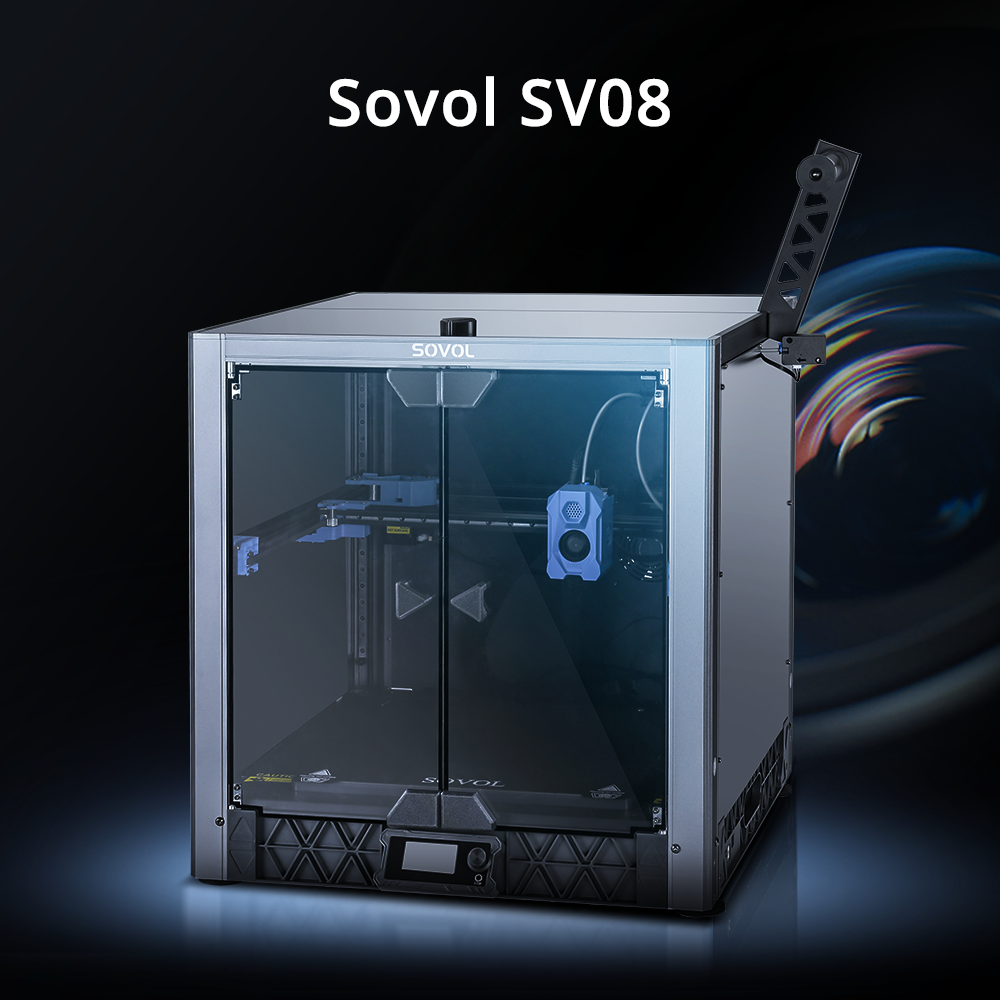
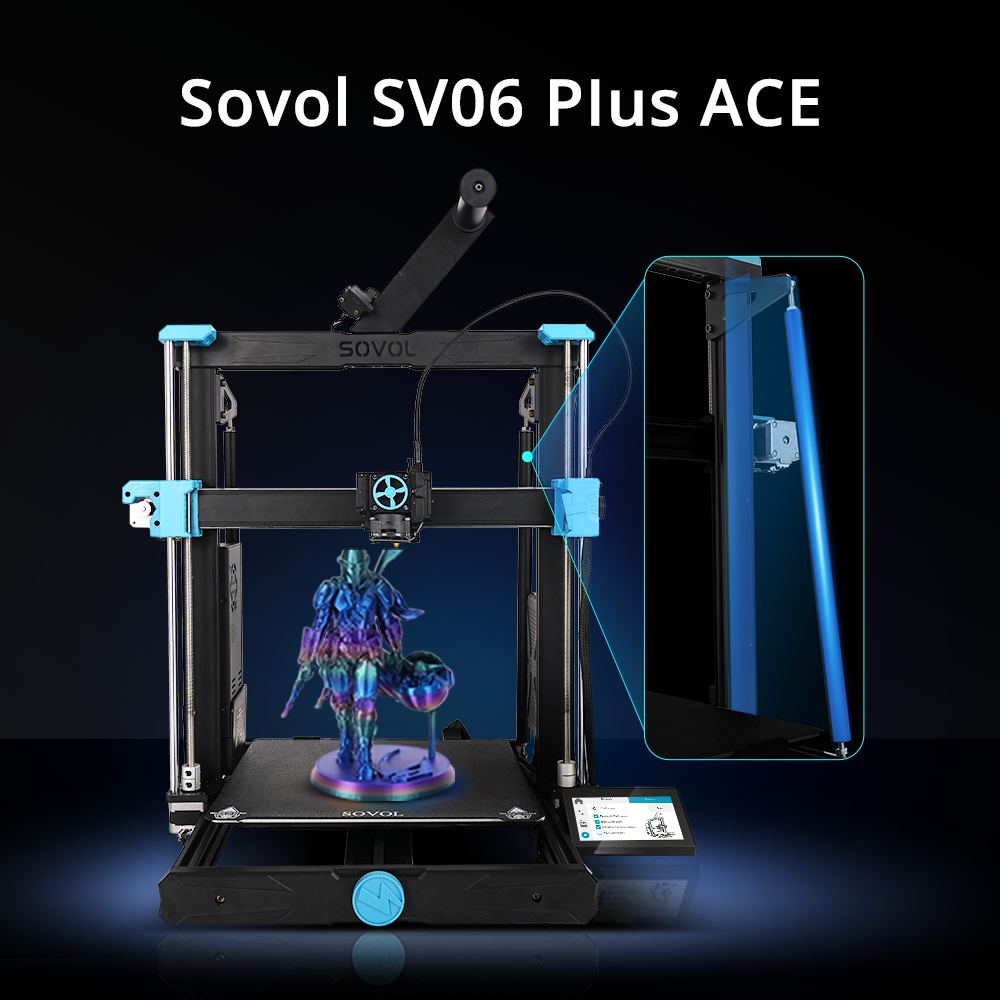
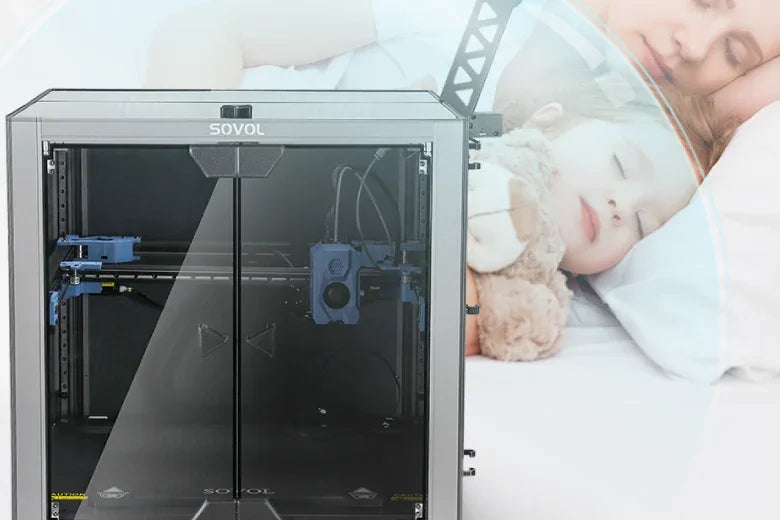
When you start looking for a 3d printer enclosure, you’ll see names like Prusa Core One, DELACK, Bambu Lab, Creality K1 Max, QIDI MAX3, Adventurer 5M Pro, and even creative DIY setups like the Ikea Lack. What makes these enclosures special? They boost safety, keep your prints consistent, and make your workspace cleaner and quieter. Take a look at how they help:
|
Feature |
Benefit for Users |
|---|---|
|
Safety |
|
|
Air Quality |
Reduces fumes for a cleaner workspace |
|
Print Quality |
Maintains steady heat for better results |
|
Material Compatibility |
Allows use of various filaments like ABS |
|
User-Friendliness |
Easy setup and operation for beginners |
Finding the right enclosure matters whether you’re just starting out or you’ve been printing for years. The right choice can make your printing safer, easier, and more fun.
Why Use a 3D Printer Enclosure
Print Quality and Safety
You want your 3D prints to look sharp and last long. A 3d printer enclosure helps you get there. It keeps the temperature steady, which is key for working with tricky materials like ABS or nylon. When you use an enclosure, you avoid warping and cracking. You also get better layer adhesion, so your prints come out smooth and strong.
Safety matters too. The enclosure covers hot parts and moving components, so you don’t risk burns or injuries. Many enclosures use fireproof material for extra protection. Some even add air filtration systems, like HEPA filters, to trap toxic fumes and nanoparticles. You breathe easier and work safer.
Tip: If you’re printing with advanced materials, always check that your enclosure supports proper ventilation and air filtration.
Environmental Protection
Your workspace deserves protection from dust, humidity, and temperature swings. A 3d printer enclosure creates a warm, dry atmosphere. This helps you print with materials that need stable conditions. You’ll notice fewer failed prints and less shrinkage. Studies show that enclosures can raise the temperature inside by 10 to 15°C, which makes a big difference for print quality.
Enclosures made with dustproof material keep dust away from moving parts and the extruder. You spend less time on maintenance and more time printing. You also protect your printer from moisture, which can damage electronics and ruin prints.
Noise and Odor Control
Nobody likes loud machines or strong plastic smells. A 3d printer enclosure helps you control both. You’ll notice the noise drops from about 65 dB to 55 dB, which is quieter than a dishwasher. That means you can print in your home or office without disturbing anyone.
Odors and toxic fumes from heated materials like ABS or ASA stay inside the enclosure. Air filtration systems help remove these smells, so your workspace stays fresh. You get a more comfortable environment, especially if you print with advanced materials that release strong odors.
With the right enclosure, you enjoy quieter, cleaner, and safer printing every time.
Top 3D Printer Enclosures
Overview Table
If you want to find the best 3d printer enclosure, you have plenty of choices. Each model brings something unique to your workspace. Let’s look at the most trusted options you’ll see on the market:
|
Model |
Build Volume |
Material Compatibility |
Assembly Difficulty |
User Rating |
Price Range |
|---|---|---|---|---|---|
|
Prusa Core One |
Large |
ABS, PLA, Nylon, TPU |
Moderate |
⭐⭐⭐⭐⭐ |
$$$ |
|
DELACK |
Medium |
ABS, PLA, PETG |
Easy |
⭐⭐⭐⭐ |
$$ |
|
Bambu Lab |
Large |
ABS, PLA, PC, TPU |
Moderate |
⭐⭐⭐⭐⭐ |
$$$ |
|
Creality K1 Max |
Large |
ABS, PLA, TPU |
Moderate |
⭐⭐⭐⭐ |
$$ |
|
QIDI MAX3 |
Large |
ABS, PLA, Nylon, TPU |
Moderate |
⭐⭐⭐⭐ |
$$ |
|
Adventurer 5M Pro |
Medium |
ABS, PLA, PETG |
Easy |
⭐⭐⭐⭐ |
$$ |
|
Ikea Lack DIY |
Customizable |
ABS, PLA, TPU |
DIY |
⭐⭐⭐⭐ |
$ |
You might notice that each 3d printer cabinet offers different build volumes and material compatibility. Some models, like Prusa Core One and Bambu Lab, support a wide range of filaments. Others, such as the Ikea Lack DIY, let you customize the enclosure to fit your printer and workspace.
Quick Introductions
- Prusa Core One: You get a professional-grade 3d printer enclosure with excellent temperature control. It works well for advanced materials and large prints.
- DELACK: This enclosure is easy to assemble and fits most desktop printers. It’s a solid choice if you want reliability without spending too much.
- Bambu Lab: You’ll find smart features and strong build quality. It handles tough filaments and keeps your workspace clean.
- Creality K1 Max: This 3d printer cabinet gives you a big build volume and good compatibility. It’s popular among users who print larger models.
- QIDI MAX3: You get a sturdy enclosure with great temperature stability. It’s perfect for demanding projects.
- Adventurer 5M Pro: This model is easy to set up and works well for beginners. It supports common filaments and offers good value.
- Ikea Lack DIY: If you like building things yourself, this enclosure lets you customize every detail. You can adjust the size and add features as you need.
Tip: If you want to print with ABS or nylon, pick an enclosure that keeps the temperature steady. This helps prevent warping and cracking.
Selection Criteria
When you choose a 3d printer enclosure, you want to make sure it fits your needs. Here’s what you should look for:
- Reliability: You need an enclosure that keeps the temperature stable. This helps you avoid layer separation and warping. Most top models use insulated panels and tight seals.
- User Reviews: Check what other users say. High ratings mean the enclosure works well and lasts a long time.
- Compatibility: Make sure your 3d printer cabinet fits your printer and supports the filaments you want to use. Some enclosures work with ABS, PLA, TPU, and even polycarbonate.
- Assembly: You want easy setup. Some enclosures come pre-assembled, while others need you to put them together. DIY options like Ikea Lack let you build your own enclosure from scratch.
- Value: Look at the price and features. A good enclosure gives you strong performance without breaking the bank.
You’ll see that enclosed 3D printers boost print quality and reliability. They keep the temperature constant, which is key for materials like ABS and nylon. This stability helps you print with more types of filaments and get smoother results. You also get fewer defects, like warping or layer separation.
- Enclosed 3d printer cabinets help you print with ABS, PLA, and TPU. You get stronger layer adhesion and better-looking prints.
- You can use flexible filaments, like TPU, more easily in a controlled environment.
- The right enclosure makes your workspace safer and cleaner.
If you want to print with advanced materials, always check that your enclosure supports steady heat and good ventilation. You’ll get better results and enjoy printing more.
Prusa Core One
Features
You want an enclosure that stands out, and the Prusa Core One delivers. This model gives you a fully enclosed printing space, which means you get better temperature control and more stable prints. The robust metal frame makes it look professional and keeps it sturdy, even during long print jobs. You can adjust the reversible door, so it fits your workspace no matter where you put your printer. If you like things organized, you’ll appreciate the tidy interior. Maintenance feels easy, and you can reach everything without hassle. NFC connectivity makes network setup simple. Just tap and go—no more fumbling with Wi-Fi passwords.
Here’s a quick look at what sets this enclosure apart:
|
Feature |
Description |
|---|---|
|
Fully Enclosed Printing |
Keeps heat steady for better print quality |
|
Robust Metal Frame |
Durable and professional look |
|
Reversible Door |
Adjusts for your workspace |
|
NFC Connectivity |
Easy wireless setup |
|
Organized Interior |
Simple maintenance and accessibility |
Compatibility
You can use the Prusa Core One with a wide range of printers and materials. It works especially well if you want to print with ABS, PLA, nylon, or TPU. The enclosure design supports advanced filaments that need steady heat. If you have used an anet a8 enclosure before, you’ll notice the difference in stability and print quality. This enclosure fits most standard desktop printers, so you don’t need to worry about size issues.
Assembly
Building the Prusa Core One enclosure takes some time, but you get a solid result. Most users report spending about 8 to 10 hours on assembly. If you have experience with an anet a8 enclosure, you might find this one a bit more involved. Some people finish in a day, while others take a weekend. The process feels straightforward, but you should set aside enough time to do it right.
|
User Type |
Assembly Time |
|---|---|
|
Experienced builder |
8 hours |
|
General user |
8-10 hours |
|
Less experienced builder |
Up to a weekend |
|
Extensive build |
2 days |
Tip: Lay out all your parts before you start. This helps you avoid missing steps and makes the process smoother.
User Experience
You’ll notice the print quality improves right away. The enclosure keeps your prints consistent and reduces warping. Many users like the easy access to the nozzle and the satisfying door mechanism. The software setup feels simple, thanks to the NFC feature. Some users mention that the noise level is a bit higher than expected, and the lighting inside could be better. A few people wish the door sensor worked differently, but most agree the enclosure does its job well.
|
Pros |
Cons |
|---|---|
|
Some design decisions could improve |
|
|
Functional enclosure |
Noise levels higher than expected |
|
Easy nozzle access |
Minimal lighting inside |
|
Satisfying door mechanism |
Door sensor defaults to on |
|
Simple software setup |
Some operational quirks |
If you want a reliable enclosure that boosts your print quality and supports advanced materials, the Prusa Core One is a strong choice.
DELACK Enclosure
Features
You want an enclosure that feels both practical and stylish. DELACK gives you that. The frame uses plexiglass, so you can see your printer from every angle. You get durability and a modern look. DELACK stands out because you can add accessories and make changes. You might install a camera, a fire alarm, or even a hygrometer. The LED strip lights up your workspace, making it easy to watch your prints. You also get clear instructions, both in PDF and video form, so you never feel lost during setup.
Here’s a quick look at what DELACK offers:
|
Feature |
Description |
|---|---|
|
Plexiglass Material |
Strong, clear panels for visibility and durability |
|
Moddable Design |
Add-ons and upgrades for more functionality |
|
Accessories |
Camera, fire alarm, hygrometer mounts included |
|
LED Strip |
Bright lighting for easy monitoring |
|
Assembly Guides |
Step-by-step PDF and video instructions |
|
Temperature Control |
Stable heat to prevent warping |
|
Fan/Filtration Options |
Supports fan and HEPA filter installation |
|
Tinkering Potential |
Easy to personalize and modify |
You can keep the temperature and humidity steady, which helps your prints come out better. The enclosure also reduces noise, so your workspace stays quiet.
Compatibility
DELACK works best with several popular printers. You can use it with Prusa MK4, Prusa Mini, and the Prusa MK3 series. If you own one of these, you’ll find the enclosure fits perfectly. You get easy access to your printer and can monitor your prints with a camera mount.
- Prusa MK4
- Prusa Mini
- Prusa MK3 series
If you have a different printer, you might need to check the dimensions or look for a custom solution.
Assembly
Setting up the DELACK enclosure feels straightforward. You get clear instructions, both written and in video form. Most users say the process takes some time, especially if you print all the parts yourself. You might spend a few hours on assembly, but the guides help you avoid mistakes. The enclosure encourages you to tinker and personalize, so you can add features as you go.
Tip: Lay out all your parts before you start. This makes assembly smoother and helps you spot missing pieces early.
User Experience
You’ll notice your prints become more reliable right away. DELACK keeps the temperature steady, so you see less warping and fewer failed prints. The enclosure looks great, with clear panels that let you watch your printer in action. Many users say it’s cost-effective compared to other options. You get a quiet workspace and easy monitoring. Some people mention that printing all the parts takes time, but most agree the results are worth it.
- Increases printing reliability
- Saves money compared to other enclosures
- Looks good and lets you see your printer
- Takes time to print all parts
If you want an enclosure that balances style, function, and customization, DELACK is a smart choice for your 3D printing setup.
Bambu Lab Enclosure
Features
You get a lot of smart features with the Bambu Lab enclosure. This model comes fully enclosed from the factory, so you do not have to worry about building a box around your printer. The enclosure uses plastic panels, which help keep heat inside and make your prints more reliable. You will find a carbon filter that helps remove VOCs, so your workspace stays cleaner. The LED strip lights up your print area, making it easy to watch your progress. There is also a built-in camera for remote monitoring. An auxiliary fan improves cooling, which helps with tricky prints. The gold PEI textured plate lets you print with many materials, including ABS. Even though it does not have LiDar or a print-head camera like the X1 Carbon, you still get great first layers every time.
Tip: The plastic build of this enclosure holds heat better than metal, which is great for printing with ABS or other temperature-sensitive materials.
Compatibility
You can use the Bambu Lab enclosure with several popular Bambu Lab printers. Here is a quick look at which models fit:
|
3D Printer Model |
Build Volume (mm) |
|---|---|
|
Bambu Lab P1S |
|
|
Bambu Lab X1 Carbon |
256 x 256 x 256 |
|
Bambu Lab P1P |
256 x 256 x 256 |
If you own one of these printers, you will have no trouble fitting it inside the enclosure.
Assembly
Setting up the Bambu Lab enclosure takes some time, but you can do it step by step. Here is a simple guide to help you:
- Print the air duct.
- Install the cable chain assembly and PTFE tube.
- Remove the SD card, screen, and front cover.
- Install the front door mounting kit.
- Remove the spool holder and rear panel.
- Remove the auxiliary part cooling fan bracket.
- Install the left panel.
- Install the auxiliary part cooling fan.
- Remove the heat sink and install the MC board fan.
- Install the right panel.
- Add the chamber temperature regulator fan and carbon air filter.
- Reinstall the rear panel and spool holder.
- Put back the front cover, screen, and SD card.
- Attach the front door rubber strip, glass front door, and glass upper plate.
Note: Take your time and follow each step. You will get a sturdy enclosure that works well for many print jobs.
User Experience
Many users love how the enclosure improves print quality and keeps the workspace clean. They say the printer handles multicolor and multi-filament prints with ease. Some people mention that firmware updates fix most issues quickly. However, you might notice that customer support is not always fast or helpful. A few users had problems with missing accessories and slow responses from Bambu Lab. If you want strong customer service, you may want to look at other brands. Still, most users feel happy with the enclosure’s performance, especially after updates and improvements.
- Great print quality and efficiency
- Easy to monitor prints with the camera
- Some concerns about customer support
- Fast shipping, but sometimes missing parts
Creality Ender 3 Enclosure
Features
You want an enclosure that fits your printer and makes your life easier. The creality ender 3 enclosure stands out in its price range because it’s designed just for the Ender 3 series. You get easy assembly, great temperature control, and smart access points. There’s a zipped window and side openings, so you can reach your printer without hassle. The viewing window lets you watch your prints in action. You even get a tool pouch for your accessories, which is rare with other enclosures.
|
Feature |
Creality Ender 3 Enclosure |
Other Enclosures in Price Range |
|---|---|---|
|
Designed for Ender 3 series |
Yes |
No |
|
Easy assembly |
Yes |
Varies |
|
Compatibility with multiple models |
Yes |
Limited |
|
Temperature maintenance |
Excellent |
Average |
|
Access points |
Zipped window, side openings |
Limited access |
|
Visibility features |
Good-sized viewing window |
Often minimal |
|
Additional features |
Tool pouch included |
Rarely included |
Tip: The tool pouch and cable management flaps help you keep your workspace neat and organized.
Compatibility
You don’t have to worry about your printer fitting inside this enclosure. It works with a long list of Creality models and even some others. Here are the printers you can use:
- Ender-2 Pro
- Ender-3
- Ender-3 Pro
- Ender-3 V2
- Ender-3 Neo
- Ender-3 V2 Neo
- CR-6 SE
- Ender-7
- CP-01
- CR-20/Pro
- Ender-3 S1
- Ender-3 S1 Pro
- Ender-3 S1 Plus
- Ender-3 Max
- Ender-3 Max Neo
- Ender-5
- Ender-5 Pro
- Ender-5 Plus
- Ender-5 S1
- Ender-6
- CR-10
- CR-10S
- CR-10 Mini
- CR-10 V2/V3
- CR-10S Pro/PRO V2
- CR-10 Smart
- CR-10 Smart Pro
- CR-X 3D Printer
Assembly
You don’t need to be a pro to set up this enclosure. The instructions come clear and the parts are labeled. Most users say the process feels straightforward. You can finish assembly in less than an hour if you lay out all the pieces first. The zipped windows and side openings make installation easier. You won’t struggle with confusing steps or missing parts.
Note: If you want a smooth build, check each part before you start. This helps you avoid mistakes and saves time.
User Experience
You’ll notice the enclosure feels huge and roomy. Your printer has plenty of space to work. Users love how it keeps dust away, which means better print quality. The enclosure maintains a stable temperature, so your prints stick to the bed and look sharp. The sturdy construction gives you confidence during long print jobs. You also get pockets for tools and flaps for cable management, making your setup more convenient. Some users mention issues with Creality’s customer service, but most agree the enclosure itself works great.
|
User Experience Aspect |
Description |
|---|---|
|
Spaciousness |
Roomy design gives your printer plenty of space. |
|
Ease of Assembly |
Clear instructions and labeled parts make setup simple. |
|
Protection from Dust |
Keeps dust out, improving print quality. |
|
Temperature Management |
Stable heat helps prints stick and look better. |
|
Sturdy Construction |
Solid build quality for peace of mind. |
|
Additional Features |
Tool pockets and cable flaps add convenience. |
|
Customer Service Concerns |
Some users report issues with support, but not with the enclosure itself. |
If you want a reliable enclosure that’s easy to use and keeps your printer safe, this model is a smart pick.
Creality CR-10 Enclosure
Features
You want an enclosure that fits your printer and keeps your workspace safe. The creality cr-10 enclosure gives you a sturdy build and smart design. The front panel uses thick acrylic, so you can watch your prints without opening the doors. The sides and top use either 3mm or 6mm panels, which help trap heat and block dust. You get a roomy space for your printer, with dimensions of 27 inches deep, 22 inches wide, and 25 inches tall. The enclosure sits directly on your desk or table, since it has no bottom panel. You can run cables and filament through special ports, making setup easy. There’s also a 5V 80mm air filter that helps keep the air clean while you print.
|
Feature |
Description |
|---|---|
|
Dimensions |
27" Deep, 22" Wide, 25" Tall |
|
Material |
6mm Acrylic front, 3mm/6mm sides and top |
|
Air Filter |
5V 80mm air filter included |
|
Design |
No bottom, sits on flat surface |
|
Access |
Cable and filament ports, front doors for entry |
Tip: The thick acrylic panels help keep noise down and make your workspace quieter.
Compatibility
You don’t want to guess if your printer will fit. This enclosure works with several Creality models. You can use it with the CR-10, CR-10S, CR-10S Pro, CR-10 Mini, and CR-10 V2. The large interior gives you plenty of room for big projects. If you own one of these printers, you won’t have trouble with installation.
|
Compatible Models |
|---|
|
CR-10 |
|
CR-10S |
|
CR-10S Pro |
|
CR-10 Mini |
|
CR-10 V2 |
Assembly
You don’t need special tools to put this enclosure together. The panels come ready to connect, and the instructions guide you step by step. Most users finish assembly in about two hours. You just set the enclosure on a flat surface, attach the panels, and plug in the air filter. The cable and filament ports make wiring simple. If you lay out all the parts before starting, you’ll save time and avoid mistakes.
Note: Check each panel for protective film before you assemble. Removing it first keeps your enclosure looking clear and clean.
User Experience
You’ll notice your prints look better and fail less often. The enclosure keeps the temperature steady, so you get strong layer adhesion. The air filter helps with odors, making your workspace more comfortable. Users like the easy access through the front doors and the roomy design. Some people wish the enclosure had a bottom panel, but most say it sits well on any desk. You can reach your printer for quick adjustments without moving the enclosure. The thick panels block dust and reduce noise, so you can print day or night.
- Easy to assemble and use
- Keeps prints consistent
- Reduces noise and dust
- Good airflow with built-in filter
- Spacious for large projects
If you want a reliable enclosure for your Creality printer, this model makes printing easier and safer.
DIY 3D Printer Enclosure
Ikea Lack Table Enclosure
You might want a diy 3d printer enclosure that feels personal and fits your space. The Ikea Lack table enclosure is one of the most popular choices in maker communities. You start with two Ikea Lack tables and stack them to create a sturdy frame. You add acrylic panels for visibility and insulation. Many people like this diy 3d printer enclosure because you can customize it. You can cut holes for cables, add LED lights, or install a fan for ventilation. The cost stays low, and you get a neat look that matches your room.
If you want to print with ABS or other tricky materials, this diy 3d printer enclosure helps keep the temperature steady. You also block out dust and reduce noise. You can build it in a weekend, even if you have never tried a diy 3d printer enclosure before. The Ikea Lack table enclosure works for many printer sizes. You can adjust the height and width by changing the panels. You get a safe and quiet space for your printer.
Tip: Use magnetic latches for the doors. You get easy access and keep the enclosure sealed during printing.
Custom DIY Options
You have many ways to build a diy 3d printer enclosure that fits your needs. Maker communities suggest several creative options. You can use kids mats, wood, or soundproof materials. Each diy 3d printer enclosure has its own benefits.
Here’s a quick table to help you compare:
|
Enclosure Type |
Key Advantages |
|---|---|
|
Kids Mats |
Cost-effective, good insulation, easy for beginners, noise cancellation |
|
Wood Enclosure |
Custom size, nice look, reliable insulation, acrylic panels for visibility |
|
Sound Proof Enclosure |
Great noise dampening, stable temperature, customizable interior |
You might pick kids mats if you want a diy 3d printer enclosure that costs less and goes together fast. Wood enclosures give you more control over size and style. Sound proof enclosures work best if you want to print in a quiet room and keep the heat inside.
- Kids mats: Easy to assemble, affordable, perfect for beginners.
- Wood enclosure: Flexible size, better aesthetics, good for large printers.
- Sound proof enclosure: Best for noise reduction and temperature stability, ideal for experienced builders.
You can add features like cameras, fire alarms, or extra lighting. You decide how your diy 3d printer enclosure looks and works. You get a project that matches your skills and your printer.
Note: Always measure your printer before you start building your diy 3d printer enclosure. You want enough space for cables, filament, and airflow.
Comparison
Features
You want to know what sets each 3d printer enclosure apart. Some models focus on temperature control and safety. Others add smart features like built-in cameras or air filtration. For example, the FLASHFORGE Adventurer 4 Pro offers advanced cooling, auto bed leveling, and a quick nozzle replacement. You get a HEPA13 air filter and an eco-friendly mode. These features help you print with different materials, including ABS and PLA. Many enclosures let you monitor your prints remotely. You might find LED lighting or modular panels for easy upgrades.
|
Model/Feature |
Print Quality |
Camera |
Air Filtration |
User-Friendly |
Eco Mode |
Build Volume |
|---|---|---|---|---|---|---|
|
FLASHFORGE Adventurer 4 Pro |
Enhanced |
Yes |
HEPA13 |
Yes |
Yes |
Medium |
|
Prusa Core One |
High |
No |
Optional |
Moderate |
No |
Large |
|
DELACK |
Reliable |
Optional |
Optional |
Easy |
No |
Medium |
|
Bambu Lab |
High |
Yes |
Carbon |
Moderate |
No |
Large |
|
Ikea Lack DIY |
Customizable |
Optional |
Optional |
DIY |
No |
Custom |
Tip: If you want to print with advanced materials, look for an enclosure with strong temperature control and air filtration.
Price and Value
You probably care about getting the best value for your money. Some enclosures cost more because they include premium features. The FLASHFORGE Adventurer 4 Pro sits at a higher price point due to its advanced cooling and built-in camera. You pay extra for auto bed leveling and HEPA filtration. DIY options like the Ikea Lack table enclosure cost less and let you customize the size. Models like DELACK and Creality offer a balance between price and features. You get reliable performance without spending too much.
- High-end enclosures: More features, higher price, better for advanced users.
- Mid-range enclosures: Good value, solid performance, easy assembly.
- DIY enclosures: Lowest cost, flexible design, great for experimenting with different materials.
Best Use Cases
You want to match your 3d printer enclosure to your needs. If you print with ABS, nylon, or other temperature-sensitive materials, choose an enclosure with strong heat retention. The FLASHFORGE Adventurer 4 Pro works well for users who want remote monitoring and eco-friendly options. Beginners might prefer DELACK or Creality for easy setup. If you like to tinker or need a custom fit, the Ikea Lack DIY enclosure gives you freedom to adjust the size and add features.
- Professional users: Advanced enclosures with cameras and air filters.
- Hobbyists: Mid-range models with easy assembly and good compatibility.
- Experimenters: DIY enclosures for custom projects and different materials.
Note: Always check the build volume and supported materials before you pick an enclosure. This helps you avoid surprises and get the best results.
Choosing the Right 3D Printer Enclosure
Key Factors
When you pick a 3d printer enclosure, you want to think about what matters most for your setup. Start with the types of materials you plan to use. Some enclosures work better with ABS or nylon, while others handle PLA or TPU just fine. Always check if the enclosure keeps the temperature steady for your chosen materials.
Space is another big factor. Measure your printer and your workspace before you buy. You don’t want an enclosure that feels cramped or takes up too much room. If you have a small area, look for a compact design or even a DIY option.
Budget plays a role, too. Some enclosures cost more because they offer extra features like air filters or built-in cameras. Decide which features you really need. Sometimes, a simple enclosure does the job just as well.
Safety should always be on your mind. Look for fire-resistant panels and good ventilation, especially if you print with advanced materials. A safe enclosure protects you and your equipment.
Tip: Make a checklist of your must-have features before you shop. This helps you stay focused and avoid overspending.
User Types
You might be a beginner or an advanced user. Your needs will look different.
- Beginners: You want an enclosure that’s easy to assemble and use. Choose one with clear instructions and basic features. Focus on safety and compatibility with common materials like PLA.
- Advanced Users: You may need an enclosure that supports high-temp materials and offers extras like air filtration or smart monitoring. Look for modular designs that let you upgrade as you go.
Here’s a quick table to help you decide:
|
User Type |
Best Enclosure Features |
|---|---|
|
Beginner |
Easy assembly, safety, basic controls |
|
Advanced |
High-temp support, filtration, upgrades |
No matter your skill level, the right 3d printer enclosure makes your printing safer and more reliable.
You have plenty of choices when picking an enclosure for your 3D printer. If you’re just starting out, DELACK or Creality models make setup easy. Advanced users often prefer Prusa Core One or Bambu Lab for better features. DIY options like the Ikea Lack table help you save money and customize your enclosure.
Remember, your needs matter most. Think about your space, budget, and safety before you decide.
FAQ
What size enclosure do you need for your 3D printer?
Measure your printer’s width, depth, and height. Add at least 4 inches to each side for airflow and easy access. If you plan to upgrade your printer, choose a bigger enclosure.
Tip: Always check your printer’s specs before buying an enclosure.
Can you build a DIY enclosure if you’re new to 3D printing?
Yes, you can! Many beginners use Ikea Lack tables or foam mats. You just need basic tools and patience. Follow online guides for step-by-step help.
- Ikea Lack is popular for DIY projects.
- Foam mats work for quick builds.
Do enclosures help with printing ABS and other tricky materials?
Absolutely! Enclosures keep heat inside, which stops warping and cracking. You get smoother prints with ABS, nylon, and other temperature-sensitive filaments.
|
Material |
Needs Enclosure? |
|---|---|
|
PLA |
Optional |
|
ABS |
Yes |
|
Nylon |
Yes |
How do you control fumes and odors from your 3D printer?
Use an enclosure with a HEPA or carbon filter. These filters trap harmful fumes and keep your workspace fresh. Open windows or use fans for extra ventilation.
Note: Always check filter ratings for best results.

