



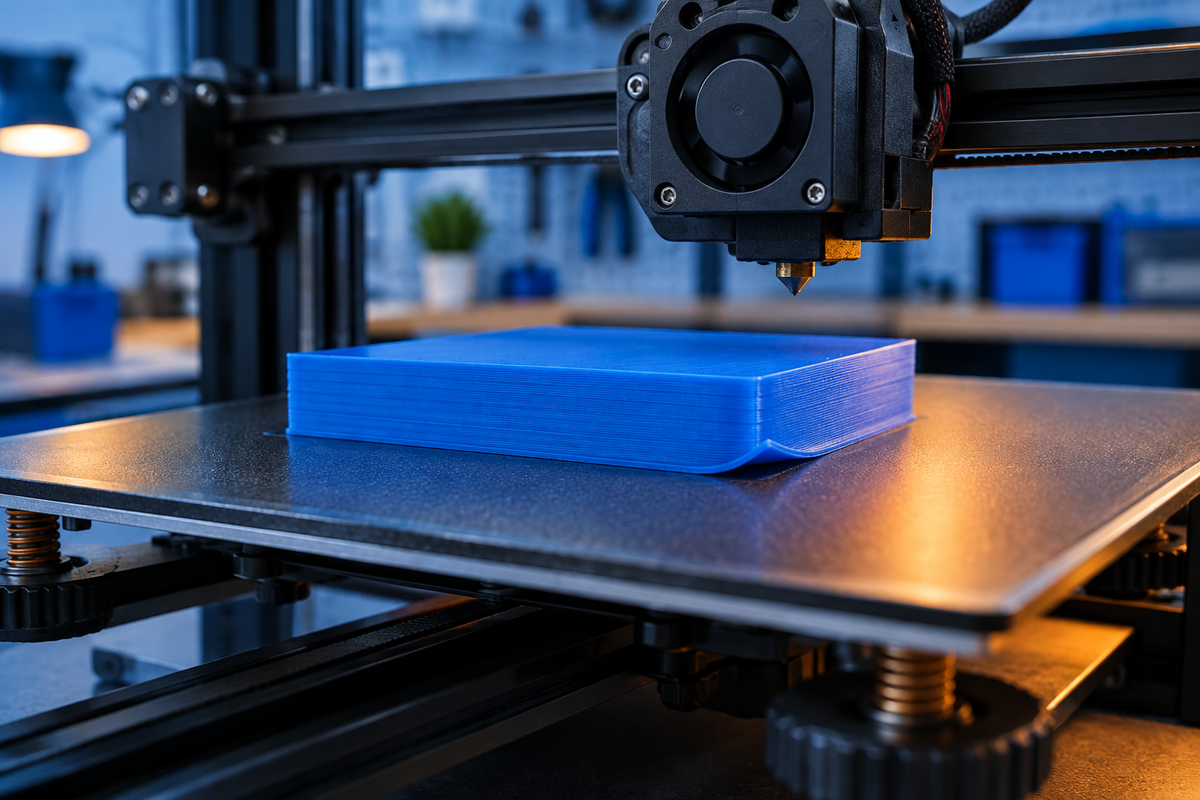
A print that works perfectly in summer may suddenly curl at the corners or refuse to stick when winter arrives. If your 3D printer lives in a garage, basement, or unheated workshop, the problem may not be your slicer profile. It may be the environment around your printer.
Cold air and drafts make it harder to maintain consistent temperatures during printing. The result can be poor bed adhesion, warped corners, or a first layer that comes loose before the model is finished.
The good news is that you do not necessarily need to heat the entire room. A stable printing environment, a properly prepared build surface, and a few targeted adjustments can make a substantial difference.
Why Cold Rooms Cause 3D Printing Problems
Most common printing plastics shrink as they cool. When different parts of a print cool at different rates, that shrinkage creates stress.
The bottom layers are warmed by the heated bed, while exposed edges and upper layers lose heat to the surrounding air. If the resulting stress exceeds the adhesion holding the model to the build plate, corners lift and the print begins to warp.
- First-layer adhesion failure: Extruded filament does not bond securely to the build surface.
- Warping later in the print: The first layer initially sticks, but cooling stress gradually pulls the model away from the bed.
These problems need slightly different fixes. More first-layer squish will not necessarily solve thermal warping, and an enclosure will not compensate for a dirty build plate.
Start by Eliminating Drafts
A steady room temperature is generally easier to work with than a temperature that fluctuates throughout the print.
Keep your printer away from open windows, exterior doors, ventilation outlets, and fans. Even a brief blast of cold air can cool one side of a model faster than the other. If prints consistently lift on the same side, check for airflow before changing your slicer settings.
Avoid placing a portable heater directly beside the printer. Blowing hot air onto one side can create another uneven temperature pattern. If you heat the room, aim for gentle, consistent ambient warmth.
Use an Enclosure Where Appropriate
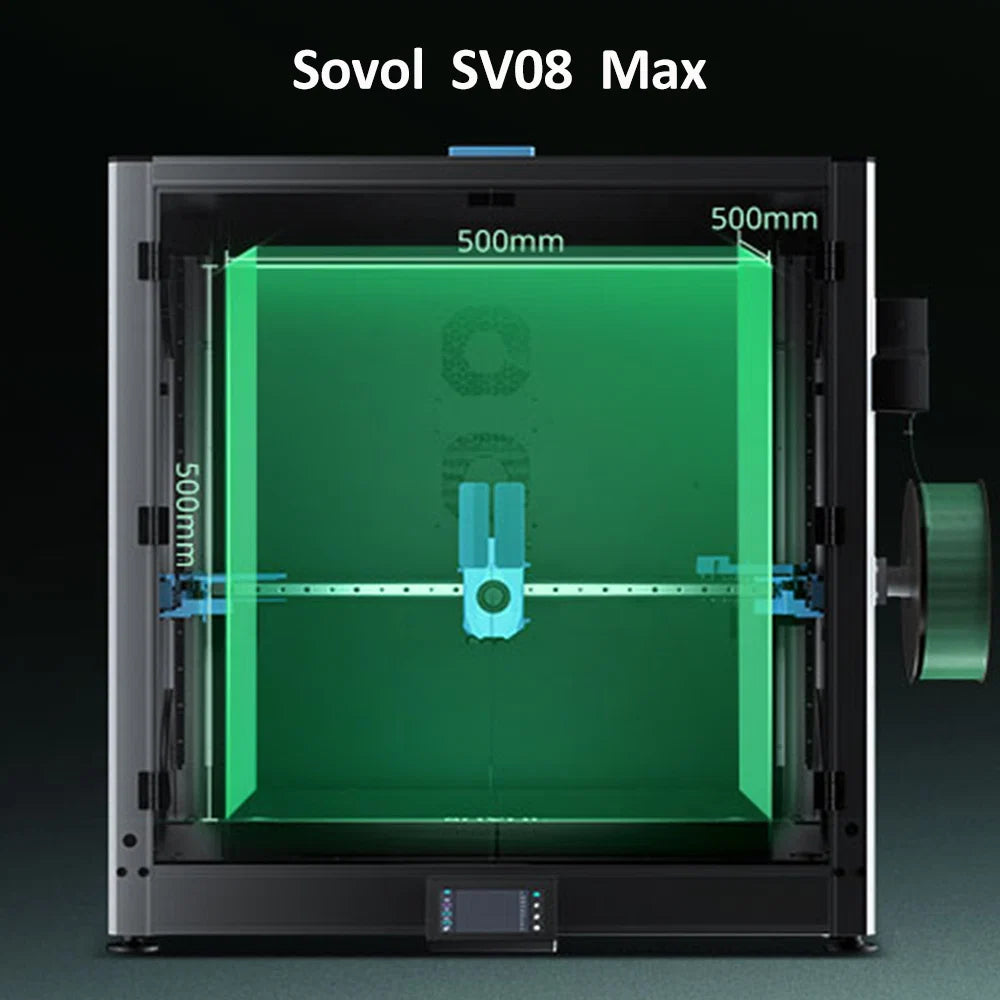
An enclosure reduces drafts and helps retain heat from the build plate. This is especially useful for materials that are sensitive to temperature changes, including ABS and ASA.
However, not every material benefits from a hotter enclosure. PLA generally needs effective cooling, and an overly warm enclosure can contribute to heat creep or poor overhang quality. PETG often benefits from draft protection without needing a high chamber temperature.
For PLA, a partially open enclosure may be sufficient. For ABS or ASA, follow the filament manufacturer’s chamber recommendations and use appropriate ventilation.
Only use an enclosure compatible with your printer. Electronics, power supplies, and other components have temperature limits. An enclosure also does not replace ventilation or make printing emissions harmless.
Let the Build Plate Warm Up Properly
The displayed bed temperature does not always mean the entire build surface has reached a stable temperature.
In a cold room, allow a short heat-soak period after the bed reaches its target. Larger or thicker build plates may need more time for temperatures to even out.
Start with your established filament profile rather than immediately increasing the bed temperature. If adhesion remains poor, make small adjustments within the filament and build-surface manufacturers’ recommended ranges.
Increasing the temperature too far can create new problems, including excessive bottom-layer spreading, commonly called elephant’s foot. If your printer supports bed leveling at printing temperature, follow its recommended procedure. A cold calibration may not represent the bed’s shape once heated.
Clean the Bed Before Changing Settings
A heated bed cannot reliably overcome fingerprints, grease, or residue.
Clean a removable build plate using the method recommended for its coating. Where permitted, warm water and a small amount of plain dish soap can help remove oils. Rinse thoroughly, dry the plate, and avoid touching the printing area afterward.
Do not assume every surface tolerates the same cleaning chemicals. Some coatings can be damaged by unsuitable solvents.
Also check material compatibility. For certain filament-and-surface combinations, an adhesive layer is useful primarily as a release barrier rather than an adhesion booster. PETG, for example, can bond too strongly to some smooth surfaces.
Check the First Layer Carefully
Watch the first few lines rather than walking away as soon as printing starts. A well-adjusted first layer should form continuous, joined lines without large gaps or heavy ridges.
If the nozzle is too far from the bed, the filament may appear rounded and detach easily. If it is too close, extrusion can become restricted, leaving rough ridges or thin, scraped-looking areas.
Adjust the Z offset in small increments using your printer’s recommended procedure. Do not compensate for cold-room problems by pressing the nozzle excessively close to the plate.
A slower first layer can also help. Around 15–30 mm/s is a reasonable troubleshooting starting point for many conventional setups, although the best speed depends on the printer, filament, and build surface.
For more detailed troubleshooting, read our guide to solving common 3D print first-layer problems.
Adjust Cooling for Your Material
Strong part cooling during the first layer can make adhesion more difficult. Many profiles reduce or disable the part-cooling fan for the initial layers, then increase it gradually. Use your filament profile as the starting point:
- PLA typically needs more cooling once the base is established.
- PETG often uses less cooling than PLA.
- ABS and ASA generally require restrained cooling and a stable thermal environment.
Do not disable the hotend heatsink fan. It performs a different job from the part-cooling fan and is needed to prevent heat from traveling too far up the filament path.
Add a Brim for Models That Lift at the Corners
A brim increases the contact area around the model’s base, helping resist the forces that cause corners to lift.
It is particularly useful for tall, narrow parts or models with sharp corners. A brim of approximately 5–10 mm can be a practical starting point, with larger widths reserved for more difficult prints.
A brim will not fix a contaminated build plate or an incorrect Z offset. Correct those issues first.
Large, flat parts remain challenging because they accumulate more shrinkage stress. If the design allows it, rounded corners, a different orientation, or splitting the model into smaller sections may improve reliability. Our guide on preventing warping on large 3D prints covers additional ways to tackle this problem.
Do Not Confuse Moisture Problems with Cold-Room Problems
Popping sounds, bubbles, excessive stringing, and a rough surface may indicate moisture in the filament rather than insufficient room temperature.
Cold air does not automatically mean filament is wet. However, storage conditions and condensation during temperature changes can complicate troubleshooting.
If a sealed spool has been stored somewhere cold, let it warm toward room temperature before opening it to reduce condensation risk. When drying is necessary, follow the filament manufacturer’s temperature and time recommendations.
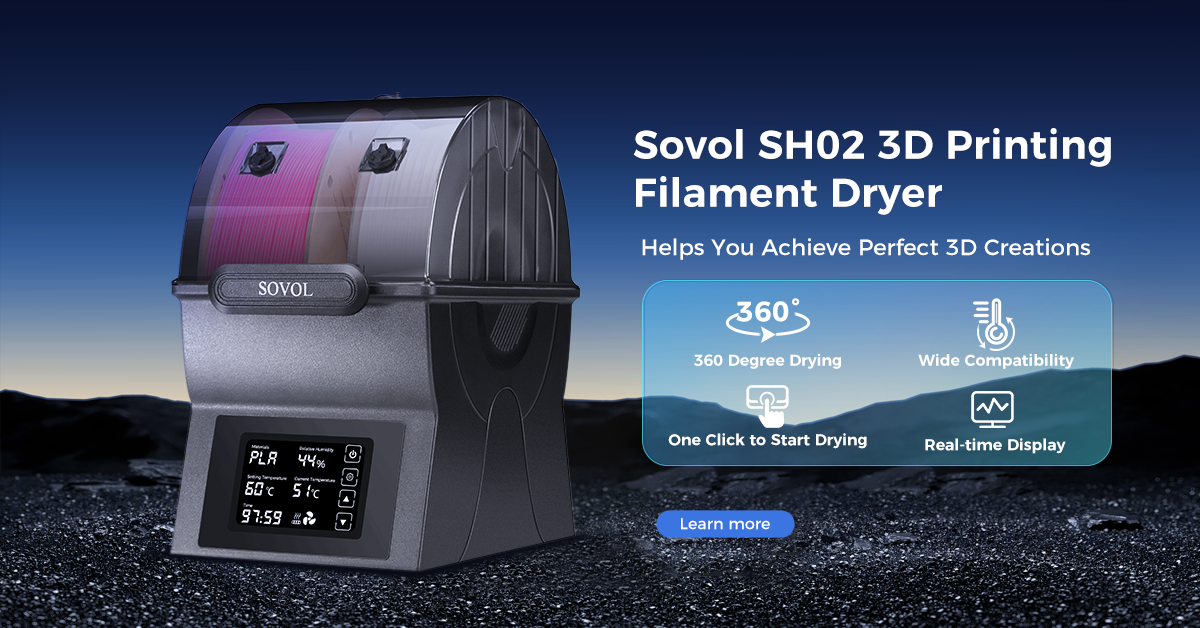
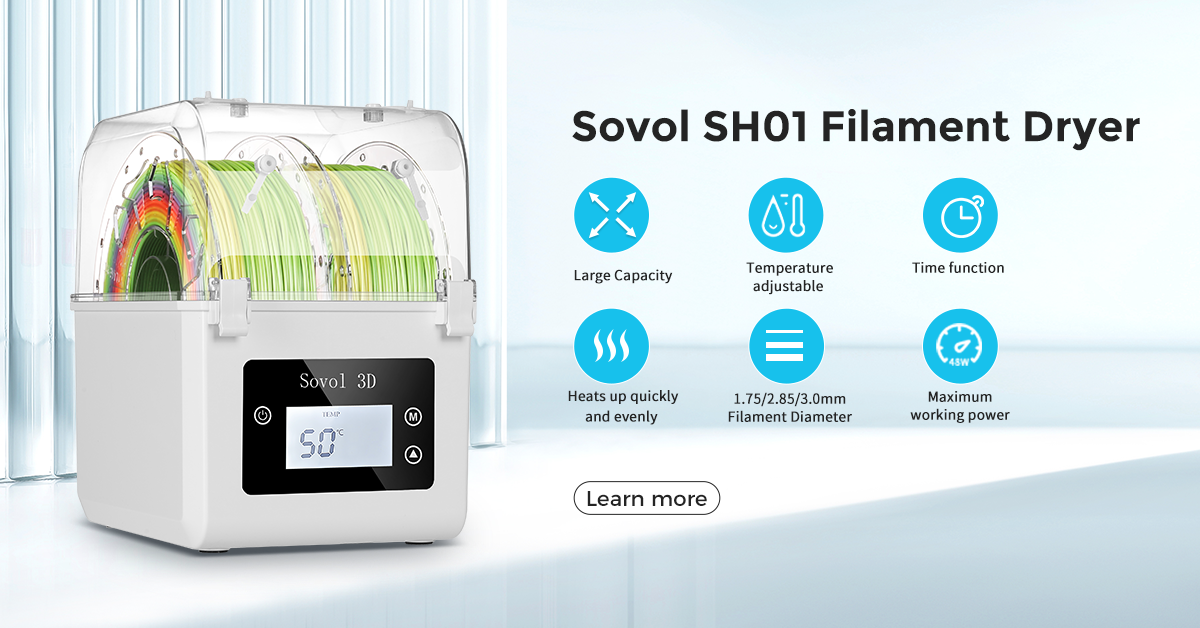
A filament dryer can help address moisture, but it cannot replace bed preparation or protection from drafts. Check our filament drying temperature guide for PLA, PETG, ABS, nylon, and more before choosing a drying setting.
A Simple Cold-Room Printing Checklist
- Move the printer away from drafts.
- Clean the build surface using an approved method.
- Heat the bed and allow it to stabilize.
- Check leveling and the Z offset.
- Use a slower first layer and material-appropriate cooling.
- Add a brim if corners tend to lift.
- Use a compatible enclosure when the material requires it.
- Change one setting at a time and record the result.
Final Thoughts
Successful cold-room printing is less about turning every temperature up and more about keeping conditions consistent.
Start with airflow, bed cleanliness, and first-layer setup. Then address material-specific cooling, enclosure requirements, and model geometry.
Once those basics are controlled, printing in a cool workshop can become far more predictable, without relying on excessive bed heat or aggressive first-layer squish.
