


If you’re buying your first 3D printer, the first “wow” moment usually turns into the first “wait… it’s going to take how long?” moment.
That’s normal. FDM printing (the common filament kind) is slow for a reason: it builds parts one thin layer at a time, and your printer can only push so much plastic so fast without losing accuracy.
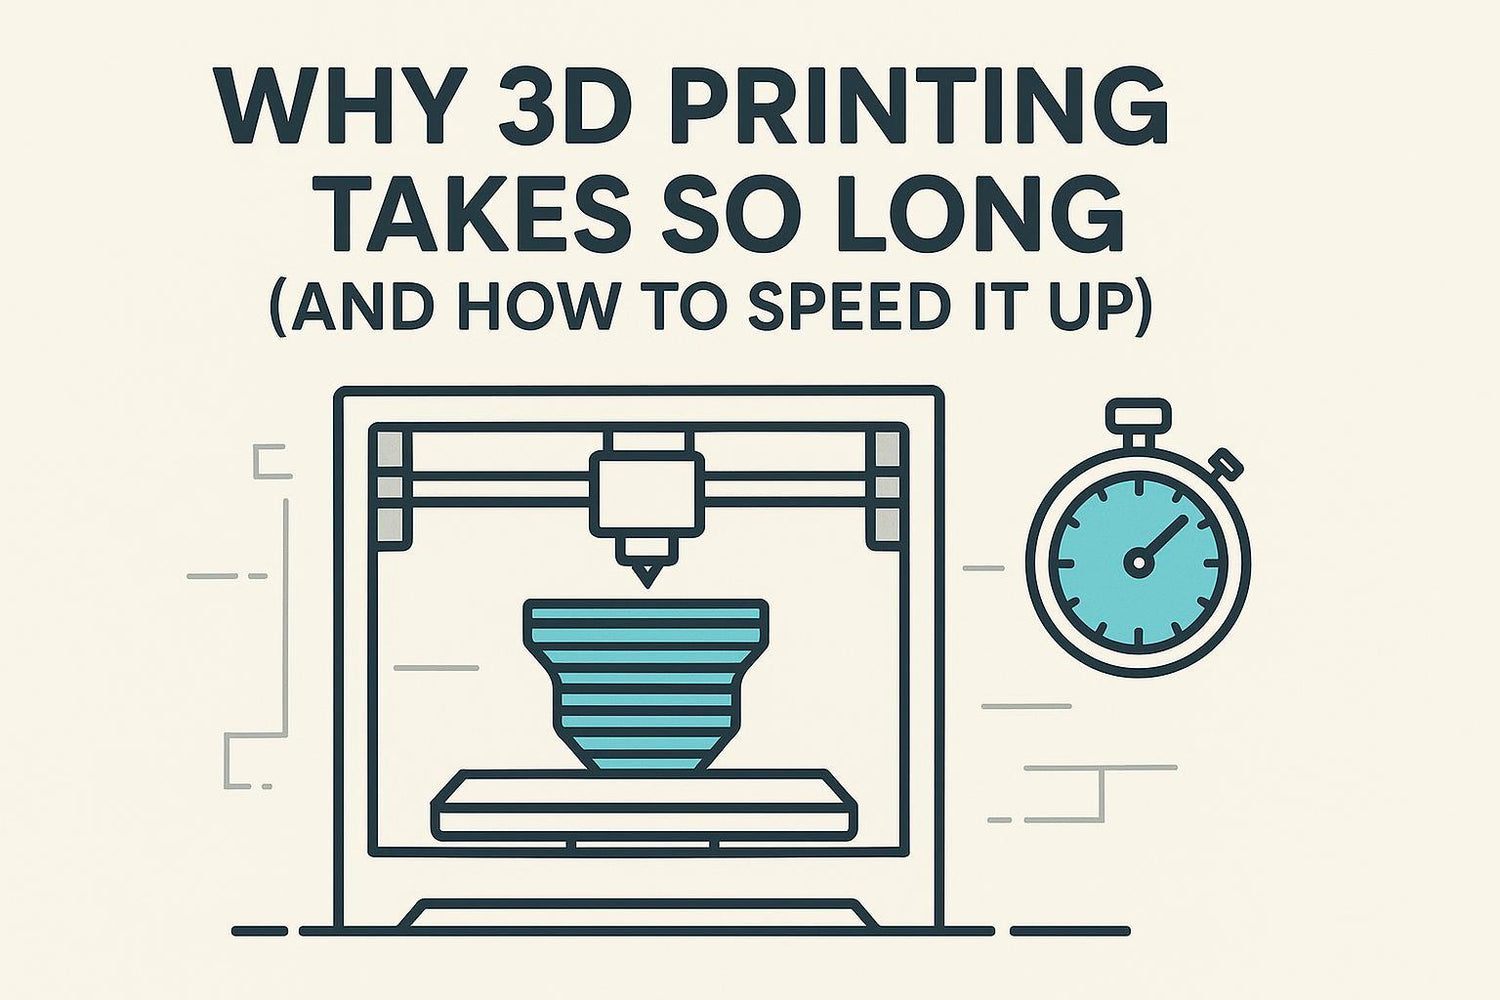
This guide explains what’s really making your prints take forever, then gives you a beginner-safe way to cut print time without turning your next job into a spaghetti pile.
Why 3D printing takes so long (a simple mental model)
A slicer’s time estimate comes from four big buckets:
- Number of layers: thinner layers = more layers = more time.
- Total toolpath length: complex models (lots of details) mean more back-and-forth movement.
- How much plastic you’re extruding: more walls, more top layers, more infill, more supports.
- Motion limits: even if you set “speed” high, the printer may never reach it (more on this below).
According to Raise3D’s guide on how long 3D printing takes (2024), print time is heavily influenced by part size/geometry and the settings you choose in your slicer.
Here’s the part beginners often miss: most prints aren’t limited by the “speed” number you typed in. They’re limited by layers, path length, and how fast the machine can accelerate and decelerate.
The fastest ways to reduce 3D print time (without buying anything)
You’ll get the best results if you change the “big levers” first. Cranking speed is usually a last step, not the first.
1) Increase layer height (fewer layers)
Why it matters: Layer height is the most direct “time multiplier.” If you print 0.12 mm layers instead of 0.24 mm layers, you roughly doubled the number of layers.
How to do it: If your default is 0.20 mm, try 0.24 mm for general-purpose prints. If you’re printing a functional bracket or something you’re going to sand/paint anyway, 0.28 mm can be fine.
What failure looks like: Fine text, sharp edges, and small details soften. Overhangs can get worse if you push too far.
Pro Tip: If your slicer has “adaptive” or “variable” layer height, turn it on. It uses thicker layers where the model is straight and thinner layers only where detail matters.
2) Drop infill percentage (and don’t use infill as “strength” by default)
Why it matters: Infill adds a lot of internal toolpath that you never see.
How to do it: For many everyday parts, 10–15% infill is enough. If you need strength, increasing wall count is often more effective than going from 15% to 40% infill.
What failure looks like: Top surfaces may sag if infill is too low and you don’t have enough top layers. Thin parts can feel hollow.
3) Reduce walls, top layers, and bottom layers (carefully)
Why it matters: Walls and solid top/bottom layers are “slow plastic.” They take time, but they also deliver real strength and surface quality.
How to do it:
- Start conservative: 2 walls, 3–4 top layers, 3–4 bottom layers.
- If your part is purely decorative, you can reduce more.
What failure looks like:
- Too few walls: brittle parts.
- Too few top layers: “pillowing” (you can see the infill pattern through the top).
4) Remove or minimize supports
Why it matters: Supports can easily add 30–100% to print time depending on the model.
How to do it:
- Re-orient the part so overhangs are reduced.
- If you’re printing something like a figurine, try a “tree support” style if your slicer has it.
What failure looks like: Overhangs droop, bridges sag, or your part fails at the unsupported section.
5) Split the model (or redesign for printing)
Why it matters: Some prints are slow because the design is forcing supports, tiny details, or a tall Z height.
How to do it:
- If a model is very tall, see if you can rotate it to be shorter.
- Consider splitting into two parts you can glue/screw together.
What failure looks like: More seams and post-processing, but often a much faster (and more reliable) print.
3D print speed vs acceleration: why “200 mm/s” doesn’t mean your print is faster
In your slicer, you’ll see settings like print speed, travel speed, and sometimes acceleration.
- Speed is how fast the toolhead would move if it could stay at that speed.
- Acceleration is how quickly it can reach that speed (and slow down again).
If your print has lots of short segments, corners, holes, and small features, the printer is constantly speeding up and slowing down. It never gets to your headline speed.
That’s why you can set speed from 60 mm/s to 120 mm/s and see almost no change on a detailed model.
There’s another hidden limiter: minimum layer time. On small parts, slicers may slow down so each layer has time to cool before the next one is laid down. If your small tower takes only 3 seconds per layer at high speed, the slicer might force it to 10–15 seconds per layer to prevent soft, melty layers.
A beginner-safe order of operations to cut print time
If you only follow one section, make it this one.
Step 1: Start with layer height
- If you’re at 0.20 mm, try 0.24 mm.
- Re-slice and compare time estimates.
Step 2: Reduce infill (then add walls only if you need strength)
- Try 10–15% infill.
- If you need a strong part, increase walls before you crank infill.
Step 3: Fix supports by changing orientation
- Rotate the part to reduce overhangs.
- Re-slice and check support volume.
Step 4: Then (and only then) bump speed modestly
- Increase speed by 10–20%.
- Don’t touch 12 settings at once. Change one thing, re-slice, then print a small test.
Step 5: Watch for the three classic “too fast” problems
- Ringing/ghosting (ripples after corners): acceleration/vibration limits.
- Under-extrusion (gaps, thin lines): flow can’t keep up.
- Weak layers (parts snap between layers): temperature/cooling mismatch.
If you hit any of these, back off. A 6-hour print that fails at hour 5 is slower than a 7-hour print that succeeds.
When firmware or hardware actually helps (and when it’s overkill)
If you’ve already done the slicer work and you still want faster prints, then it’s worth learning about firmware and printer design.
- Firmware like Klipper can help unlock higher-speed motion planning and features that make high-speed printing more stable.
- Some printer designs (like CoreXY) are built with high-speed motion in mind.
If you want the deeper explanation (without getting lost in jargon), start with Klipper vs Marlin differences for 3D printing and Sovol’s guide to increasing 3D printing speed.
If you’re browsing options, you can look at printers marketed around high-speed workflows like the Sovol SV08 3D printer or the compact Sovol Zero 3D printer. (Don’t fixate on the maximum speed number; real speed depends on the model you print.)
FAQ
How much faster can I realistically make my prints?
On many everyday models, cutting time by 20–40% is realistic just from slicer settings (layer height, infill, supports). If you’re trying to cut time in half, you usually need to accept a visible quality trade-off or redesign the model.
Why does my slicer estimate change so much when I change one setting?
Because one setting often changes more than you think. For example, changing layer height changes the number of layers, which changes how often the printer has to do per-layer moves.
Is it safe to just increase temperature to print faster?
Sometimes, but it’s not a beginner shortcut.
Higher temps can help the nozzle melt plastic fast enough at higher flow, but too hot can cause stringing, blobs, and worse overhangs. If you change temperature, do it in small steps and print a quick calibration piece.
Why do tall prints take longer than wide prints?
Tall prints require more layers. Even if the part isn’t “big,” a tall Z height forces the printer to repeat the same per-layer routines many more times.
Next steps
If you want a safe baseline, take your next model and try just two changes: 0.24 mm layer height and 10–15% infill. Re-slice. You’ll usually see a meaningful time drop right away.
If you want more speed without guessing, browse Sovol’s 3D printer collection and compare which models are designed for stable higher-speed motion.

Produit recommandé
Sovol SV08 Max — Imprimez jusqu'à 700 mm/s
Fini les longues attentes. Le SV08 Max avec sa cinématique CoreXY et ses rails linéaires XYZ imprime jusqu'à 700 mm/s sur un volume de 500×500×500 mm³ — sans compromis sur la qualité.