
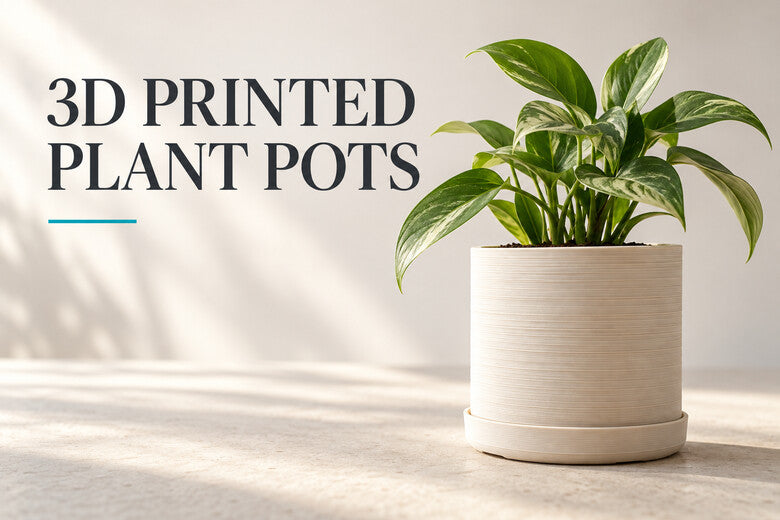
A 3D printed plant pot is a satisfying weekend project: you can make it fit a windowsill, match a room, and print a saucer to go with it. The most important design choice is practical rather than decorative: where will excess water go?
This guide covers two easy approaches—a pot with drainage holes and a removable decorative outer pot—plus material choices, printing tips, and a quick test before you add a plant.
First decide: planter or decorative cachepot?
A planter holds potting mix and the plant directly. For most houseplants, it needs open drainage holes so extra water can escape. Put a saucer underneath and empty water that collects there according to the plant's needs.
A cachepot is a decorative outer container. Keep the plant in a removable nursery pot with drainage holes, then place that pot inside the printed shell. Lift the inner pot out for watering and let it drain before returning it. A closed cachepot is not a substitute for drainage: water left standing around the inner pot can cause problems.

Design the drainage before the pattern
If you print a planter that will hold soil directly, include several clear openings in the base. Their size and number should suit the pot and the potting mix; there is no single hole layout that works for every plant. In the slicer preview, check that the openings survive slicing and are not bridged shut by the first layers.
Keep the base stable, with enough contact area that the pot will not tip when the plant grows. Small feet or a raised base can leave room for water to reach the holes, but they must be broad enough to print and stand reliably. Avoid a deep hollow below the pot that traps water where you cannot see or clean it.

Make a saucer that actually fits
A matching saucer protects a shelf from routine runoff, but a typical FDM print should not be assumed watertight simply because it looks solid. Design the saucer slightly wider than the pot's footprint, with a low raised rim and a flat, stable base. Leave enough clearance to lift the pot out easily.
For a desk or sensitive furniture, test the empty saucer with water on a safe surface and use an additional waterproof liner if needed. Empty standing water after watering rather than treating the saucer as a reservoir. If you prefer a cachepot, a separate waterproof inner tray can make cleanup easier.

Which filament should you choose?
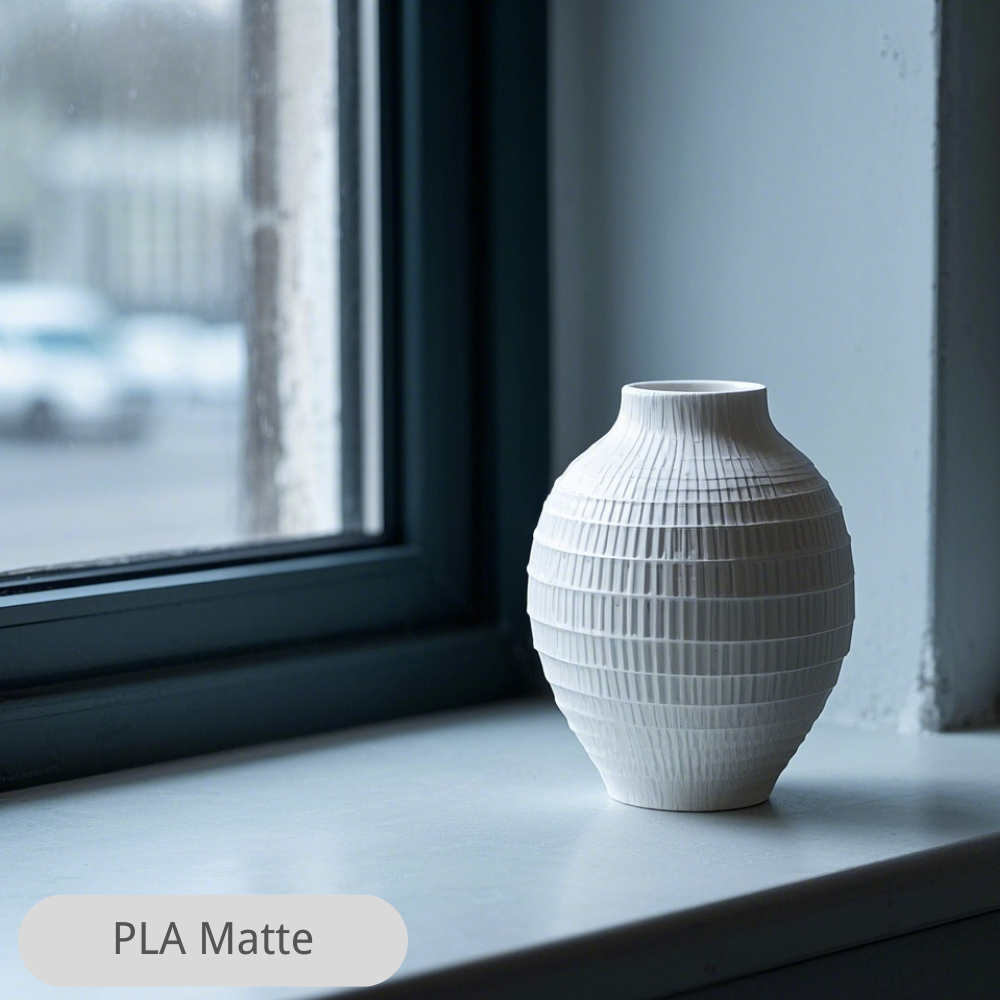
- PLA: an easy starting point for an indoor decorative cachepot away from strong heat and prolonged direct sun. Do not rely on it for a hot window ledge or exposed outdoor use without testing.
- PETG: a practical option for a pot that will be handled and watered regularly. Its material properties do not make a printed object automatically watertight; print quality and leak testing still matter.
- ASA: worth considering for a pot exposed to sun and weather, if your printer, ventilation, and filament setup support it. Outdoor performance also depends on the exact formulation and printed design.
Follow the filament maker's settings and the printer's material limits. If a printed pot will touch edible plants, treat the print as a gardening container, not as proof that the plastic and printing process are certified for food contact.
Print settings that matter most
- Start with a proven material profile. Use the installed nozzle size and the filament actually loaded; then choose a moderate layer height appropriate to that profile.
- Check wall continuity. Preview the outer and inner perimeters, especially around textured patterns and narrow sections. A decorative groove should not leave a fragile wall.
- Give the bottom real thickness. A base with a few solid layers may still be too thin at a small layer height. Inspect the actual thickness in millimeters and the drainage-hole edges.
- Print upright when possible. A simple open pot usually prints with its base on the bed and little or no support. Ensure the first layer is clean and well attached.
- Test the fit early. If you are making a cachepot for an existing nursery pot, print a short ring of the proposed opening and check the fit before printing the full height.
Vase mode makes attractive continuous walls, but its typical single-wall construction is a poor default for a planter that will be filled with damp soil and moved often. Use it for a suitable decorative sleeve, or test its strength and leakage carefully for your specific use.
Add color without complicating the plant care
Color works best when it clarifies the design: a contrasting rim, a narrow band, or a small label for the plant species. Keep decorative relief away from the saucer's contact surfaces and the drain holes. Preview each color region to catch tiny islands or unnecessary changes before printing.
For a project with several colors, a multi-tool system can keep colors in separate hotends. The Sovol M1D is designed with one fixed and six interchangeable toolheads for up to seven colors or materials. That can make a multicolor pot, matching saucer, and label a natural design exercise; the best choice still depends on the actual print, material compatibility, and slicer setup. Its near-zero purge-waste concept means less conventional flushing, not an absolute guarantee of zero waste.
A simple weekend workflow
- Choose a plant and measure its current nursery pot, or decide on the volume of the new planter.
- Choose direct planting with drainage holes or a removable inner pot in a cachepot.
- Model the pot, check its footprint and wall thickness, and add drainage or clearance accordingly.
- Make a saucer or liner that suits the surface where the pot will stand.
- Slice and inspect the first layers, holes, walls, bottom, and any color changes.
- Print a short fit test if the design must accept an existing inner pot.
- Print the parts, remove loose strands, and clear every drainage opening.
- Test the pot and saucer with water over a sink or on a protected surface before placing them on furniture.
Common mistakes
- Closing the bottom and planting directly: without an exit for excess water, watering becomes hard to manage for most houseplants.
- Making the saucer flush with the pot: there is little room to catch runoff or lift the pot.
- Assuming a print is watertight: layer lines and seams can leave small leaks; test the actual piece.
- Using PLA anywhere outdoors: heat and sun exposure depend on the site and material; choose and test accordingly.
- Printing the full cachepot before checking fit: a short test ring can save time and filament.
- Blocking drainage with decoration: inspect the final sliced paths rather than only the CAD model.
FAQ
Can I put soil directly into a 3D printed pot?
Yes, if the pot has suitable open drainage, a stable base, and a material appropriate to its location. Clean the print, inspect the holes, and test watering in a safe place. A removable nursery pot is often easier to maintain.
Does a 3D printed plant pot need holes?
For most plants grown directly in potting mix, drainage holes are the safer starting point. A decorative outer cachepot can have a closed base if a separate inner pot drains elsewhere and standing water is removed.
Is PETG waterproof?
PETG filament and a finished FDM print are not the same thing. Small gaps between printed paths or at the seam can leak. Test the finished pot or saucer if it must hold water.
What is the easiest first project?
Print a simple decorative cachepot sized for an existing nursery pot. You can focus on fit and appearance while keeping the plant in its familiar draining container.
How do I prevent water on furniture?
Use a saucer or waterproof liner, test it before use, and empty excess water. For valuable surfaces, add a second protective barrier beneath the printed parts.
Conclusion
A good 3D printed plant pot starts with the watering plan. Decide whether the print itself will hold soil or whether it will be a removable decorative cover. Then build in open drainage, a stable base, and a saucer or liner that fits the real surface.
Choose filament for the pot's location, inspect the sliced paths, and test the finished parts with water. Once those practical details work, shape, texture, and color can make the pot feel genuinely yours.
