


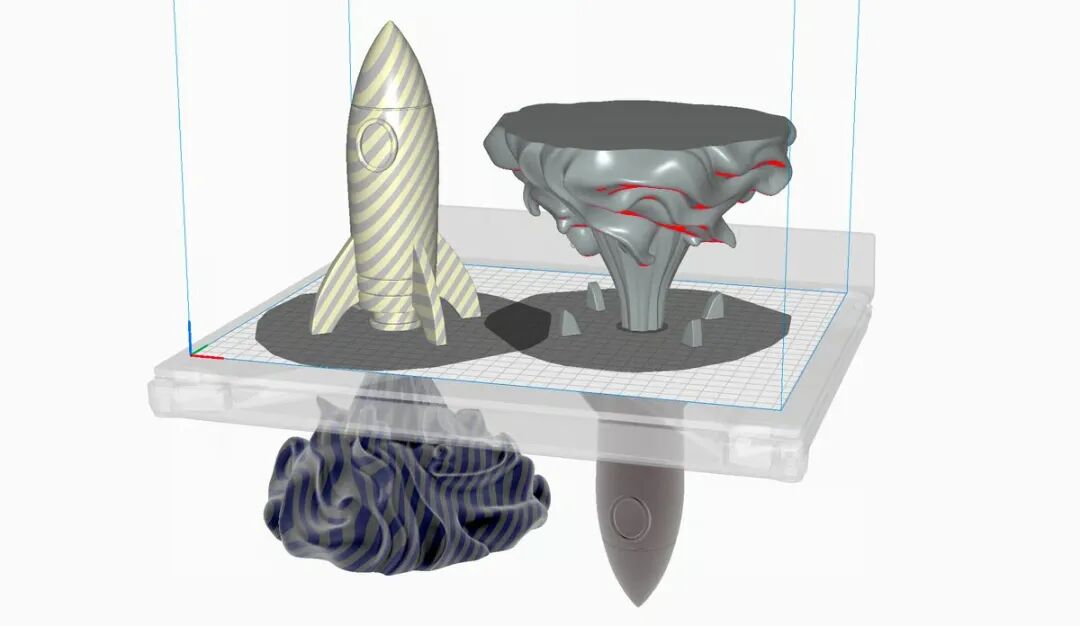
Diviser un modèle 3D en parties plus petites permet d'imprimer de grandes tailles sur des plateaux de construction compacts, réduit le gaspillage de matériaux de support et améliore le taux de réussite des modèles complexes — et le meilleur, c'est que vous n'avez pas besoin de logiciel dédié pour le faire.
La plupart des logiciels de découpe modernes intègrent des outils permettant de découper directement les fichiers STL. Ce guide mis à jour présente quatre des logiciels de découpe les plus utilisés actuellement :
- Studio Bambu
- PrusaSlicer
- Trancheur d'orques
- Ultimaker Cura
Heureusement, Bambu Studio, PrusaSlicer et Orca Slicer fonctionnent de manière très similaire. Cura, en revanche, nécessite un plugin.

Avant de nous lancer, il est important de ne pas confondre "Couper" et "Diviser."
Couper ou fendre : quelle est la différence ?
Dans les trancheuses, le Outil de coupe Cela fonctionne comme découper un cupcake avec un couteau. Le modèle est découpé net le long d'un plan défini, créant ainsi deux parties distinctes.
Diviser, En revanche, c'est différent.
Si votre fichier STL contient plusieurs pièces indépendantes regroupées, vous pouvez les « séparer » en objets distincts afin de pouvoir les agencer individuellement ou n'imprimer qu'une seule pièce.
Dans ce guide, nous aborderons également :
- Diviser en objets
- Diviser en parties
De plus, Bambu Studio, PrusaSlicer et Orca Slicer vous permettent d'ajouter connecteurs (comme des goupilles, des bouchons, des queues d'aronde ou des enclenchements) afin que les pièces imprimées puissent être assemblées sans colle.
Pourquoi scinder un modèle ?
Imprimer un modèle volumineux ou complexe en une seule pièce n'est pas toujours idéal. Le fractionnement peut s'avérer utile dans les cas suivants :
- Le modèle dépasse le volume d'impression de votre imprimante
- De grands porte-à-faux nécessiteraient un soutien excessif
- Différentes sections bénéficient d'orientations différentes.
- Plusieurs matériaux sont nécessaires
- Vous souhaitez imprimer en plusieurs parties et les assembler ensuite.
Le fractionnement des modèles dans les logiciels de segmentation est devenu plus facile que jamais, mais chaque outil possède ses propres caractéristiques.
Quand vous avez besoin d'un logiciel de CAO à la place
Les trancheuses sont pratiques pour les découpes planes de base. Cependant, si votre modèle nécessite :
- Joints structuraux précis
- Lignes de séparation complexes
- Coutures invisibles
- Tolérances précises
- Solides étanches à l'eau après séparation
Ensuite, la préparation ou le fractionnement du modèle dans un logiciel de CAO (tel que Onshape ou Mixer) avant le tranchage est souvent la solution la plus fiable.
Les outils de CAO offrent :
- Contrôle et précision accrus
- Conception de joint sur mesure
- géométrie solide propre
- Meilleur positionnement des coutures le long des contours
Les logiciels de découpe effectuent généralement des coupes planes simples directement sur les données du maillage, ce qui peut introduire des imperfections.
Pour les travaux rapides, les découpes à la trancheuse sont pratiques.
Pour les conceptions fonctionnelles et les assemblages multi-pièces, la CAO reste la meilleure option.
01 — Découpage/Splitting in Bambu Studio
Bambu Studio comprend à la fois un Outil de coupe et les options de fractionnement.
Utilisation de l'outil de coupe
L'outil Découper vous permet de définir un plan qui divise le modèle en deux parties.

Après la découpe :
- Vous obtenez deux pièces imprimables
- Vous pouvez conserver les deux parties ou en jeter une.
- Vous pouvez les repositionner indépendamment.

Mesures
- Importez votre fichier STL/3MF
- Sélectionnez le modèle
- Activer l'outil de coupe
- Positionnez le rabot de coupe (ou tenez-le). Maj + glisser (définir une ligne de coupe)
- Cliquez Effectuer une coupe
Si les pièces ne tiennent pas sur une seule plaque, utilisez la Organiser outil permettant de les déplacer sur des plateaux de construction séparés.

Vous pouvez gérer ou exporter des pièces individuelles via la liste des objets.
Ajout de connecteurs
Bambu Studio vous permet d'ajouter des connecteurs après la découpe :
- Prises
- Épingles
- Connecteurs à enclenchement rapide
Cliquez Ajouter un connecteur, Cliquez ensuite sur la surface découpée orange pour la placer. Vous pourrez ajuster la taille et la profondeur par la suite.

Remarque : Vous ne pouvez découper un modèle qu’en deux parties à la fois. Pour créer d’autres sections, répétez l’opération sur l’une des pièces découpées.
Diviser en objets
Si votre fichier STL contient plusieurs maillages regroupés, utilisez Diviser en objets les séparer pour les agencer et les manipuler individuellement.
02 — Division/Découpe dans PrusaSlicer
PrusaSlicer inclut une fonction de découpe dédiée similaire à celle de Bambu Studio.
Il offre également Diviser en objets, ce qui s'applique aux modèles multi-parties déjà regroupés.

Utilisation de l'outil de coupe
- Importez et sélectionnez votre modèle
- Presse C ou cliquez sur l'icône Couper
- Assurer Mode avion est sélectionné (sauf si vous souhaitez spécifiquement une coupe en queue d'aronde)
- Déplacez ou faites pivoter le plan de coupe
- Ajustez les valeurs exactes dans le panneau si nécessaire.
- Sous « Résultat de la coupure », choisissez : Couper sur les objets (parties indépendantes),Découpé en pièces (regroupés sous un seul modèle parent)
- Cliquez Effectuer une coupe

Découpe par parties vs. Découpe par objets
Découpé en pièces
- Les pièces restent groupées
- Déplacer/redimensionner/faire pivoter ensemble
- Découper comme un seul objet
- Utile pour le regroupement de plusieurs matériaux ou le regroupement logique
Couper sur les objets
- modèles totalement indépendants
- Peut être déplacé, dupliqué, masqué ou découpé séparément.
- Idéal pour l'impression et l'assemblage séparés
Les connecteurs (broches, fiches, clips) peuvent également être activés avant de confirmer la découpe.
03 — Découpe/Fendage dans la trancheuse Orca
Orca Slicer fonctionne de manière quasiment identique à Bambu Studio et PrusaSlicer.

Mesures
- Sélectionnez le modèle
- Activer l'outil de coupe
- Ajuster le plan de coupe (de manière interactive ou par saisie numérique)
- Confirmer la coupure
Le modèle se divise en deux objets indépendants qui peuvent être repositionnés ou exportés séparément.
Des connecteurs optionnels (broches, prises, systèmes de fixation rapide) peuvent être ajoutés avant confirmation.
Fonction fractionnée
L'option Split n'est utilisée que lorsque le fichier STL contient déjà plusieurs coques distinctes.
Si l'option Fractionner est grisée :
- Le modèle n'est pas sélectionné.
- Ou bien il ne contient pas plusieurs sous-objets.
04 — Division/Découpe dans Cura
Cura est assez différent des autres logiciels de découpe.
C'est le cas pas Inclure un outil de découpe natif dans le logiciel de base.

Vous devez en revanche installer un plugin depuis le Marketplace appelé :
Banane split
Comment fonctionne le Banana Split
Ce plugin vous permet de :
- Déplacez une partie du modèle sous le plateau de construction.
- Découpez uniquement la partie située au-dessus de l'assiette.
Cura ne générera de trajectoires d'outil que pour la géométrie située au-dessus de la surface de construction.
Cependant:
- Il ne crée pas deux objets maillés indépendants
- Il ne propose pas d'options de connexion
- Il fait référence uniquement au plan du plateau de construction.
Cela en fait davantage une solution de contournement pour le « découpage à l'impression » qu'un véritable outil d'édition de maillage.
Division des fichiers STL multi-mailles
Pour séparer les maillages groupés dans Cura, installez un autre plugin :
Outils de maillage
Après l'installation, cliquez avec le bouton droit sur le modèle et choisissez :
Modèle divisé en parties
Cela ne fonctionne que si la STL contient déjà plusieurs enveloppes séparées.
Réflexions finales
Pour les divisions planaires simples, les logiciels de découpe modernes rendent le processus incroyablement facile, notamment Bambu Studio, PrusaSlicer et Orca Slicer, qui offrent :
- Coupe plane véritable
- objets de maillage indépendants
- Options de connecteurs intégrés
Cura peut obtenir des résultats similaires grâce à des plugins, mais il est moins performant pour la véritable manipulation de maillages.
Si vous avez besoin d'assemblages précis, de joints invisibles ou d'assemblages structurels, les logiciels de CAO restent le choix le plus fiable.
Pour des ajustements rapides et une adaptation aux modèles de grande taille, votre logiciel de découpe est plus puissant que vous ne le pensez.