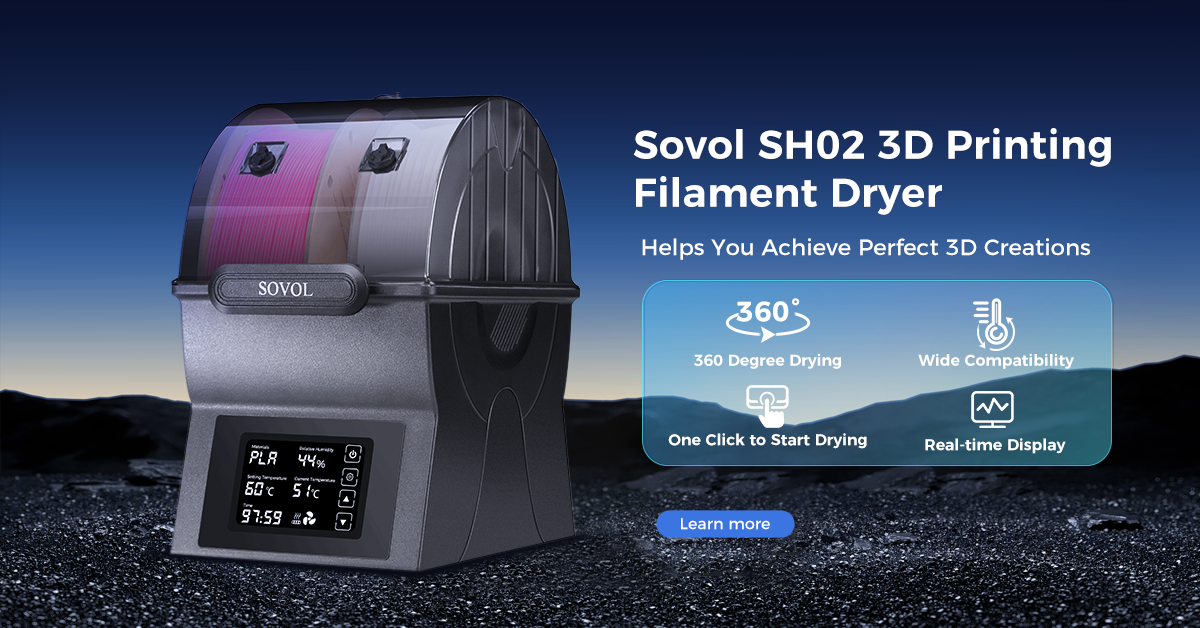
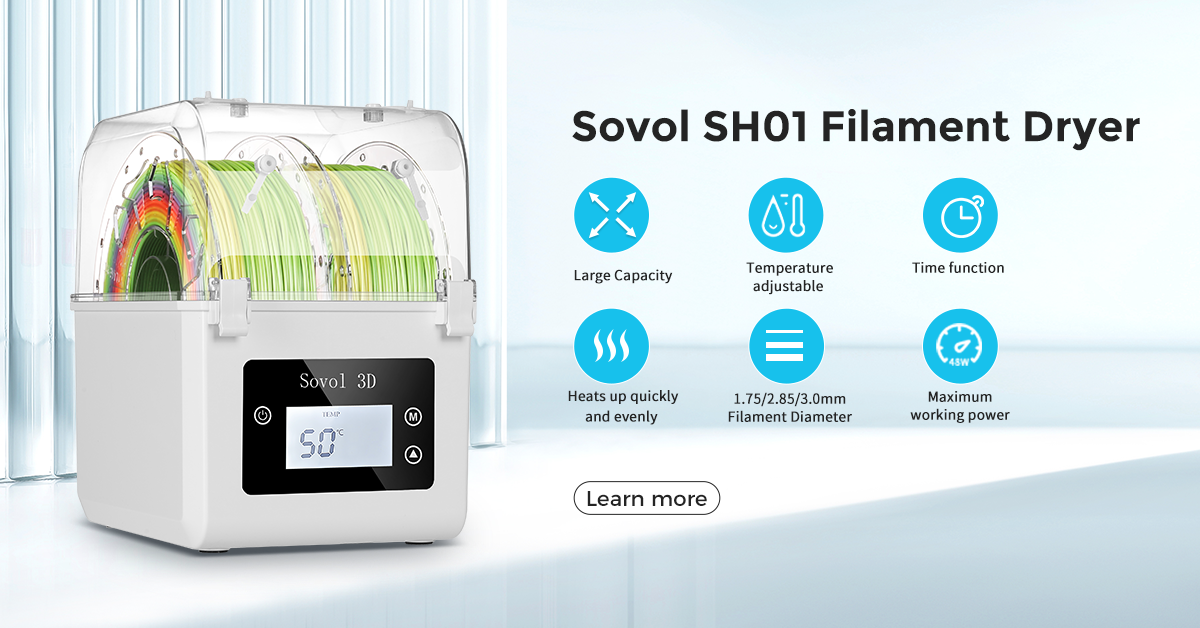
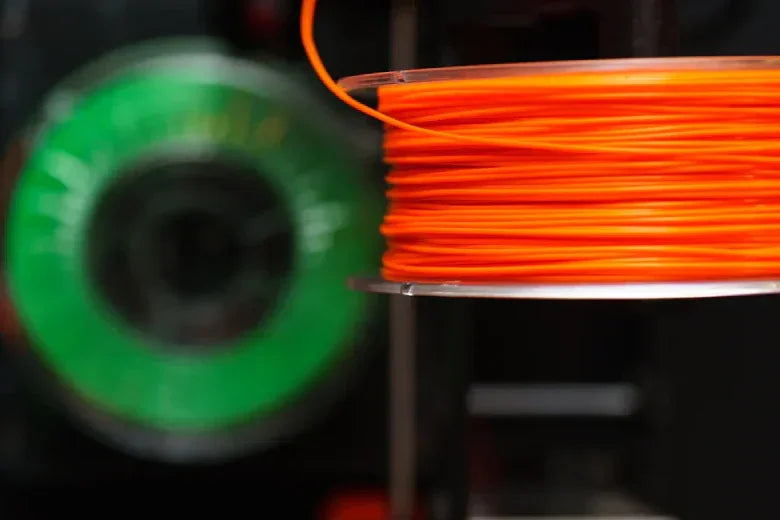
If you want the best results from your 3d printing filament, you need to keep it dry. Moisture can sneak in and ruin your prints, making them rough or weak. Filament dryers, like a filament trockner, help you avoid those problems. You get smoother, shinier, and more accurate prints when you dry your filament first. Drying stops bubbles and rough spots before they start. Regular maintenance and careful monitoring make sure your prints always look their best.
Filament Dryers and Print Quality
Moisture Effects
When you leave your filament out in the open, it can soak up water from the air. This moisture causes all sorts of problems when you print. You might see bubbles in your prints or notice that the plastic does not flow smoothly. Sometimes, your printer leaves thin, stringy bits or oozes extra material. These issues make your prints look messy and weak.
Here’s a quick look at the most common print defects caused by moisture:
|
Print Defect |
Description |
|---|---|
|
Bubbles |
Moisture turns to steam and forms bubbles inside the filament during printing. |
|
Under-extrusion |
The nozzle gets partly clogged, so less plastic comes out, making prints uneven. |
|
Stringing |
Thin strands appear between parts of your print, often because of extra moisture. |
|
Oozing |
Filament leaks from the nozzle, leaving blobs or drips on your print. |
Moisture does more than just mess up the surface. It can also make your printed parts weaker. When your filament absorbs water, it can swell and lose its shape. This means your prints might not fit together or hold up as well. Drying your filament can actually make your prints up to 15% stronger and help them keep their shape.
Why Use a Filament Dryer
You want your prints to look great and last a long time. That’s where filament dryers come in. These handy devices pull moisture out of your filament before you start printing. When you use filament dryers, you avoid bubbles, stringing, and other defects. Your print quality goes up, and you waste less time fixing problems.
Studies show that drying your filament the right way makes a big difference. For example, drying single strands works better than drying a whole spool because more surface area gets exposed. Filament dryers also help you keep your filament at the best humidity level. When you store your filament in a dryer or a desiccator, you get better results every time you print.
Tip: Use filament dryers before every print to keep your filament in top shape and get the best print quality possible!
Best Practices for Filament Drying
Dry filament is the secret to strong, smooth 3D prints. If you want to get the most out of your printer, you need to follow the best practices for filament drying. Let’s break down what you should do before, during, and after drying.
Temperature Settings
Getting the drying temperature right is super important. If you set it too high, you can damage your filament. If you set it too low, you might not remove enough moisture. Each type of filament needs its own temperature. Here’s a handy table to help you choose the right setting:
|
Filament Type |
Recommended Temperature (°C) |
Drying Time (hours) |
|---|---|---|
|
PLA |
40–50 |
4–6 |
|
ABS |
80 |
4–6 |
|
PETG |
60–65 |
4–6 |
|
Nylon (PA) |
80–90 |
6–12+ |
|
TPU/TPE |
40–45 |
4–6 |
|
ASA |
80–85 |
4–6 |
|
PVA |
45 |
3–4 |
You should always check your filament’s label or the manufacturer’s website for the optimal drying temperature. Some dryers have presets, but not all filaments are the same. For example, PLA can get brittle if you dry it above 60°C. Nylon needs more heat and time because it soaks up more water. If you use an oven, keep the temperature between 150°F and 180°F (65°C to 82°C) for 2 to 6 hours.
Tip: Never guess the temperature. Using the wrong setting can make your filament brittle or soft. Always double-check before you start.
Drying Times
The right drying time matters just as much as the temperature. If you don’t dry your filament long enough, it will still have moisture inside. If you dry it too long, you might damage it. Here’s a quick guide:
|
Filament Type |
Typical Drying Time (hours) |
|---|---|
|
PLA |
4–6 |
|
ABS |
4–6 |
|
PETG |
4–6 |
|
Nylon (PA) |
6–12+ |
|
TPU/TPE |
4–6 |
|
ASA |
4–6 |
|
PVA |
3–4 |
Nylon needs the longest drying time because it absorbs a lot of water. If you print with wet nylon, your parts can lose up to 60% of their strength and 40% of their stiffness. That’s a big drop! Always set a timer and don’t rush the process. Good drying methods help you avoid bubbles, cracks, and weak prints.
Handling After Drying
Once you have dry filament, you need to keep it that way. As soon as you open the dryer, the filament can start soaking up moisture again. Here’s what you should do:
- Remove the filament spool quickly and place it in an airtight container with desiccant.
- Use vacuum-sealed bags with moisture indicators for extra protection.
- Store your filament in a dry box with electronic humidity control if you have one.
- Keep the relative humidity below 20% RH for the best results.
- Use a hygrometer to check the humidity inside your storage box.
Note: Always let your dryer cool down before you open it. This helps prevent sudden temperature changes that can cause condensation.
If you want to air out your dryer box, unplug it first and let it cool. Wipe down the inside with a dry cloth to remove any leftover moisture. Make sure the seals are clean and tight before you use it again.
Checking compatibility between your filament and dryer settings is also important. Not all filaments can handle the same heat. For example, PLA works best at 40–50°C, while nylon can go up to 90°C. If you use the wrong settings, you might ruin your spool.
Callout: Always match your dryer settings to your filament type. This keeps your dry filament in top shape and helps you avoid waste.
By following these steps, you can keep your filament dry and ready for printing. Good storage and careful handling make a huge difference in print quality. Stick to these best practices for filament drying, and you’ll see better results every time.
Storing 3D Printing Filament
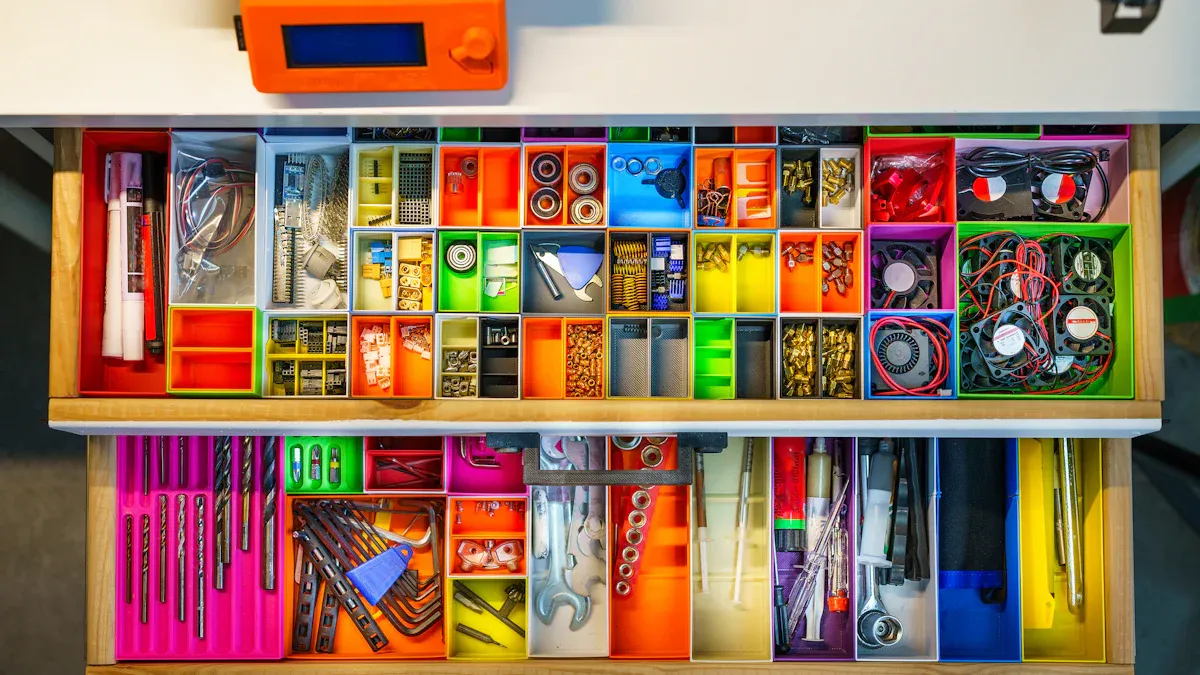
Keeping your filament dry after you finish drying it is just as important as the drying process itself. If you store your filament the right way, you can avoid moisture problems and keep your prints looking sharp.
Airtight Containers
Airtight containers work great for storing 3D printing filament. You have a lot of choices, and some are better than others. Here’s a quick table to help you compare:
|
Container Type |
Price (USD) |
Description |
|---|---|---|
|
PRAKI Dry Food Storage Containers |
< $25 |
Fits every roll, more airtight than bags, clear for easy viewing. |
|
PrintDry Spool Container |
N/A |
Good for single rolls, keeps moisture out. |
|
Rubbermaid 21 cup Containers |
N/A |
Another solid choice for single rolls. |
|
STACKER F-Box |
$50 |
Not needed if you don’t print straight from the box. |
|
Kingroon |
< $30 |
Budget-friendly, but may not fit every need. |
|
PrintDry containers (set of six) |
$75 |
Higher price, mixed reviews, but holds several spools. |
You should always keep the lid closed tight. PRAKI containers work better than plastic bags because they seal out air and moisture. For extra protection, toss in a few silica gel packs to soak up any leftover humidity.
Ziploc Bags and Silica Gel
Ziploc bags can help if you need a quick storage fix. They don’t block all moisture, but you can boost their power by using silica gel inside the bag. Double-bagging helps, too. Freezer bags might leak after a while, so check them often. If you want the best results, vacuum-sealed bags do a better job than regular Ziplocs. Still, a Ziploc with a desiccant pack can keep your filament dry for a couple of weeks.
Tip: Use 1-2 ounces (28-56 grams) of silica gel for every cubic foot (28.3 liters) of storage space. For filaments that soak up water fast, use 2 ounces per cubic foot.
Using a Hygrometer
A hygrometer lets you see how much moisture is in your storage box. You want to keep the humidity between 30% and 50%. Some people like it even lower, around 10% to 30%, for extra safety. Place the hygrometer inside your container so you can check the numbers at a glance. If the humidity goes up, add more silica gel or swap out the old packs. AcuRite and Traceable hygrometers work well and give you accurate readings. These tools help you spot problems before your filament gets ruined.
Note: A hygrometer helps you act fast if moisture sneaks in. You can keep your filament safe and ready for your next print.
Maintaining Filament Dryers
Taking care of your filament dryer keeps your 3d printing projects running smoothly. You want to make sure your filament stays dry and ready for action. Regular maintenance helps you avoid problems and keeps your prints looking sharp. Let’s look at the main tasks you should do to keep your filament dryer in top shape.
Cleaning
Dust and leftover bits can build up inside your filament dryer. If you let dirt stay, it can mess with humidity control and even affect your printing results. You should clean the inside of your dryer every week. Use a soft, dry cloth to wipe down the surfaces. Make sure you get into the corners and around the seals. If you see any sticky spots, use a little rubbing alcohol on a cloth. Never use water inside the dryer. Water can damage the electrical parts and ruin your dryer.
Tip: Clean the outside of your filament dryer too. Dust can sneak into vents and cause problems with daily moisture removal.
Checking Seals
The seals on your filament dryer keep moisture out. If the seals crack or get loose, humidity control drops and your filament can get wet. You should check the seals every time you use the dryer. Look for gaps, tears, or spots where the seal does not touch the lid. Press gently on the seal to make sure it feels soft and springy. If you find a problem, replace the seal right away. Good seals help with maintaining filament quality and keep your 3d printing filament dry.
Here’s a quick checklist for seal inspection:
- Look for cracks or tears.
- Check for gaps between the seal and the lid.
- Make sure the seal feels soft, not hard or brittle.
- Replace damaged seals as soon as possible.
Replacing Desiccant
Desiccant packs pull moisture out of the air inside your filament dryer. Over time, desiccant stops working and needs to be replaced or recharged. You can spot when desiccant needs attention by looking for these signs:
- The desiccant changes color at about 20% humidity. This means it may not work well.
- Color-changing desiccants start blue when dry and turn pink when full of moisture.
- If the desiccant is completely pink, it has soaked up all the water and needs to be dried out.
You should replace the desiccant every month if you do not open the dryer often. If you use your filament dryer a lot, check the desiccant more often. You can recharge most desiccant packs by microwaving them for 3-5 minutes. Let them cool before putting them back in the dryer.
Note: Always use enough desiccant for your dryer size. Too little desiccant means poor humidity control and wet filament.
Inspecting Electrical Parts
Your filament dryer uses heat and fans to keep filament dry for 3d printing. You need to check the electrical parts to make sure everything works safely. Look at the power cord for any cuts or fraying. Check the plug for bent prongs. Make sure the control panel lights up and the buttons respond. Listen for strange noises when the dryer runs. If you smell burning or see sparks, unplug the dryer right away.
You should also test the temperature accuracy. Use a small thermometer inside the dryer to see if the display matches the real temperature. If the numbers do not match, your filament dryer may not dry filament properly. Fix any problems before you use the dryer again.
Here’s a simple table for electrical safety checks:
|
Task |
What to Look For |
Action to Take |
|---|---|---|
|
Power cord |
Cuts, fraying |
Replace if damaged |
|
Plug |
Bent prongs |
Straighten or replace |
|
Control panel |
Lights, button response |
Repair if not working |
|
Temperature accuracy |
Matches thermometer reading |
Calibrate or fix |
|
Smell/noise |
Burning, strange sounds |
Unplug and inspect |
Callout: Safe electrical parts help your filament dryer last longer and protect your 3d printing setup.
By following these steps, you keep your filament dryer working well. You get better humidity control, stronger prints, and less waste. Regular cleaning, seal checks, desiccant replacement, and electrical inspections help you avoid trouble and keep your 3d printing filament ready for action.
Filament Trockner: International Tips
Comparing Dryer Types
Filament dryers come in many styles around the world. In Europe, people often call them a filament trockner. You might not know which one is right for you. Here is a table to help you compare:
|
Type of Dryer |
Best For |
Pros |
Cons |
|---|---|---|---|
|
Single-Spool Dryers |
Occasional users or those with limited space |
Compact, affordable, energy-efficient |
Limited capacity, may require frequent spool changes |
|
Multi-Spool Dryers |
Print farms or multi-material workflows |
Dry multiple filaments simultaneously, time-saving |
Larger footprint, higher price point |
|
Dryer Boxes with Printing Passthrough |
Continuous printing in humid environments |
Allows printing directly from the dryer |
More complex setup, limited to certain printer types |
If you are new to 3D printing, pick a simple filament trockner. Look for easy buttons and automatic settings. These make drying your filament simple. If you print often or use special filaments, choose a filament trockner with extra features. Advanced models let you dry nylon or polycarbonate. You can also control the temperature and drying time.
Tip: Pick a filament trockner that fits how you print. This helps you save time and get better prints.
Global Best Practices
People everywhere use smart ways to keep filament dry. These tricks help your filament trockner work well. Try these best practices for better results:
- Keep your filament trockner clean. Dust and crumbs can ruin your prints.
- Make sure your workspace has fresh air. Good airflow helps your filament trockner work better.
- Use a spool that does not melt in heat. Regular spools can bend if they get too hot.
Here is a quick chart for drying different materials:
|
Material |
Temperature |
Time in Oven |
|---|---|---|
|
PC |
80°C-90°C |
7-10 hours |
|
ASA |
80°C-85°C |
4-6 hours |
|
Nylon |
75°C-90°C |
4-6 hours |
|
ABS |
65°C-75°C |
4-6 hours |
|
PETG |
60°C-65°C |
4-6 hours |
|
PLA |
40°C-50°C |
4-6 hours |
|
TPU |
40°C-45°C |
4-5 hours |
You do not need fancy tools to follow these tips. Just watch your filament trockner and keep your area neat. You will see better prints and have fewer problems.
Troubleshooting Filament Dryers
Even the best filament dryers can run into problems. If your prints start looking rough or weak, your dryer might need a quick fix. Let’s look at some common issues and how you can solve them.
Filament Still Wet
You pull your filament out of the dryer, but it still feels sticky or prints with bubbles. This usually means the filament did not dry long enough or the temperature was too low. Try these steps:
- Double-check the drying time and temperature for your filament type.
- Make sure the dryer door or lid seals tight.
- Add more drying time if your room is humid.
- Replace or recharge the desiccant packs.
If you notice layer adhesion issues, wet filament is often the cause. Drying your filament properly helps your prints stick together better.
Heating Issues
Sometimes, the dryer does not heat up at all or gets too hot. First, check the power cord and plug. If the control panel does not light up, unplug the dryer and inspect for damage. Use a thermometer to see if the inside matches the set temperature. If the dryer overheats, let it cool down before trying again. Never use a dryer that smells like burning plastic.
Tip: Always keep an eye on the temperature display. A faulty heater can lead to poor adhesion and weak prints.
Spool Rotation Problems
If your filament spool does not spin smoothly, the dryer might jam. Look for tangled filament or dust in the spool holder. Clean the holder and make sure the spool sits flat. If the problem continues, check for broken parts or bent rods.
Error Codes
Many filament dryers show error codes when something goes wrong. Check your user manual for what each code means. If you see a code you do not recognize, unplug the dryer and contact support. Listen for strange noises or watch for flashing lights. These signs can help you spot trouble early.
Note: Fixing small problems right away keeps your filament dryer running strong and your prints looking great.
Quick Maintenance Checklist
Weekly Tasks
You want your filament dryer to work its best every time. A simple weekly routine keeps things running smoothly. Here’s what you should do each week:
- Lubricate moving parts. A little oil on the rails and bearings helps everything move without sticking.
- Tighten belts and screws. Loose parts can cause rattling or even damage. Grab a screwdriver and check all the screws and belts.
- Inspect and clean the steel strip. Wipe away dust or debris so it doesn’t build up.
- Check for frayed belts or worn bearings. If you spot any damage, replace the part before it causes bigger problems.
- Clean nozzles and vents. Use a soft brush or cloth to remove dust from the dryer’s vents and nozzle area.
Tip: Set a reminder on your phone so you never forget your weekly check!
Monthly Tasks
Monthly maintenance helps you catch issues before they turn into big headaches. Take a little extra time once a month to:
- Replace or recharge desiccant packs. Dry desiccant keeps your filament safe from moisture.
- Inspect seals for cracks or gaps. Good seals keep humidity out.
- Test temperature accuracy. Place a thermometer inside the dryer and compare it to the display.
- Check electrical cords and plugs. Look for any signs of wear or damage.
A quick table can help you track your monthly tasks:
|
Task |
Done? (✔/✘) |
|---|---|
|
Desiccant replaced |
|
|
Seals inspected |
|
|
Temperature tested |
|
|
Cords and plugs checked |
|
Pre-Use Checks
Before you start drying filament, a few quick checks can save you from trouble:
- Make sure the dryer is clean and free of dust.
- Confirm the seals are tight and in place.
- Check that the desiccant is dry and ready.
- Set the right temperature for your filament type.
- Listen for any strange noises when you turn the dryer on.
Note: These quick checks help you catch problems early and keep your prints looking their best!
You want your prints to look good each time. Keep filament dry by cleaning the dryer often. Check the seals to make sure they are tight. Change the desiccant when it stops working. Store your filament in airtight containers to block moisture. Always use a hygrometer to check the humidity level. Some filaments soak up water really fast, so be careful with those. Follow your checklist and keep an eye on the humidity. You will get better prints and have fewer problems.

