




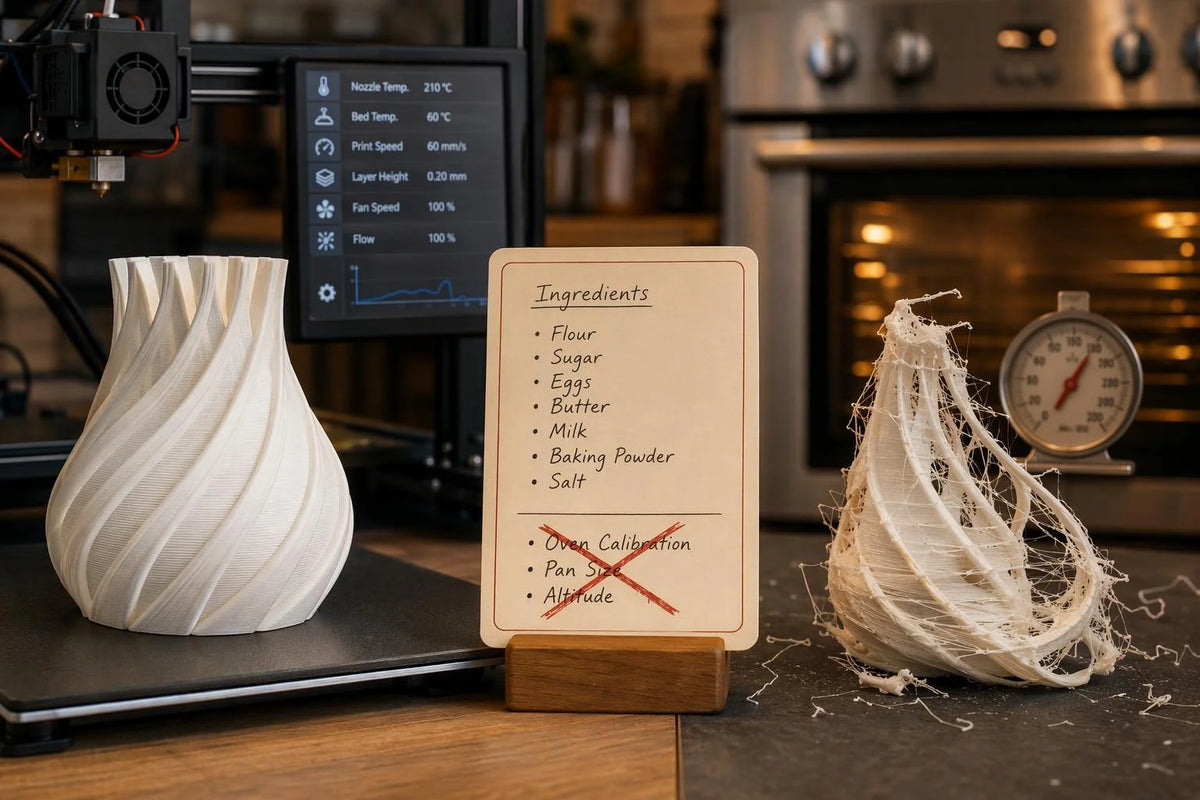
A recipe lists the ingredients, the oven temperature, and the pan size. It cannot tell you that your oven runs 15 °C hot, that your pan is a different gauge, or that you are cooking at altitude. Follow it exactly and you can still get a different cake than the person who wrote it.
Shared 3D models work the same way. The STL is only geometry: a surface described in triangles. Everything that turns that surface into plastic on a bed lives somewhere else, in your machine, your profile, and your material. When a model prints for someone else and fails for you, the file is the one thing you both have in common.
What follows is a diagnostic path, not a settings checklist. You will learn to read the failure stage first, then decide whether the problem is geometric, profile-driven, or material-driven, and only then change something.
Key takeaways
- The STL contains geometry only. Toolpaths, temperatures, and speeds are generated by the slicer from your printer, filament, and process presets.
- A shared profile is a layered inheritance tree, and its machine-specific values (start G-code, motion limits, bed size) do not travel with it.
- The stage where a print fails narrows the cause faster than any single setting change.
- Higher speed raises volumetric flow demand and exposes motion limits, so a faster machine is not a better-tuned one by default.
- Wet filament produces surface defects, poor layer adhesion, and bubbling that look like slicer or model faults.
The STL is not the print
OrcaSlicer's profile documentation splits a print into three presets, and the split is a useful map of everything the STL does not contain. The printer preset answers "what hardware am I printing on?" with bed size, nozzle diameter, motion limits, and machine G-code. The filament preset answers "what material?" with temperatures, cooling, flow ratio, and maximum volumetric speed. The process preset answers "how should the part be printed?" with layer height, walls, infill, supports, and print speeds.
None of those values are in the model file. Two people can download the same STL, slice it, and send genuinely different instructions to their machines, because the model only supplies the shape the toolpaths must follow.
Why the same STL slices into a different toolpath on your machine
Slicing is a computation over settings, not a fixed translation. Nozzle diameter, layer height, line width, and speed all change the path the nozzle takes, and small geometry is where the difference shows first.
A wall thinner than two extrusion lines may be sliced as a single line at 0.4 mm and as a gap or a vanished feature at 0.6 mm. A hole a few tenths of a millimeter across can close up entirely. The model did not change. The slicer simply had different material widths to work with, and it made a locally reasonable decision that produced a different part.
This is also why "it sliced fine for them" proves little. Slicing without errors means the geometry was watertight enough to process, not that the resulting toolpath suits your nozzle.
What is actually inside a shared print profile that does not transfer
A profile is a named collection of settings stored as JSON, and OrcaSlicer resolves it through an inherits field: the parent's settings load first, then the child's values are applied on top, and any setting the child omits keeps its inherited value. Parents can inherit from other parents, so a single preset can sit several layers deep.
That structure explains why a profile can load cleanly and still misbehave. The machine layer carries your bed size, nozzle, motion limits, and start G-code. Start G-code and Klipper macros are machine-specific by nature; a PRINT_START routine that homes, levels, and heats for one printer has no reason to work on another. The filament layer carries temperatures, flow ratio, and maximum volumetric speed, which depend on the hotend as much as the plastic. The process layer carries layer height, walls, supports, and speeds.
OrcaSlicer's own guidance for adapting a profile is to review firmware, dimensions, motion limits, and G-code rather than assume settings transfer. Filament and process presets also list compatible_printers, so a preset built for one machine variant is not validated for another.
How to tell which stage of the print failed
Before changing anything, find where the print went wrong. The stage localizes the cause, and this is a working method rather than a fixed taxonomy.
First layer. Detachment, ripples, or gaps on layer one point to bed leveling, Z offset, bed temperature, or a dirty surface. Nothing later in the print can fix a bad first layer.
Mid-print extrusion. Gaps in walls, thin perimeters, or missing infill after the first few layers point to flow, temperature, or a flow demand above what the hotend can melt.
Motion and surface artifacts. Ringing after corners, layer shifts, or blobs concentrated at direction changes point to acceleration, belt tension, or input shaping.
Material behavior. Bubbling, steam, stringing, or brittle parts point to moisture or temperature rather than motion.
Write down the layer number and the feature where it failed. That single note often eliminates half the possible causes before you touch a setting.
Why your prints got worse after moving to a faster CoreXY printer
Speed raises flow demand directly. Bambu Lab's volumetric speed guide works the arithmetic: a 0.4 mm nozzle at 0.45 mm line width and 0.2 mm layer height running 200 mm/s outputs 18 mm³/s; raise speed to 300 mm/s with the same geometry and you demand 27 mm³/s. The hotend has a physical melt limit, and exceeding it produces under-extrusion, weak layer bonding, thinner walls than intended, and in severe cases clogs as partially melted filament solidifies.
Bambu Lab's worked example: with a 0.4 mm nozzle, 0.45 mm line width and 0.2 mm layer height, raising print speed from 200 to 300 mm/s raises required flow from 18 to 27 mm³/s. For comparison, Bambu Lab specifies 25 mm³/s as the maximum volumetric speed for PLA Basic on the H2S, and around 35 mm³/s with a 0.4 mm High Flow nozzle on the H2 series. These are one manufacturer's figures for one filament family on its own hardware, not typical or universal limits; maximum volumetric speed can only be determined by practical testing on your machine.
Ringing is the motion side of the same story. Klipper's resonance compensation documentation describes the repeating edge artifacts that input shaping is designed to cancel, and OrcaSlicer's input shaping calibration guide recommends recalibrating after mechanical or structural changes such as relocation, a new support surface, or new belts.
CoreXY changes belt paths and vibration behavior compared with a moving-bed printer, so tuning from your old machine does not carry over automatically. A faster machine is not a better-tuned machine by default; it is a machine with less margin for an untuned profile.
Does wet filament really cause failures that look like model problems?
Yes, and the symptoms are easy to misread. Prusa's drying guide states that the general first signal of moisture-affected material is poor surface quality, and that high water content can cause low layer adhesion, blobs, and bubbling and smoke during extrusion. Those are the same complaints people bring to a model thread.
Hygroscopic materials carry the highest risk. Prusa recommends storing polyamide, polypropylene, PVA, and BVOH dry or drying them before every print. Bambu Lab's filament drying page recommends drying before printing when storage conditions are uncertain, especially for models that need a clean surface.
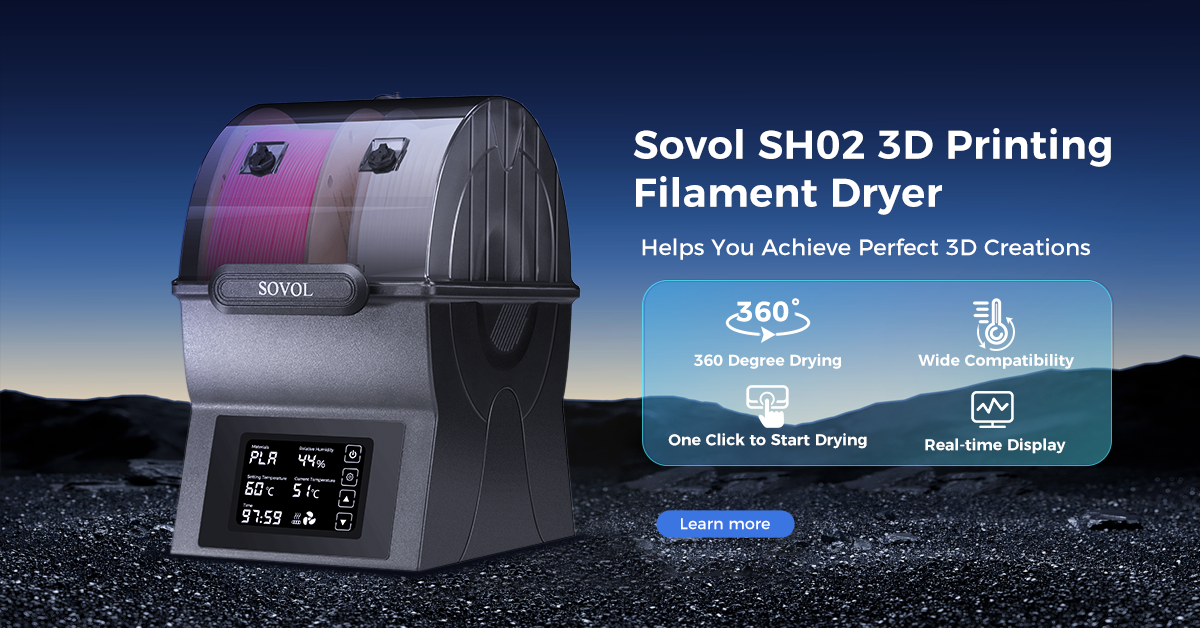
Drying temperatures are material-specific and must not be exceeded, or the filament softens and sticks together. Prusa's table gives PLA at 45 °C for 6 hours, PETG at 55 °C for 6 hours, TPU at 60 °C for 4–6 hours, and ASA at 80 °C for 4 hours. Bambu Lab's table lists higher bed-based figures, such as 60–70 °C for 12 hours on PLA Basic and 75–85 °C for 12 hours on PETG. Follow the schedule published for your dryer and material rather than mixing the two.
Scale, reorient, or add supports: what to change first
Match the fix to the failure. If the defect is clearly geometric, meaning overhangs sagging, walls too thin to slice, or holes that closed up, change the geometry before you tune anything. Reorienting the part changes which surfaces need support and which direction the layers run. Adding supports changes what the slicer must bridge. Scaling changes wall thickness and feature size relative to the nozzle, which is why shrinking a part can make a printable wall unprintable.
If the defect is process-related, meaning gaps in walls on a part that slices cleanly, ringing, or inconsistent extrusion, tuning is the right move. OrcaSlicer's calibration guide sets an order for that work: temperature first, then maximum volumetric speed, then pressure advance, then flow ratio, then retraction. Each test builds on the one before it.
No single order works for every failure. The point is to decide which category you are in before spending an evening on calibration.
What to post when asking for help
Remote diagnosis depends on information you supply. Include the printer model and firmware version, the slicer and its version, and the exact names of the printer, filament, and process profiles you used. State the filament brand, material, and whether it was dried. Post photos of the failure at the stage where it happened, plus a screenshot of the sliced preview showing the same area. Link the model page.
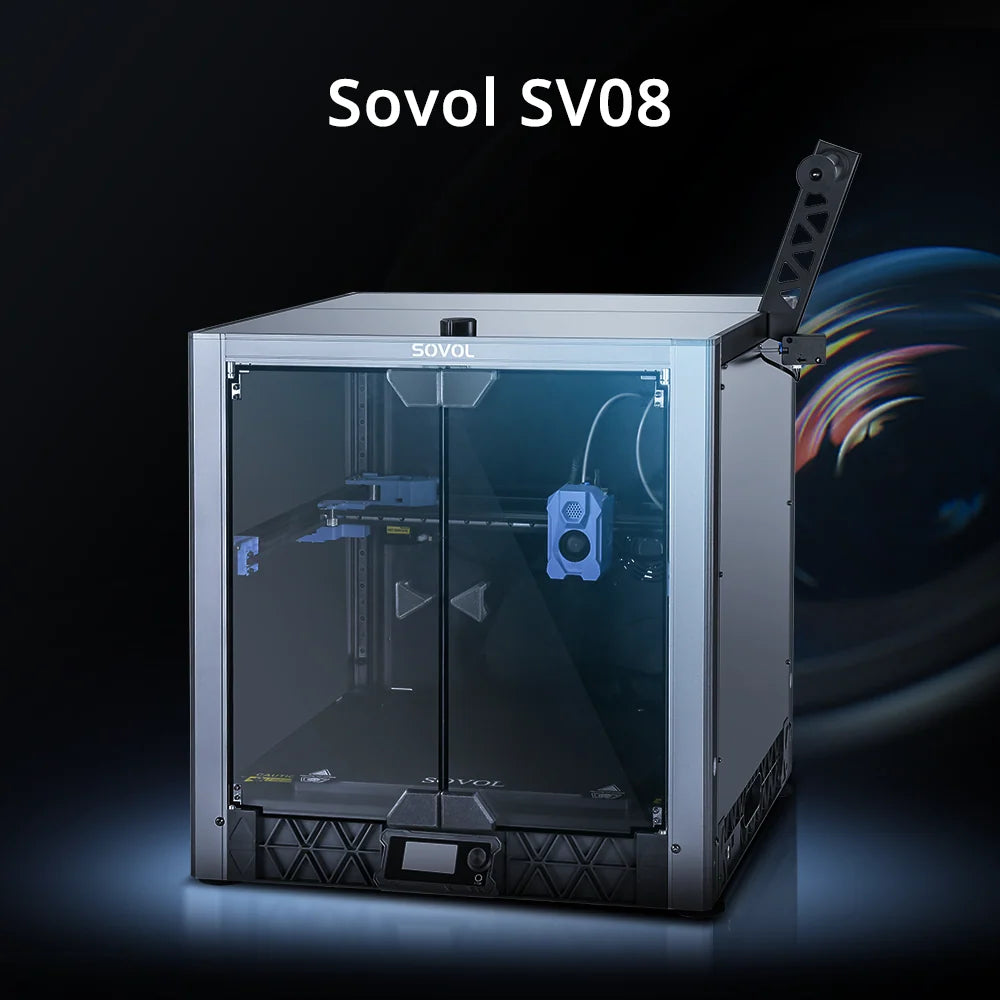
If you edited a profile, say which values you changed. "It failed" gives a helper nothing to work with; "SV08, Klipper, OrcaSlicer 2.x, Generic PLA at 0.2 mm, failed at layer 40 on the overhang" gives them a place to start.
FAQ
Can I trust a shared profile? Treat it as a starting point, not a finished preset. Check the printer layer first: bed size, nozzle, motion limits, and start G-code. A profile built for another machine can load and still send the wrong commands.
Could a different slicer explain the difference? It can contribute, since each slicer computes toolpaths from its own settings. But the larger variable is usually the profile underneath, not the program on top.
Can wet filament mimic a model problem? Yes. Surface defects, blobs, and weak layers from moisture look like slicer faults. Dry the spool before chasing settings when storage is uncertain.
Is scaling ever the right first move? Only when the failure is geometric and the part's dimensions are negotiable. Scaling changes wall thickness relative to the nozzle, so it can create new problems while fixing old ones.
The model was never the problem
The shared file is the constant. Your machine, your profile, and your material are the variables, and they are the ones you can actually inspect.
The sequence is repeatable: find the stage where the print failed, decide whether the cause is geometric or process-related, check the profile layer by layer, and rule out moisture before blaming the model. Most of the time the model was never the problem.
If you are tuning a Klipper-based machine, Sovol's open-source printers and their documentation are one place to compare profiles and firmware conventions, though the calibration work above still has to happen on your own hardware.
