
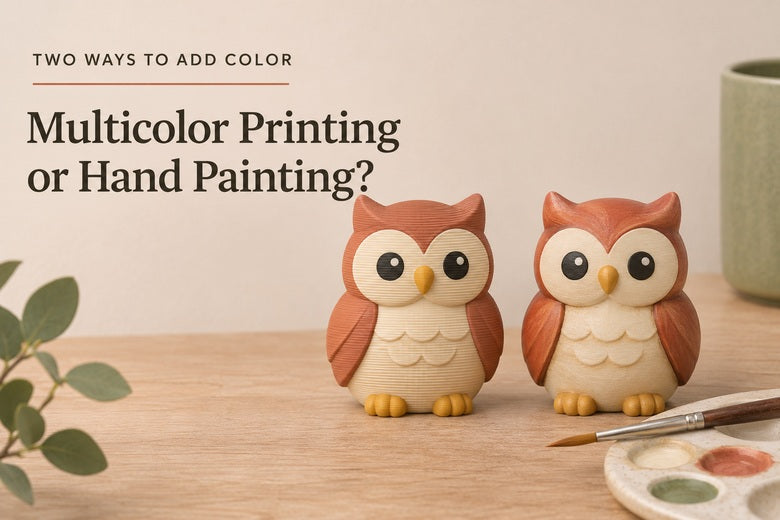
A small character figure can get its colors in two very different ways: the printer can place different filaments as it builds the object, or you can print it in one color and paint the surface afterward.
Both can produce attractive results. But they do not create the same kind of finish, and neither is automatically faster, cheaper or more professional. Multicolor FDM printing is especially useful for defined color regions and repeatable graphic designs. Hand painting gives you freedom to add shading, highlights, weathering and small visual accents.
The useful question is not which method wins overall. It is which one suits the object, the finish you want and the amount of hands-on work you enjoy.
The basic difference: colored material or a colored surface
In multicolor filament printing, color comes from the plastic placed in the model’s assigned regions. The slicer prepares the toolpaths and color changes. “Painting” a model inside a slicer means assigning filament regions; it is different from applying physical paint.
With hand painting, color comes from a coating applied after printing. The print supplies the shape; preparation, primer where appropriate, paint and optional protective coatings create the final appearance.
Printing separate colored parts and assembling them is a third option. It can avoid frequent color changes, although it introduces joints and assembly work. For that comparison, see printing multicolor models together or as separate parts.

How do the finished objects look different?
Multicolor printing: clear regions and a filament finish
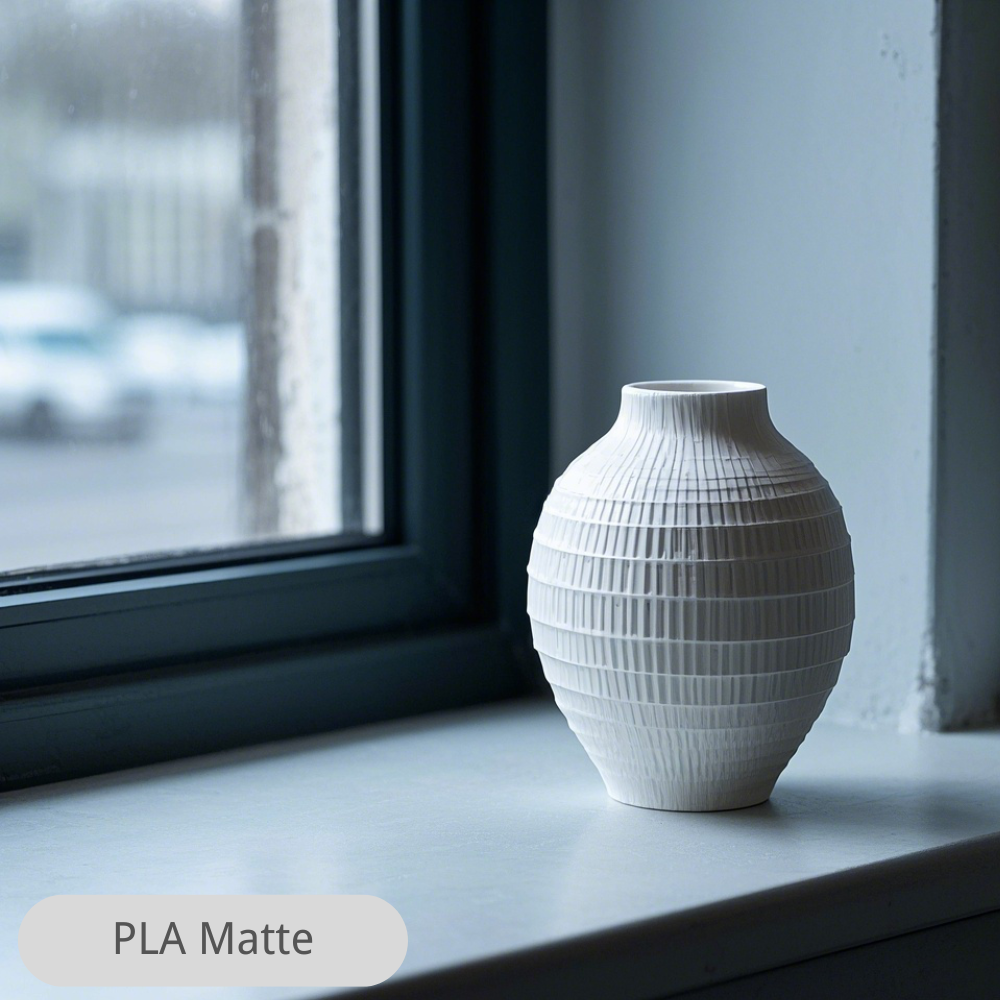
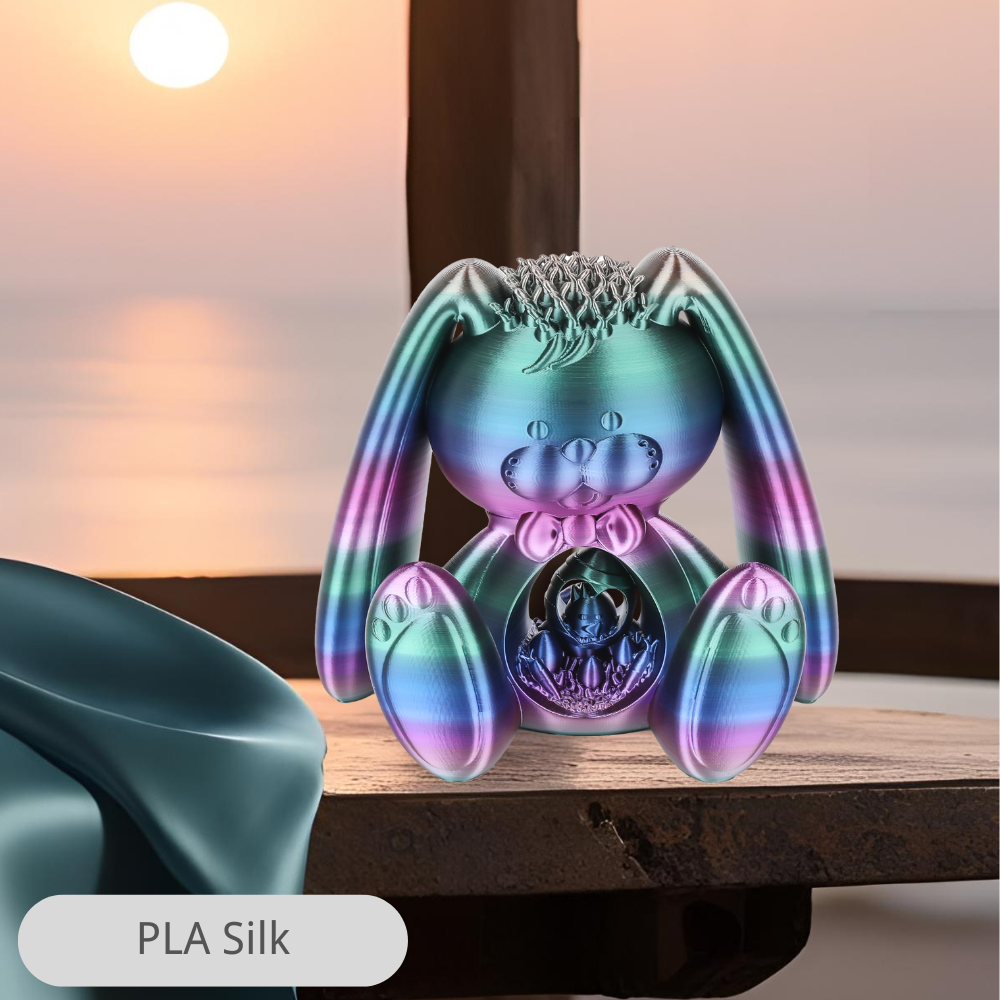
Lettering, icons, stripes and simplified character features often suit printed color regions. The surface retains the chosen filament’s appearance, whether understated, glossy or silk-like.
The result still has FDM layer texture. Clean color boundaries do not automatically mean a smooth surface, and tiny features may be too small to reproduce clearly. Inspect the actual sliced paths rather than relying only on the colored model view.
Color contamination can also affect transitions, particularly when changing materials through a shared nozzle. Correct preparation matters; adding more colors does not by itself improve the finish.
Hand painting: tonal variation and interpretation
A brush can add a shadow beneath a wing, a highlight along an edge or weathering on a prop. These effects help an object suggest depth and wear beyond the underlying geometry.
The finish depends on preparation and technique. Paint alone does not erase layer lines. A smooth display finish may require cleaning, sanding, filling and compatible primer before color is applied.
Brush marks, uneven coverage and pooled paint can obscure fine features. A carefully painted piece can look highly refined, but the same result should not be assumed for a first attempt.

Quick comparison
| Priority | Multicolor FDM printing | Single-color print + hand painting |
|---|---|---|
| Graphic color blocks | Useful for repeatable regions, text and icons. | Possible with careful brushwork or masking. |
| Gradients and shading | Limited by palette and workflow; not automatic full-color reproduction. | Flexible, with the result depending on skill. |
| Surface texture | Filament finish and layer texture remain. | Preparation can change the finish; paint alone may not hide layers. |
| Repeated copies | Reuses a validated color plan, with normal print variation. | Each copy requires finishing work. |
| Later appearance changes | Changing printed regions generally means reprinting or coating them. | Can be repainted, subject to preparation and coating compatibility. |
Three everyday examples
1. A nameplate or drawer label
If the goal is a dark background with light lettering, multicolor printing is a sensible starting point. The design uses a small palette and benefits from consistent placement across several copies.
If the lettering sits above the background at a different height, a supported manual layer-based filament change may be sufficient. You do not necessarily need an automated multi-filament system for every two-color sign.
Hand painting is also possible, especially if you already own a single-color printer. Compare the work of painting or masking the letters with the time needed to prepare the color change.
2. A character figure
For a cartoon-like figure with distinct clothing and face colors, printed regions can provide an appealing finished base. For realistic skin tones, directional highlights or aged armor, painting offers more artistic control.
Separate geometry detail from color detail. Painting eyes onto an existing face does not require the same toolpaths as printing tiny separate eye regions. However, paint cannot restore a sculpted feature that never printed.
3. A decorative vase or desk accessory
A single attractive filament may already provide the desired result. Multicolor regions can add a graphic motif; painting can create a custom finish that is difficult to obtain from available filament colors.
Also consider use. A painted surface that is frequently rubbed or flexed needs a suitable coating system. A decorative finish is not proof of water tightness, heat resistance or food-contact suitability.
Which takes less time?
Compare hands-on time and elapsed time separately.
Multicolor printing moves part of the coloring work into file preparation and the machine’s schedule. You still assign colors, load and check filaments, inspect the preview, remove supports and clean the result.
Hand painting adds preparation and application work, plus waiting between coats and for curing. That waiting does not always demand your attention, but it still affects when the object is ready.
A fair comparison uses your actual model. Slice both the single-color and multicolor versions with appropriate profiles. Then finish one representative sample and record the work involved. There is no reliable universal claim that either method saves a fixed number of hours.
What about cost and waste?
For multicolor printing, include model material, supports, any priming or wiping structures, purged material and the extra machine time. A shared-nozzle system typically needs to clear the previous material during changes; separate-nozzle and tool-changing arrangements have different requirements.
The number and location of changes matter. A tiny color detail repeated through many layers can have a larger impact than its visible size suggests. Use the slicer’s estimate and a test rather than judging cost by the model’s color count alone.
For painting, include primer, paints, brushes, masking supplies, cleaning, protective equipment where required and your working time. A small amount of paint used on one model does not mean buying the whole finishing setup costs almost nothing.
For several copies, ask which steps you can reuse and which repeat for every object. A validated multicolor job can reuse its digital color assignments; each painted copy still needs physical finishing.
Does printed color last longer?
A painted print has a coating that can chip, scratch or wear according to the product, preparation and use. Printed color is part of the assigned plastic region, so it cannot peel off in exactly the same way as a paint film.
That does not make multicolor parts scratch-proof. A scratch can expose an underlying differently colored region if the outer color is shallow. Filament can also discolor or degrade under unsuitable conditions.
Likewise, a clear coat is not a universal shield. Choose and test it for the substrate and intended environment. Neither coloring method establishes the part’s structural strength.
You can combine both methods

A practical hybrid is to print the major color regions, then paint only the details that benefit from artistic treatment. A figure might have printed clothing colors with painted shadows. A sign might use printed lettering with a locally painted metallic accent.
Test coating adhesion on a spare piece made from the actual filament. Different surface finishes and additives can change the result. Keep coatings away from tight mating surfaces unless you have allowed for their thickness.
For surface preparation, see our sanding, priming and painting guide. Follow the coating manufacturer’s ventilation, application and curing instructions.
Where the Sovol M1D fits
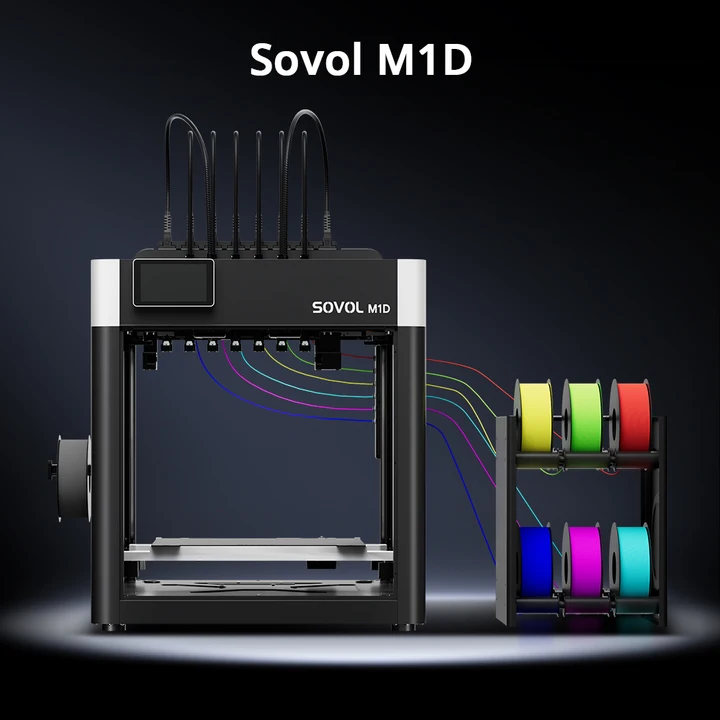
The Sovol M1D is listed with a DualX 1+6 automatic tool-changing system and support for up to seven-color printing. Its near-zero purge-waste approach is relevant when you want printed color regions while reducing the waste associated with clearing colors through a shared nozzle.
“Near-zero” does not mean every job creates no waste: supports, priming and the selected workflow still matter. Tool changing also does not create painted-style shading automatically. The design, color assignments and filament palette determine the result.
For suitable colors and finishes, explore Sovol filaments. Check material compatibility as well as appearance when combining products.
Frequently asked questions
Is multicolor printing better than painting?
It is better suited to some goals, especially repeatable color regions. Painting is more flexible for shading and surface effects. Choose according to the object rather than a general ranking.
Will multicolor printing hide layer lines?
No. It changes where colored plastic is placed, not the fact that an FDM object is built in layers.
Can I paint a multicolor print?
Yes, with compatible preparation and coatings. Test on a spare sample, particularly with glossy or specialty filaments.
Do I need seven colors for an attractive figure?
No. A few well-chosen colors can create a clear design. More colors add options, but they are not a substitute for thoughtful placement.
Should I buy a multicolor printer just to avoid painting?
First identify what you dislike about painting and what you print repeatedly. Printed base colors can reduce some coloring work, but support cleanup, layer texture and other finishing tasks may remain.
Choose the finish before choosing the method
For clear lettering, simplified characters and repeated graphic designs, multicolor printing is a useful option. For nuanced shadows, weathering and artistic surface effects, hand painting offers greater freedom.
You can also use printed colors as the base and add a few painted accents. Compare an actual sample, include both machine and hands-on time, and choose the workflow that gives your project the finish it needs.
Illustrations show conceptual differences, not a controlled comparison of tested prints or a guaranteed finish.
