

Multicolor 3D printers can look similar on a product page while working in completely different ways. Some pull several filaments through one nozzle. Others swap complete toolheads, use two independent printheads, or blend colors inside a single hotend.
That difference affects four things you will notice on every print: waste, print time, material compatibility, and setup.
The best system is therefore not always the one that advertises the most colors. It is the one that matches the models and materials you actually use.
The Four Main Multicolor 3D Printing Systems
1. Single-nozzle filament switchers
Systems such as AMS- and MMU-style feeders store several spools and send one filament at a time into the same hotend. When the printer changes color, it retracts the current filament, loads the next one, and flushes the remaining material from the nozzle.
This is the most familiar route into multicolor printing. It is convenient, supports several colors from a compact unit, and usually requires only one nozzle calibration. The trade-off is that every change takes time and produces purge waste.
2. Tool changers
A tool changer gives each material its own hotend or complete toolhead. Instead of pulling a new filament through the same melt zone, the printer parks one tool and picks up another.
Because the materials use separate melt paths, less flushing is needed. Tool changers are especially attractive for models with many color changes or combinations such as a build material plus a dedicated support material. However, every tool must be aligned correctly, so calibration is more involved.
3. IDEX printers
IDEX stands for independent dual extruder. An IDEX printer has two printheads on separate X-axis carriages. It can print with two materials, or use copy and mirror modes to produce two parts at once.
Traditional IDEX is best understood as a two-head system rather than a large color library. Depending on the machine design, its strengths can include short, direct filament paths, two-material printing, soluble or breakaway support workflows, and copy or mirror production modes.
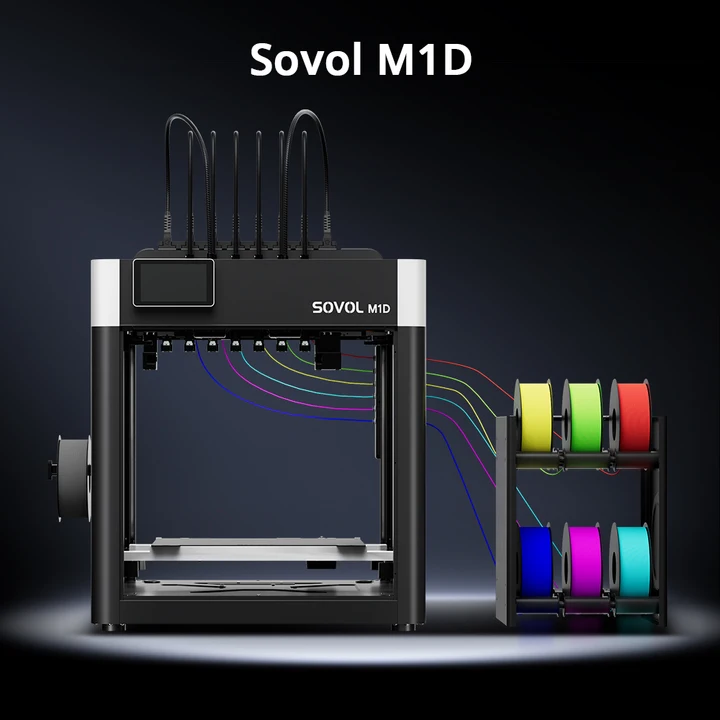
Some newer machines combine IDEX with tool changing. The Sovol M1D, for example, uses a DualX™ hybrid IDEX tool-changing architecture with one fixed toolhead and six interchangeable toolheads. It supports up to seven colors or materials, keeps the toolheads independently heated, and can complete an automatic toolhead swap in as little as five seconds. The complete interruption in a sliced job can still be longer when travel, wiping, priming, or temperature commands are included.
4. Mixing hotends
A mixing hotend feeds two or more filaments into one nozzle and changes their feed ratios during printing. This can create gradients and blended colors. However, controlled transitions may still require transition material or a purge structure when a print needs a specific ratio to appear at a precise point.
Mixing is useful for artistic effects, but it is not the same as switching between separate, sharply defined colors. Transitions happen inside the melt zone, so crisp boundaries and repeatable color matching can be harder to achieve.

Quick Comparison
| System | Purge waste | Color-change speed | Setup | Best suited to |
|---|---|---|---|---|
| Single-nozzle filament switcher | Medium to high; depends heavily on the model | Slowest when changes are frequent | Easiest hardware calibration | Accessible multicolor printing and unattended spool changes |
| Tool changer | Low to very low; priming and wiping may still be needed | Fast | Per-tool offset calibration required | Frequent color changes and true multi-material work |
| Traditional IDEX | Low for two-material work | Fast | Two-head alignment required | Two materials, soluble supports, copy and mirror modes |
| Mixing hotend | Variable; depends on how precisely transitions must be controlled | Continuous blending | Color tuning can be demanding | Gradients, artistic effects, and blended colors |
Waste Depends More on the Model Than the Logo
The most useful rule in multicolor printing is simple:
Purge waste follows the number of material changes, not the printer badge.
A two-color sign that changes color only once may produce very little waste on a single-nozzle system. A small figurine with several colors on every layer can create hundreds of swaps, a large purge tower, and a much longer print.
This is why published waste percentages vary so widely. The result changes with:
- the number of color changes;
- the difference between the outgoing and incoming colors;
- the slicer's flush-volume settings;
- whether purge material can be redirected into infill or supports;
- the size and weight of the printed model.
For that reason, do not treat one percentage from a review as a universal benchmark. Compare the model weight, purge weight, number of swaps, and slicer settings before using any test to estimate your own costs.

Which System Fits What You Print?

Choose a filament switcher if convenience matters most
A single-nozzle switcher is a practical choice when you want easy multicolor printing, automatic spool backup, or several colors without maintaining several hotends. It works particularly well when colors are separated by object, region, or height.
It becomes less efficient when a model changes color many times per layer. In that case, the printer spends more time unloading, loading, and flushing material.
Choose a tool changer for frequent swaps or different materials
Tool changing makes more sense when your typical model has dozens or hundreds of changes, or when you regularly combine materials with different properties. Separate hotends reduce cross-contamination and make it easier to keep different nozzle sizes or materials ready.
The trade-off is a higher calibration burden. Nozzle height and XY offsets must remain accurate across the tool library.
Choose IDEX for two-material flexibility and production modes
Traditional IDEX works well when two materials are enough. It is a strong option for soluble or breakaway supports, flexible plus rigid combinations, and small-batch production using copy mode.
If you need more than two materials, look carefully at whether the machine is conventional IDEX or a hybrid design such as the M1D. The label alone does not describe the full material workflow.
Choose a mixing hotend for gradients rather than sharp color blocks
Mixing hotends suit users who want gradual transitions, custom shades, or experimental color effects. If your design needs clean text, logos, or sharply separated color regions, a switcher or tool changer is usually easier to control.
Material Compatibility Matters
Color count gets the most attention, but material handling often matters more.
Long reverse-Bowden paths can be difficult for very flexible TPU because soft filament may compress or buckle during repeated loading and unloading. A short, direct path is normally more reliable. Before buying, check whether the system supports a direct external spool path for flexible or abrasive materials.
For multi-material prints, also check temperature compatibility. A build material and support material need workable nozzle and bed-temperature ranges, and their adhesion must be suitable for the intended interface. Separate hotends make this easier, but they do not remove the need for a compatible material pair.
File Preparation and Purge Tuning
Most multicolor jobs begin with separate parts or painted regions inside the slicer. The exact workflow varies by software, but the basic process is similar:
- Separate or paint the color regions. Confirm that every region is assigned to the correct material slot or tool.
- Review the change count. A small design adjustment can remove many unnecessary swaps.
- Check the flush-volume matrix. Dark-to-light changes usually need more flushing than light-to-dark changes.
- Use purge-to-infill or purge-to-support carefully. These options reduce visible waste, but they can affect appearance or material performance.
- Print a small test first. Check for color bleed, nozzle ooze, weak interfaces, and tool alignment before starting a long job.
Do not reduce the prime tower first and hope for the best. A safer order is to reduce unnecessary color changes, tune the most difficult color pair, redirect suitable purge material, and only then reduce the tower.
Common Mistakes to Avoid
Treating waste as a fixed machine specification
Waste depends on the sliced model and its swap count. Always inspect the slicer's material estimate before printing.
Using one flush value for every color pair
Black-to-white usually needs more flushing than white-to-black. A transition matrix produces cleaner results without over-flushing every change.
Sending flexible filament through an unsuitable feed path
If the system does not officially support flexible material through its feeder, use a direct path instead of forcing repeated load and unload cycles.
Ignoring parked-nozzle ooze
On IDEX and multi-nozzle systems, an inactive hot nozzle can ooze onto the part. Correct standby temperatures, wiping, and ooze-control settings matter.
Expecting a mixing hotend to behave like separate nozzles
Mixing systems create transitions inside one melt path. They are better at gradients than at instantly switching between perfectly clean color blocks.
Printing with damp filament
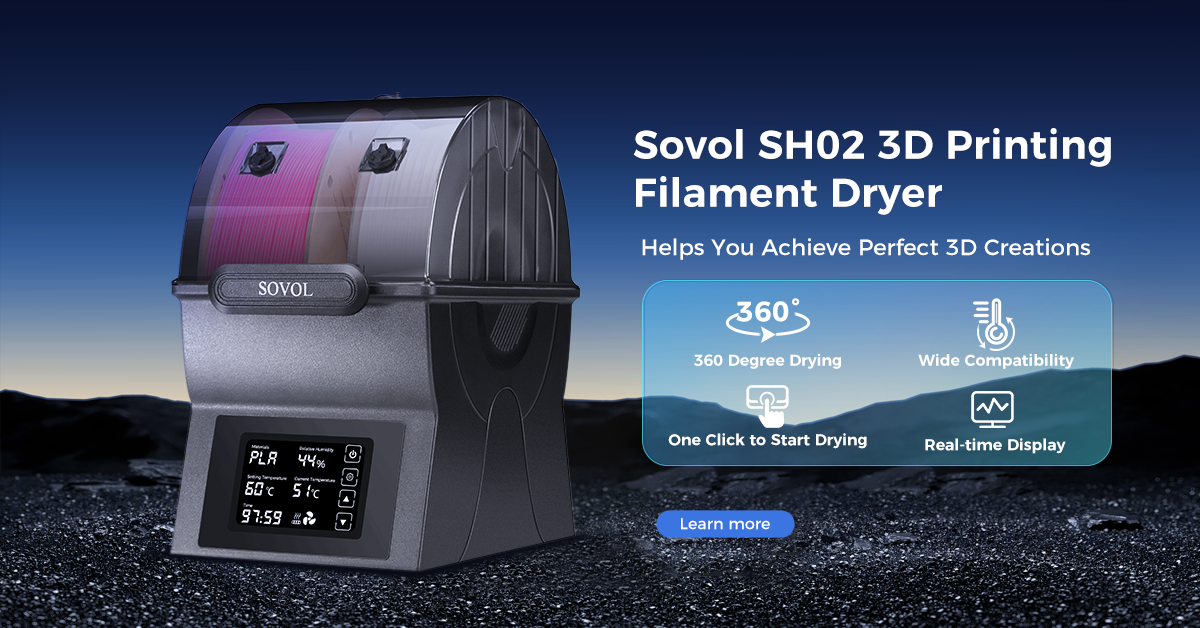
Multicolor jobs involve frequent retractions and re-priming. Damp filament can string at every swap and carry defects into the next color. Dry all spools before a long print.
How to Compare Systems Before You Buy
Use one of your own models rather than a generic color count. Slice the same file for each system and record:
- total print time;
- model weight;
- purge or prime waste;
- number of material changes;
- tower size;
- supported material paths;
- calibration steps.
If possible, weigh the finished model and discarded purge from a real test. The ratio between useful material and waste gives you a much better ownership estimate than an advertised maximum color count.
Frequently Asked Questions
Can slicer settings make a filament switcher purge-free?
Not completely. Better settings can reduce flushing, reuse some purge inside the model, and shorten unnecessary changes. But when two different materials share one melt zone, some transition material normally has to leave the nozzle before the next color is clean.
Does IDEX count as multicolor 3D printing?
Yes, but traditional IDEX is usually limited to two loaded materials. Its main advantages are independent printheads, short material paths, and copy or mirror modes. Hybrid IDEX tool-changing machines can support a larger tool library.
Are more colors always better?
No. More available colors can increase the number of swaps, print time, setup, and waste. Four well-chosen colors may be more useful than a larger system that does not match your normal models.
Which system produces the least waste?
Tool changers and well-tuned multi-nozzle systems usually need less flushing because each material has its own melt path. The actual result still depends on priming, wiping, the model, and the number of changes.
What should I check if I want to print TPU?
Look for a short, direct filament path and explicit flexible-filament support. Many long-path switching systems work best with rigid materials and recommend bypassing the feeder for soft TPU.
Final Recommendation
Start with one question: how many material changes occur on a typical layer of your models?
If changes are occasional and convenience matters most, a single-nozzle filament switcher is often enough. If changes happen repeatedly on most layers, a tool changer can save significant time and material. Choose traditional IDEX when two materials, flexible filament handling, or copy and mirror modes are the priority. Choose a mixing hotend when gradients and blended colors are the goal.
Before committing, slice your most color-heavy model and compare the estimated time, purge weight, and number of swaps. That one test will tell you more than the maximum color number on a specification sheet.
