

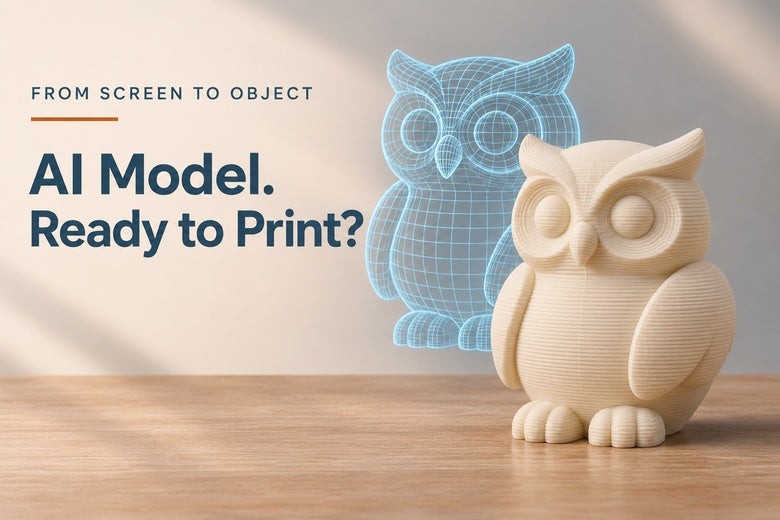
You type “a small owl for my desk,” upload a reference image, and an AI tool produces a model you can rotate on screen. It looks convincing. Can you download it and start printing?
Yes, AI-generated models can be 3D printed—but a convincing preview is not the same as a verified print. You need an actual 3D file, suitable geometry and a sliced job prepared for your printer. Some generators now include print-focused checks and repair tools, making the process more accessible. The final inspection still matters.
This guide focuses on desktop filament printing: what to expect, what to check and why the colors or tiny details in an AI preview may not appear in your finished object.
An AI image is not a 3D print file
An image shows an object from a viewpoint. It does not necessarily describe its back, underside or internal shape. A printer needs geometry: the three-dimensional surfaces that define the object.
Image-to-3D tools infer that geometry from a picture. Text-to-3D tools generate it from a description. Both can be useful creative starting points, but an inferred back or hidden connection may differ from what you imagined. Rotate the result before exporting it.
For a first experiment, think of a rounded ornament or a decorative figure with a broad base. Save precision brackets and tightly fitting replacement parts for a workflow where you can control and verify dimensions.

What does “print-ready” actually tell you?
The phrase can refer to different checks. A tool may detect holes, repair mesh errors or prepare an export for a slicer. That is useful, but it does not establish every requirement of the finished object.
A closed model can still contain a very thin tail. A complete figure can still tip over. A part that fits the build plate can still need support under an arm. Geometry checks and printing decisions solve related but different problems.
For example, Meshy offers a dedicated 3D-printing workflow with analysis and repair features. Treat its results as input to your own review, not a substitute for checking the exported file and sliced layers. Features, export options and plan limits can change.
Why a beautiful preview can become a disappointing print
The details might be painted on
A model viewer can display color, shadows and surface maps that suggest tiny grooves or scales. If those features exist only in the appearance data, they are not raised or recessed geometry for the printer to reproduce.
Switch to an untextured or solid-shaded view if the tool offers one. If the detail disappears, inspect whether it is really part of the mesh. A textured picture of a carved feather is not automatically a carved feather.

The model might be too small for its features
Scaling an ornament down also shrinks its ears, fingers and narrow connecting points. A feature that looks substantial on a large screen can become too fine to generate useful printing paths.
Use the intended dimensions in your slicer and inspect the result. Making the whole object smaller is not always a good way to save time on a test: it can introduce problems that the final size would not have.
Parts might not connect as expected
Look under the model, between limbs and around decorative accessories. A floating element may look connected from the front. A tiny contact point may be enough to appear attached on screen but still make a fragile physical joint.
If the connection matters, fix the design before printing. Extra infill cannot join two separate pieces across an empty gap.
Which file should you download?
| File | Useful to know | Check before printing |
|---|---|---|
| STL | A common mesh format; it does not carry ordinary texture maps. | Size, orientation and geometry. |
| 3MF | Can hold more information, depending on the exporter and application. | What actually imported, including color assignments and settings. |
| OBJ / GLB | Common in textured-model workflows; support varies by slicer. | Whether conversion is needed and which data survives. |
A 3MF extension alone does not guarantee printable colors or a complete printer configuration. Likewise, converting a file to STL changes its format; it does not automatically fix weak geometry.
Start from your own correct printer, nozzle and material profiles. Do not assume a downloaded project’s settings match your hardware.
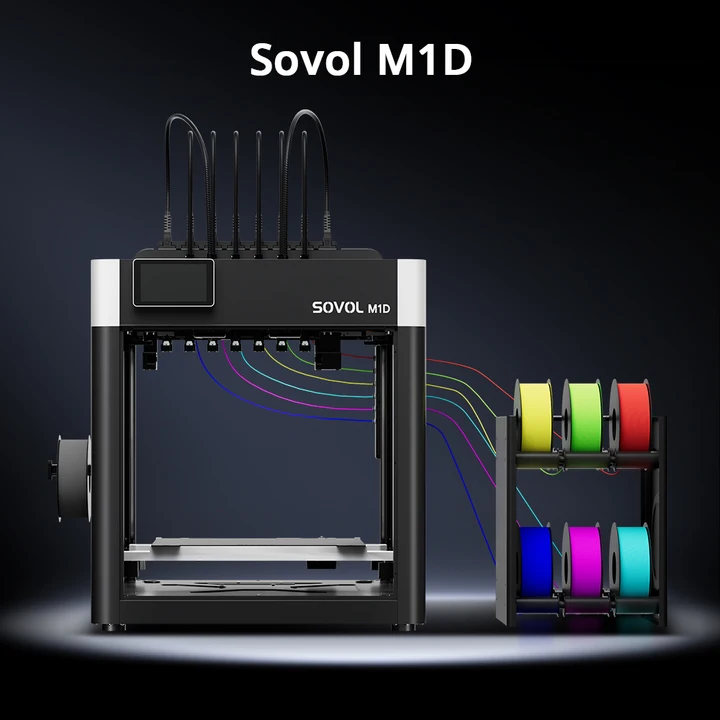
Can the AI model’s colors become multicolor printing?
Sometimes, with an appropriate workflow. A colorful model on screen is only the starting point. The export must provide usable color information, the slicer must interpret or let you recreate it, and you must assign available filaments to the intended regions.
A printer with a limited number of loaded colors cannot reproduce every shade, reflection and painted shadow in a realistic texture. A clean, simplified palette often translates more predictably than a detailed photographic surface.
Before starting a long multicolor job, check:
- Whether colors survived the export and import.
- Whether visible details are geometry, color or only lighting effects.
- Whether your slicer supports the exported data.
- Whether the chosen regions have been assigned to the correct filaments.
- The estimated time, material use and color-change requirements.
A useful first step is a single-color test. It lets you judge the shape independently of the color workflow. You can explore Sovol PLA filament for a decorative trial, using the appropriate material profile. This is a material option, not a guarantee of printability.
Four checks before pressing Print

1. Check the mesh
Address warnings about holes, damaged surfaces or ambiguous connections. “Watertight” in this context means a closed mesh volume; it does not mean the eventual printed object will hold water without leaking.
Automatic repair can help, but inspect the repaired result. A process that closes an unintended hole might also change an opening you wanted to keep.
2. Confirm the size
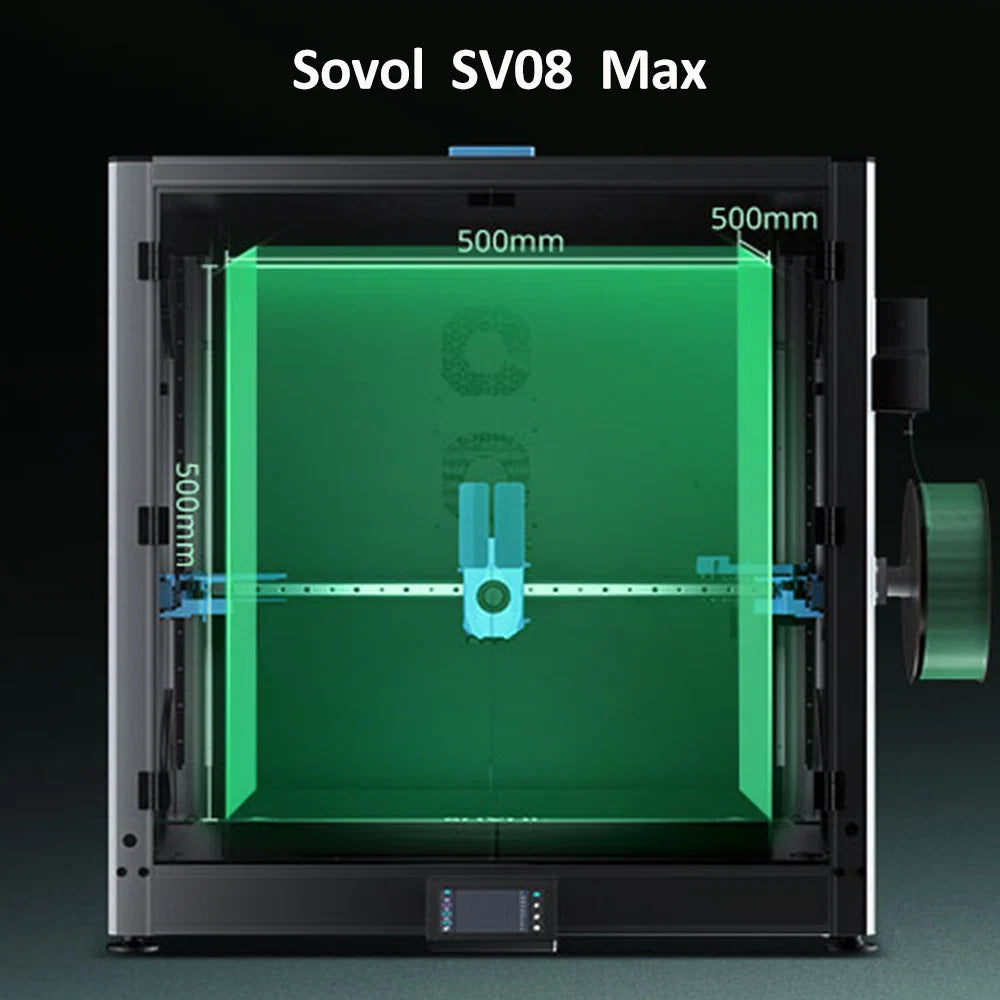
Check the dimensions in millimetres. Compare them with something physical: a ruler, your intended shelf space or the object the print needs to fit.
3. Inspect thin features and supports
Look for narrow ankles, delicate wings and unsupported projections. Consider a stronger base, a simpler shape or a different orientation. Smaller layer heights do not make unsupported parts stop needing support.
4. Review the sliced layers
Drag through the preview from bottom to top. Confirm the base starts on the plate, key features generate actual paths and supports reach the intended regions. A model that looks complete in the preparation view can still lose details during slicing.
A sensible first project
Try this design brief in a generator that supports a 3D export:
A small stylized owl desk ornament, broad flat base, rounded body, short thick wings attached to the body, no thin legs or floating accessories, simple sculpted details.
This is a starting prompt, not a tested model or a promise of success. Inspect whatever the tool generates. Keep the first design simple enough that you can understand its shape and identify potential problems.
- Generate and rotate the model.
- Inspect it without textures where possible.
- Use the available mesh checks and review any repairs.
- Export and confirm the intended dimensions in your slicer.
- Prepare supports and review the complete layer preview.
- Print a manageable first version and record what needs changing.
The illustrations in this article are conceptual explanations, not screenshots of a tested generation or photographs of a successful print.
When should you use CAD instead?
AI-generated decorative geometry can help explore a visual idea. A bracket with accurately spaced holes, a working thread or a replacement part that must fit an existing assembly needs measured dimensions and deliberate engineering.
You can combine workflows: use a generated form as inspiration, then build or revise functional features in CAD. Do not treat an attractive rendering as evidence of strength, fit or suitability for a safety-critical application.
Frequently asked questions
Can I print directly from an AI-generated picture?
Not as a complete 3D object without a conversion or modeling step. An image-to-3D tool can infer a model, while relief and lithophane workflows create other interpretations of an image.
Do I need to know 3D modeling?
You can start without advanced modeling skills. However, basic inspection and slicing skills remain useful, and some results require manual changes or a simpler regeneration.
Why did my colorful model import as grey?
The export may not include color data, or the slicer may not interpret it. Check the exporter’s options and the slicer’s supported workflow. Changing the filename extension will not restore missing data.
Can a repair tool fix every AI model?
No. Repair can address certain mesh errors. It cannot reliably decide your intended shape, required strength or exact fit.
Can I sell the prints?
Check the generator’s current terms, your plan’s permissions and any rights associated with reference images or recognizable designs. The ability to download a model does not by itself settle permission to sell it.
The short answer: yes, with a preview-to-print check
AI can make creating a first 3D shape more approachable. The important step is checking that the visual idea survives as printable geometry, at the size and in the materials you actually plan to use.
Start with a simple object, inspect the untextured shape, check the export and review the sliced layers. Once the geometry works, add color as a separate design decision. That gives you a clearer path from an interesting image to an object you can hold.
